7
6.2 Conveyor belt
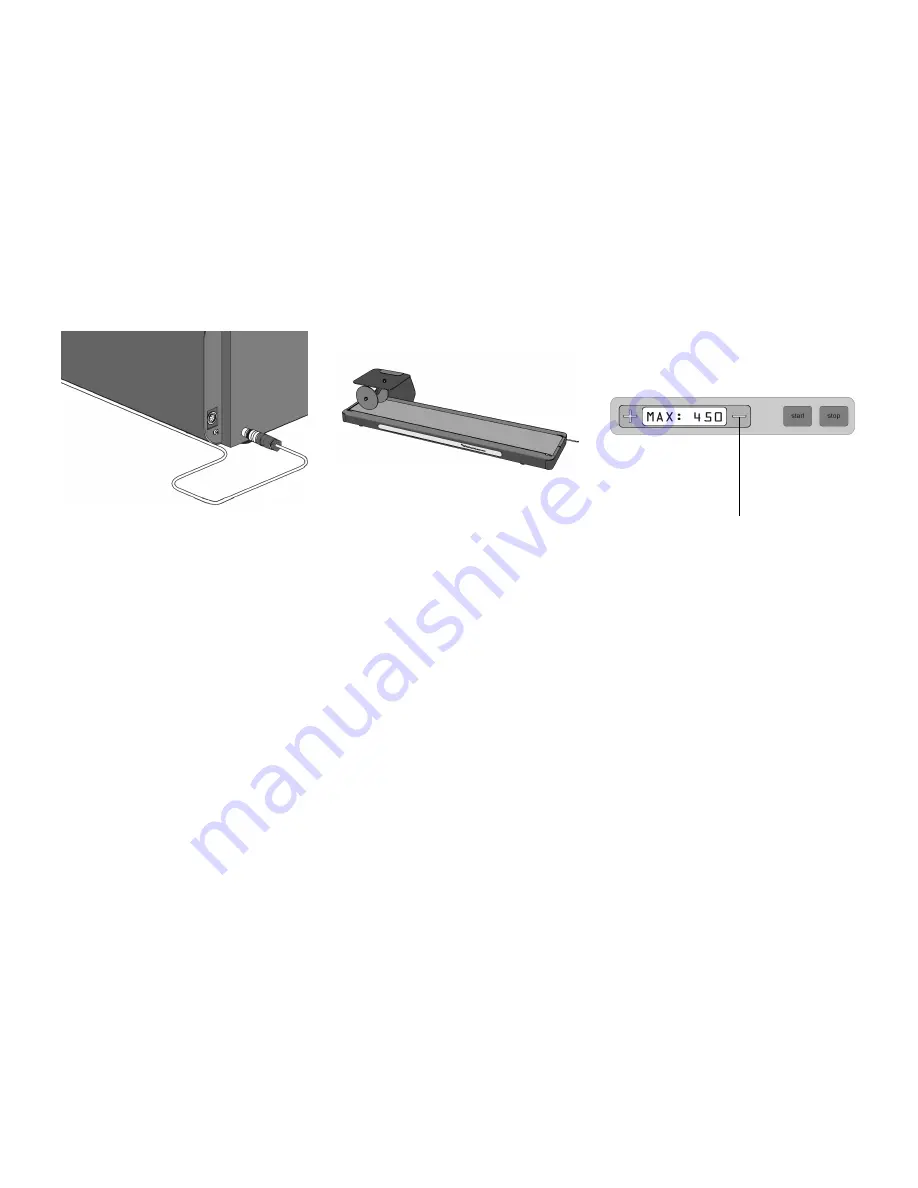
Instead of a receiving tray, a conveyor belt can be
connected (as shown in fig. 15). The mail can then be
processed by two or more persons. The conveyor
belt is connected to the socket at the back of the letter
opener as shown in figure 14.
After pressing “START” the conveyor belt will start
moving. The opened envelopes will be fed one after
another onto the belt. A sensor is located at the end
of the conveyor belt. This sensor will stop the machine
when the envelopes are not taken of the belt and
have reached the end of the belt. The moment the
documents are taken off the belt, the machine will
start processing again.
6.3 Two conveyor belts
It is possible to use two conveyor belts. This is
convenient when two or more persons are processing
the opened mail.
After pressing “START” the conveyor belts will start
moving. The opened envelopes will be fed one after
another onto the first belt. The sensor located at the
end of the last conveyor belt will stop the machine
when the envelopes are not taken of the belt and
have reached the end of the belt. The moment the
documents are taken of the belt, the machine will start
processing again.
When either a receiving tray with sensor or a conveyor
belt is used, an applicable job has to be selected first.
Fig. 14
Fig. 15
Fig. 16
6.4 Preset counter
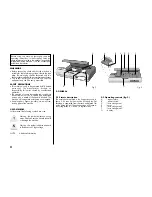
The LO-1 can be equipped with a preset counter. The
machine stops when the preset number of envelopes to
be opened is reached.
The preset counter can only be altered when the machine
is in stop mode. After pressing the “-” key A for four
seconds the display will show “MAX: xxxx” as shown in
fig. 16. The number displayed is the last used value for
the preset counter. Then the preset counter can be
changed per digit. Select the digit by pressing the “start”
key. The respective digit will flash and can be altered by
pressing the “+” or the “-” key. By pressing the “stop”
key any changes are saved and the machines switches
back into “stop” mode.
If the preset counter is set to 0 (zero), the preset counter
is not used.
A
Summary of Contents for IM 30
Page 10: ...10 ...


