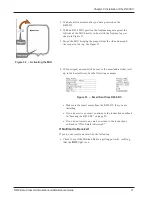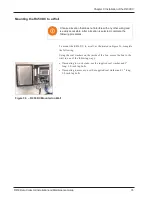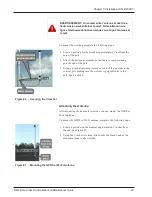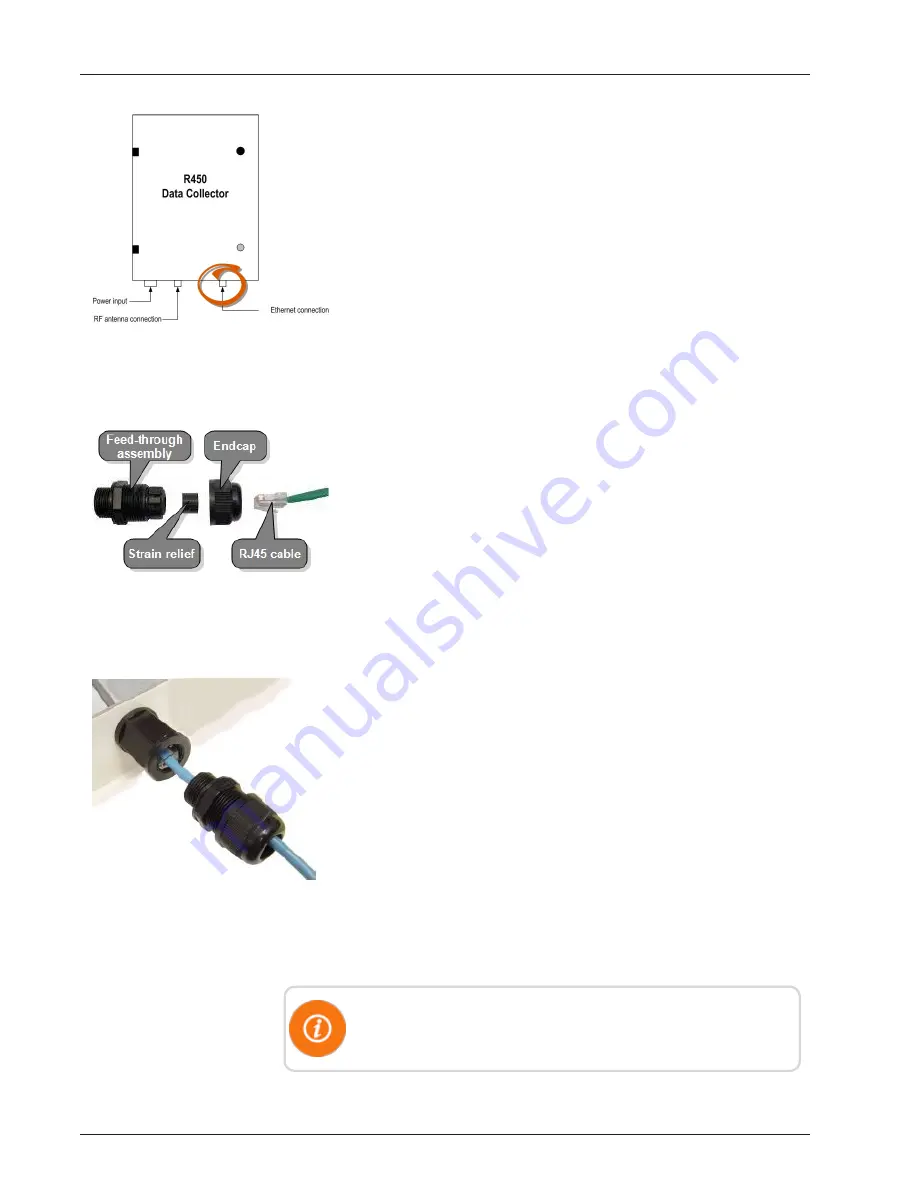
1. Locate the Ethernet port at the bottom of the R450 DC. See
Figure 43. Refer to Appendix C "Ethernet Termination" on
page 111 for more information.
Figure 43 – Ethernet Port Connection
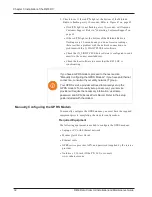
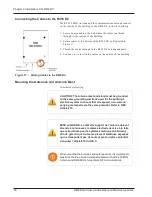
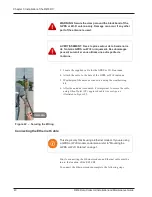
2. Unscrew the entire feed-through assembly as illustrated in Figure
44.
3. After you remove all the pieces, insert the RJ45 connector
through the endcap, then through the stain-relief section, and
then into the feed-through assembly.
Figure 44 – Ethernet Feed-Through Assembly
4. Tighten the feed-through assembly to create a seal.
5. Tighten the compression nut loosely.
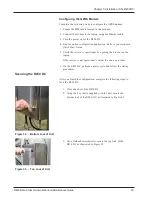
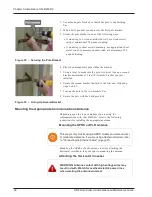
6. Screw the entire feed-through assembly into the RJ45 Ethernet
housing which is already mounted at the bottom of the R450
DC. Refer to Figure 45.
There should be a rubber gasket between the two assemblies.
8. Tighten the compression nut until the gaskets are tight around
the RJ45 cable.
Figure 45 – RJ45 Ethernet Housing
Always push the cable toward the connector while tightening to
ensure good strain relief of cable to connector.
R450 Data Collector Installation and Maintenance Guide
41
Chapter 3: Installation of the R450 DC
Summary of Contents for R450
Page 2: ......
Page 3: ...R450 Data Collector Installation and Maintenance Guide ...
Page 8: ...This page intentionally left blank ...
Page 143: ......

