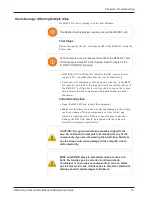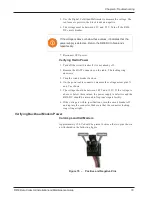
11. After the modem is installed, insert the new thumb drive into the
processor board before powering up the R450 DC.
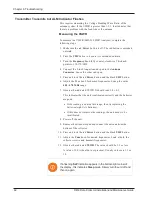
12. After the thumb drive is inserted, power on the R450 DC.
After 5 minutes, the R450 DC should complete the booting
process with the new configuration.
13. Remove the thumb drive and close the R450 DC.
Activating the CDMA Modem
Once the CalAmp CDMA modem is provisioned and installed, you
need to activate it. A Quick Start Guide comes in the box with each
CDMA modem. The steps to activate the modem are in the Quick
Start Guide; however, use the following instructions.
Accessing the Modem's Homepage
Complete the following steps to activate the modem.
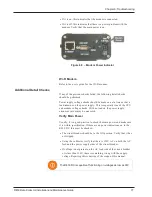
1. Approximately one minute after applying power to the unit,
open your Web browser.
2. In the address bar, enter 192.168.1.150.
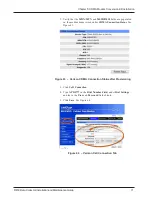
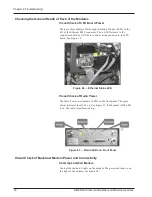
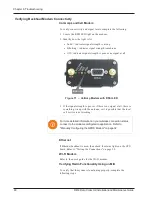
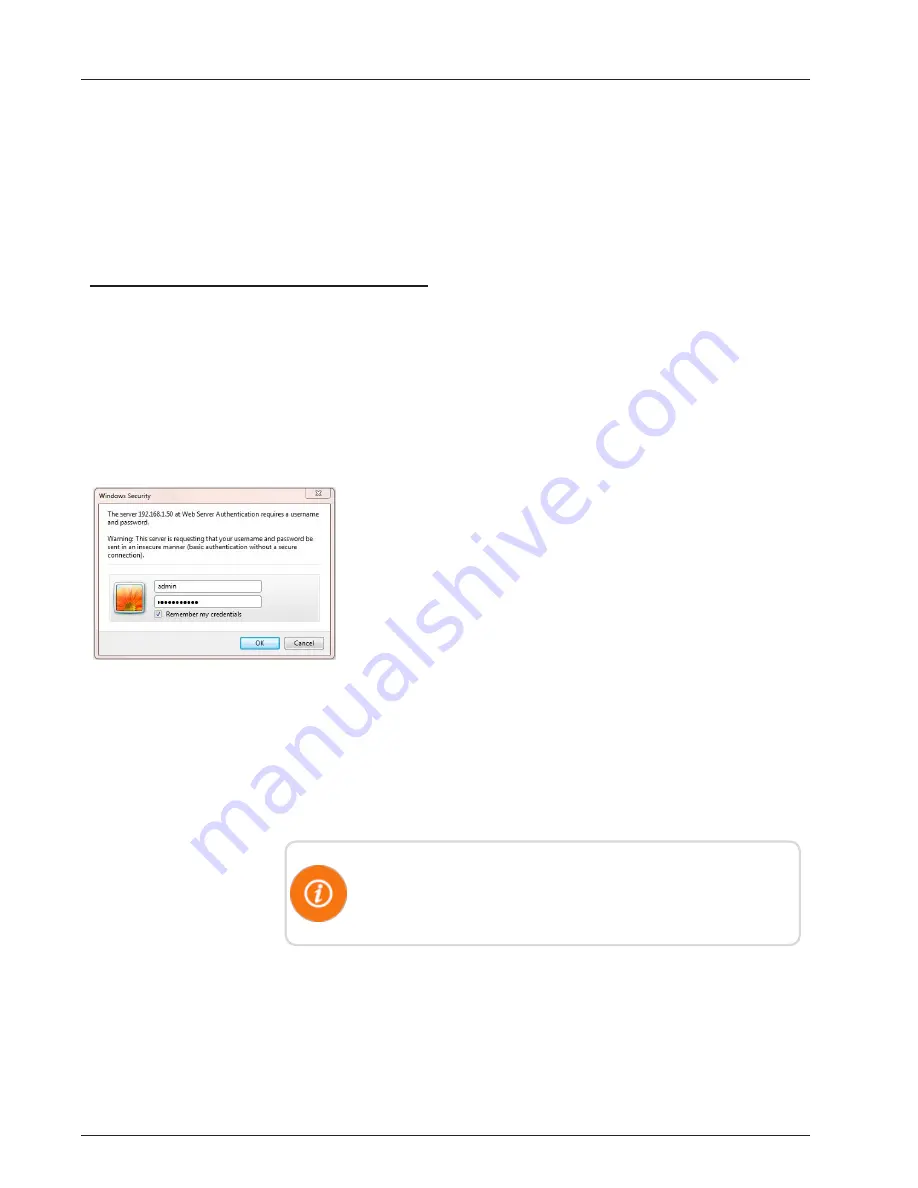
A log on dialog similar to Figure 58 appears.
Figure 58 – Browser Connection Log on Dialog
3. In the
Username
field, enter admin.
4. In the
Password
field, enter password.
5. Click
OK
.
Setting the Auto Connect Option
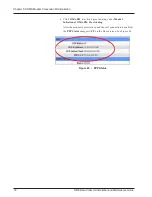
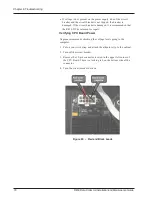
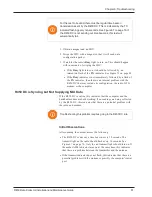
CalAmp CDMA modems are shipped with Cell Connection (Auto
Connect) Disabled. You must enable the modem to connect to the
Internet by completing the following steps.
68
R450 Data Collector Installation and Maintenance Guide
Chapter 5: CDMA Modem Conversion Kit Installation
Summary of Contents for R450
Page 2: ......
Page 3: ...R450 Data Collector Installation and Maintenance Guide ...
Page 8: ...This page intentionally left blank ...
Page 143: ......


