TERRASCOUT
™
AGES 8+
Do not aim at eyes or face. TO AVOID INJURY:
Use only darts designed for this product.
Do not modify darts or dart blaster.
CAUTION:
Hair entanglement may result if child’s hair
comes in contact with moving parts of toy.
Adult supervision is required.
CAUTION:
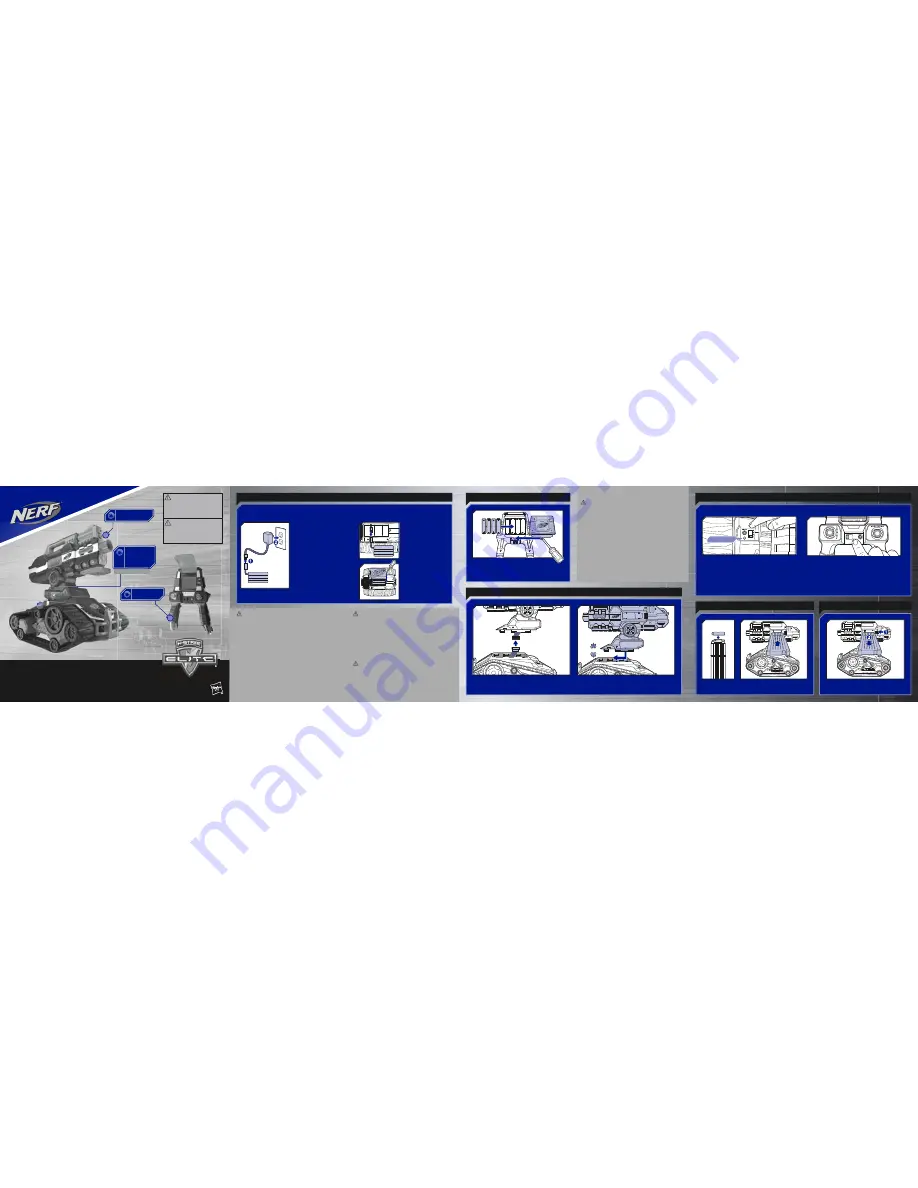
CAMERA/
MICROPHONE
• ON/OFF BUTTON
• STATUS LIGHT
• CHANNEL
SELECTOR
SWITCH
2.4 GHz
Input: 100-240V AC, 50-60Hz 10W
Output: 12V DC, 500 mA
Please read all instructions before operating this vehicle.
CONTROLLER
CAUTION:
• Be sure to fully charge the battery pack before using.
• If the battery pack is hot after use, let cool before recharging.
• Do not recharge battery pack if signs of leakage or corrosion are visible.
• Do not attempt to open or service the battery pack.
• Do not dispose of battery pack in fire.
CHARGING PRECAUTIONS:
• Do not leave battery unattended while charging.
• Charge the battery on a non-flammable surface, away from flammable items.
• Unplug the battery once fully charged. Do not leave the battery connected to
the charger for an extended period of time.
• Disconnect AC wall charger from outlet while not in use.
• Do not charge battery pack that shows signs of leakage or corrosion, or
attempt to open the battery pack.
• The power adaptor should be used with floor or wall receptacles only.
TO CHARGE & INSTALL BATTERY IN VEHICLE
1. Plug one end of charger cord into
battery, and plug other end into wall
outlet.
•
charger.
• LED status light will glow steadily
while battery is charging.
•
battery is fully charged.
2. When battery is full recharged,
and wall outlet.
3. Plug battery
cord into vehicle.
into vehicle.
5. Attach battery
cover. Tighten screw
with a Phillips/cross
head screwdriver.
NOTE: Never charge the battery while it is installed in the vehicle.
1x 9.6v Rechargeable NiMh BATTERY INCLUDED
WARNING:
The charger that is supplied with this item (model #SJC1200500CU)
should be examined regularly for potentially hazardous conditions
such as damage to the plug, enclosures, or cords. In the event of
such conditions, the charger should not be used until the damage is
properly repaired. Only use the charger that is supplied with this item.
IMPORTANT: VEHICLE RECHARGEABLE
BATTERY INFORMATION
CAUTION:
Risk of fire, explosion, and burns. Do not disassemble, crush, heat
above 60 degrees C (140° F) or incinerate. Dispose of the whole
product according to local recycling or waste regulations – never
disassemble. Do not use the item near a heat source such as a fire
or heater.
TO INSTALL BATTERIES IN CONTROLLER
4x 1.5V AA
ALKALINE BATTERIES REQUIRED
NOT INCLUDED
Use a Phillips/cross head screwdriver (not included).
IMPORTANT: BATTERY INFORMATION
CAUTION:
1. TO AVOID BATTERY LEAKAGE
a. Always follow the instructions carefully. Use only batteries specified
and be sure to insert them correctly by matching the + and - polarity
markings.
b. Do not mix old batteries and new batteries or standard (carbon-zinc)
with alkaline batteries.
c. Remove exhausted or dead batteries from the product.
d. Remove batteries if product is not to be played with for a long time.
e. Do not short-circuit the supply terminals.
f. RECHARGEABLE BATTERIES: Do not mix these with any other types
of batteries. Always remove from the product before recharging.
Recharge batteries under adult supervision. DO NOT RECHARGE
OTHER TYPES OF BATTERIES.
2. Should this product cause, or be affected by, local electrical interference,
move it away from other electrical equipment. Reset (switching off and
back on again or removing and re-inserting batteries) if necessary.
ASSEMBLY
!"
#
forward to lock it in place.
CLICK
x18
$%&
ON/OFF • CHANNEL SELECTOR
'()*(++ -04
-046%#
status light blinks for a short interval, and then vehicle
7
Status light glows steadily when it receives a signal.
'()*(++ 4()89(9
When done playing, press buttons again to switch
7-044()89(9
LOAD
RELOAD
'%
Load darts into clip.
STATUS LIGHT
on reverse side of vehicle


