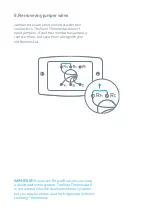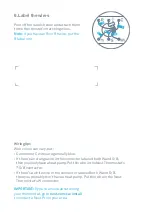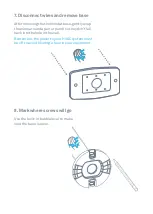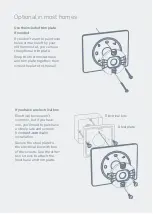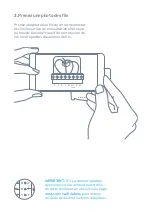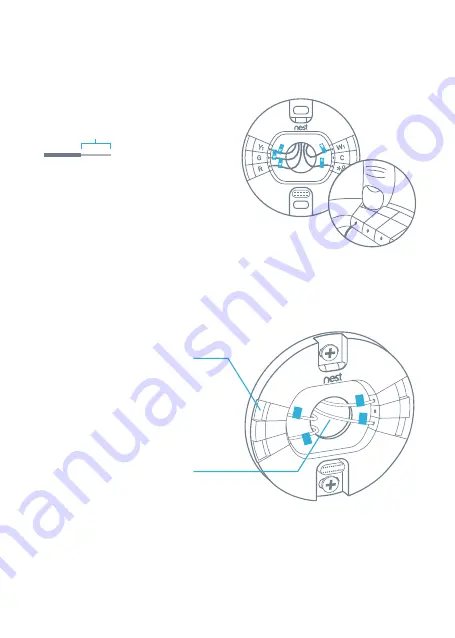
10. Connect wires
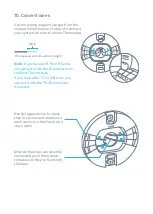
Use the wiring diagram you got from the
compatibility checker in step 4 to connect
your system wires to the Nest Thermostat.
Note: If you have an R, Rc or Rh wire,
you can put it into the R connector on
the Nest Thermostat.
If you have a W2, Y2 or O/B wire, you
can put it into the
*
O/B connector,
if needed.
The exposed wire should be straight.
3/8 in
Gently tug each wire to check
they’re secure, and make sure
each connector that has a wire
stays down.
After all the wires are securely
connected, push them down
to make sure they’re flush with
the base.
Summary of Contents for Thermostat E
Page 1: ...ThermostatE Installation Guide ...
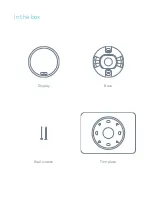
Page 4: ...In the box Display Trim plate Base Wall screws ...
Page 20: ...ThermostatE Guide d installation 064 00114 EF A ...
Page 23: ...Dans la boîte Écran Plaque de montage Base Vis murales ...
Page 39: ......
Page 40: ......


