33
Servicing
4. Servicing
Turn the appliance OFF and isolate the gas supply. Ensure the appliance is fully cold before
attempting to start servicing the appliance. No liability can be accepted by Nestor Martin for injury
caused by burning or scolding by a hot appliance.
A suggested procedure for servicing is listed below.
A.
Open the door
B.
Carefully remove the Ceramic components (including Embers) or Gravels
C.
Use a Vacuum cleaner to clean the top of the burners and grate
D.
Remove Grate
E.
Using a vacuum cleaner, fully clean the burner. The Pilot assembly is now clearly
visible. Use the vacuum cleaner and a soft brush to clean the pilot assembly. Never modify or bend
the Thermocouple
F.
Turn on the gas supply and check for leaks, check the burner and Pilot for good
condition and operation
G.
Replace Grate
H.
Replace the Firebed arrangements
I.
Close the door
J.
Check the flue system and terminal, making sure that the terminal vent is fully clear
K.
Light the appliance and test setting pressures
L.
Check the safe operation of the appliance.
4.1 Cleaning the Ceramics
Remove the ceramics as detailed in A - B above.
Gently clean the ceramics in the open air, using a soft brush and a vacuum cleaner. Where necessary
replace damaged components only with genuine Nestor Martin specified parts. Seal any scrap
ceramics in plastic bags and dispose at proper refuse sites. When using a vacuum cleaner, it is
recommended that one with a HEPA filtering system is used.
Re-fit the Firebed arrangement, re-seal the appliance and check the safe operation of the appliance.
4.2 Servicing the Burners
The pilot is now clearly visible, the pilot, including the Thermocouple, can be replaced/serviced by
removing raising the pilot assembly from its mounting. This is done by removing the two nuts (M5,
8mm spanner) followed by removing the pilot shield and the pilot clamp.
To access the Burner Injector, the Burner must be removed. This is done by removing the four bolts
(M6, 10mm spanner) holding the burner in. With these four bolts removed, the Burner base can be
raised up through the Firebox, and the Injectors can be easily accessed.
When replacing any parts use only original Nestor Martin specified parts.
Summary of Contents for C15
Page 13: ...13 Installation instructions 3 5 Fuel Bed Arrangements H15 LPG ...
Page 14: ...14 Installation instructions H15 NG ...
Page 15: ...15 Installation instructions H25 LPG ...
Page 16: ...16 Installation instructions H25 NG ...
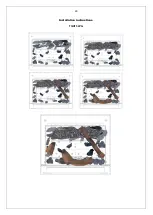
Page 17: ...17 Installation instructions H35 LPG ...
Page 18: ...18 Installation instructions H35 NG ...
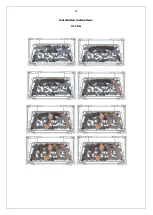
Page 19: ...19 Installation instructions TQH35 LPG ...
Page 20: ...20 Installation instructions TQH35 NG ...
Page 21: ...21 Installation instructions H45 LPG ...
Page 22: ...22 Installation instructions H45 NG ...
Page 23: ...23 Installation instructions TQH15 LPG ...
Page 24: ...24 Installation instructions TQH15 NG ...
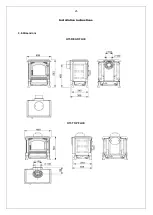
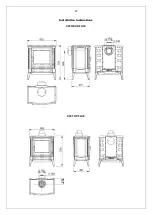
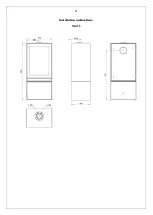
Page 25: ...25 Installation instructions 3 6 Dimensions H15 REAR FLUE H15 TOP FLUE ...
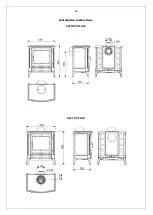
Page 26: ...26 Installation instructions S25 REAR FLUE S25 TOP FLUE ...
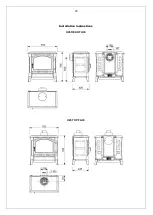
Page 27: ...27 Installation instructions S35 REAR FLUE S35 TOP FLUE ...
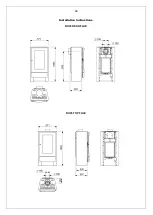
Page 28: ...28 Installation instructions RH35 REAR FLUE RH35 TOP FLUE ...
Page 29: ...29 Installation instructions H45 REAR FLUE H45 TOP FLUE ...
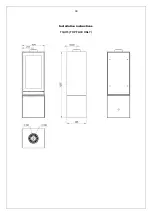
Page 30: ...30 Installation instructions TQH15 TOP FLUE ONLY ...
Page 31: ...31 Installation instructions TQH35 ...
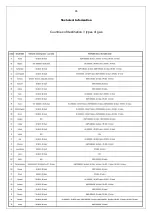
Page 35: ...35 Technical Information Countries of destination types of gas ...


