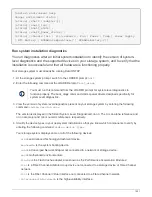

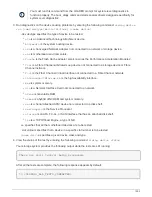

You must run this command from the LOADER prompt for system-level diagnostics to
function properly. The boot_diags command starts special drivers designed specifically for
system-level diagnostics.
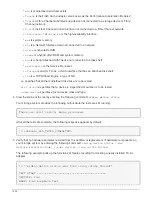
3. Run diagnostics on the device causing problems by entering the following command:
sldiag device
run [-dev devtype|mb|slotslotnum] [-name device]
◦
-dev
devtype
specifies the type of device to be tested.
▪
ata
is an Advanced Technology Attachment device.
▪
bootmedia
is the system booting device..
▪
cna
is a Converged Network Adapter not connected to a network or storage device.
▪
env
is motherboard environmentals.
▪
fcache
is the Flash Cache adapter, also known as the Performance Acceleration Module 2.
▪
fcal
is a Fibre Channel-Arbitrated Loop device not connected to a storage device or Fibre
Channel network.
▪
fcvi
is the Fiber Channel Virtual Interface not connected to a Fibre Channel network.
▪
interconnect
or
nvram-ib
is the high-availability interface.
▪
mem
is system memory.
▪
nic
is a Network Interface Card not connected to a network.
▪
nvram
is nonvolatile RAM.
▪
nvmem
is a hybrid of NVRAM and system memory.
▪
sas
is a Serial Attached SCSI device not connected to a disk shelf.
▪
serviceproc
is the Service Processor.
▪
storage
is an ATA, FC-AL, or SAS interface that has an attached disk shelf.
▪
toe
is a TCP Offload Engine, a type of NIC.
◦
mb
specifies that all the motherboard devices are to be tested.
◦
`slot`
slotnum
specifies that a device in a specific slot number is to be tested.
◦
-name
device
specifies a given device class and type.
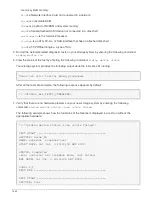
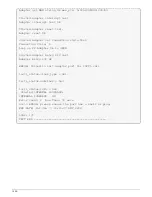
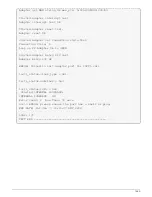
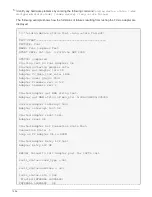
4. View the status of the test by entering the following command:
sldiag device status
Your storage system provides the following output while the tests are still running:
There are still test(s) being processed.
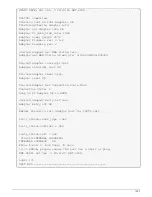
After all the tests are complete, the following response appears by default:
*> <SLDIAG:_ALL_TESTS_COMPLETED>
1455
Summary of Contents for AFF A700
Page 4: ...AFF and FAS System Documentation 1...
Page 208: ...3 Close the controller module cover and tighten the thumbscrew 205...
Page 248: ...2 Close the controller module cover and tighten the thumbscrew 245...
Page 308: ...Power supply Cam handle release latch Power and Fault LEDs Cam handle 305...
Page 381: ...Power supply Cam handle release latch Power and Fault LEDs Cam handle 378...
Page 437: ...1 Locate the DIMMs on your controller module 434...
Page 605: ...602...
Page 1117: ...3 Close the controller module cover and tighten the thumbscrew 1114...
Page 1157: ...2 Close the controller module cover and tighten the thumbscrew 1154...
Page 1228: ...Power supply Cam handle release latch Power and Fault LEDs Cam handle 1225...
Page 1300: ...Power supply Cam handle release latch Power and Fault LEDs Cam handle 1297...
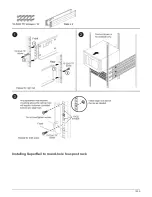
Page 1462: ...Installing SuperRail to round hole four post rack 1459...
Page 1602: ...1599...
Page 1630: ...1627...
Page 1634: ...Orange ring on horizontal bracket Cable chain 1631...
Page 1645: ...Guide rail 1642...
Page 1669: ...Attention LED light on 1666...