NETAVIS Observer 4.6 User Manual (October 2015)
Page 38 of 204
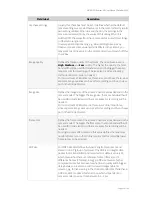
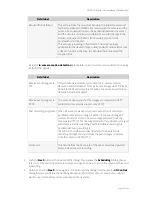
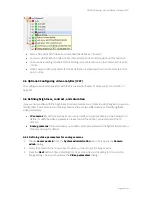
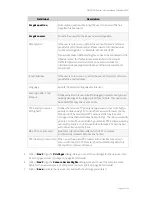
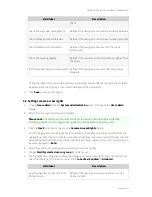
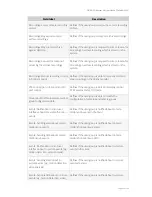
Set your values:
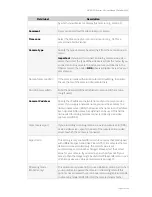
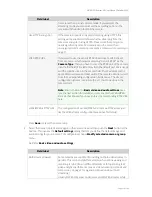
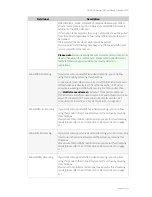
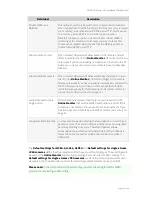
Field label
Description
Input handling enabled
Select this check box if you want to process the state of the digital
input-contact port of the camera.
Input poll interval (msec) The poll interval defines how often the state of the input port is
checked. Minimum time is 500 milliseconds.
Output handling enabled Select this check box if you want to enable switching the digital
output port of the camera from within view port menu.
7.
Push the
Save
button at the bottom of the dialog.
4.2.2 Duplicating an existing camera
Duplicating an existing camera creates an exact duplicate of the camera with all settings copied. This
is useful when you have more than one camera of the same type or with equal/similar settings (like
recording or video analytics settings).
With duplicating camera you can dramatically reduce the set up time for systems with many cameras
with similar settings.
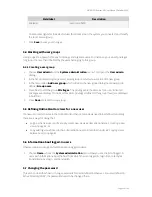
Here is how you can do that:
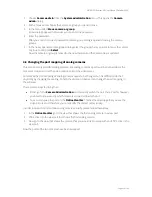
1.
Choose
Camera admin
from the
System administration
menu. This opens the
Camera
admin
dialog.
2.
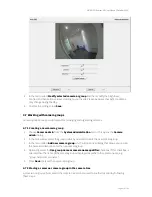
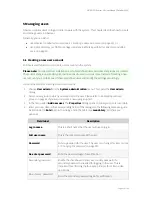
In the camera tree select the camera you would like to duplicate/clone.
3.
Choose
Duplicate camera
from the menu.
Now a new camera named as the existing camera with "(copy)" appended has been created.
4.
Set the basic properties like name and IP address.
5.
Optionally modify other parameters as needed (see
4.2.1 Adding a camera from scratch
on page
31 for details).
6.
Push the
Save
button at the bottom of the dialog.
Note:
Only local cameras and remote camera groups can be duplicated. It is not possible to duplicate
individually mounted remote cameras.
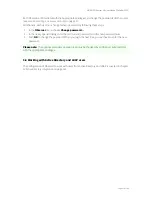
4.3 Setting up the camera recording archive
The configuration of camera recordings is covered in section
7.1 Programming archive recordings
on
page 71.

