


Web Graphical User In-
terface (GUI) for ESMS
201
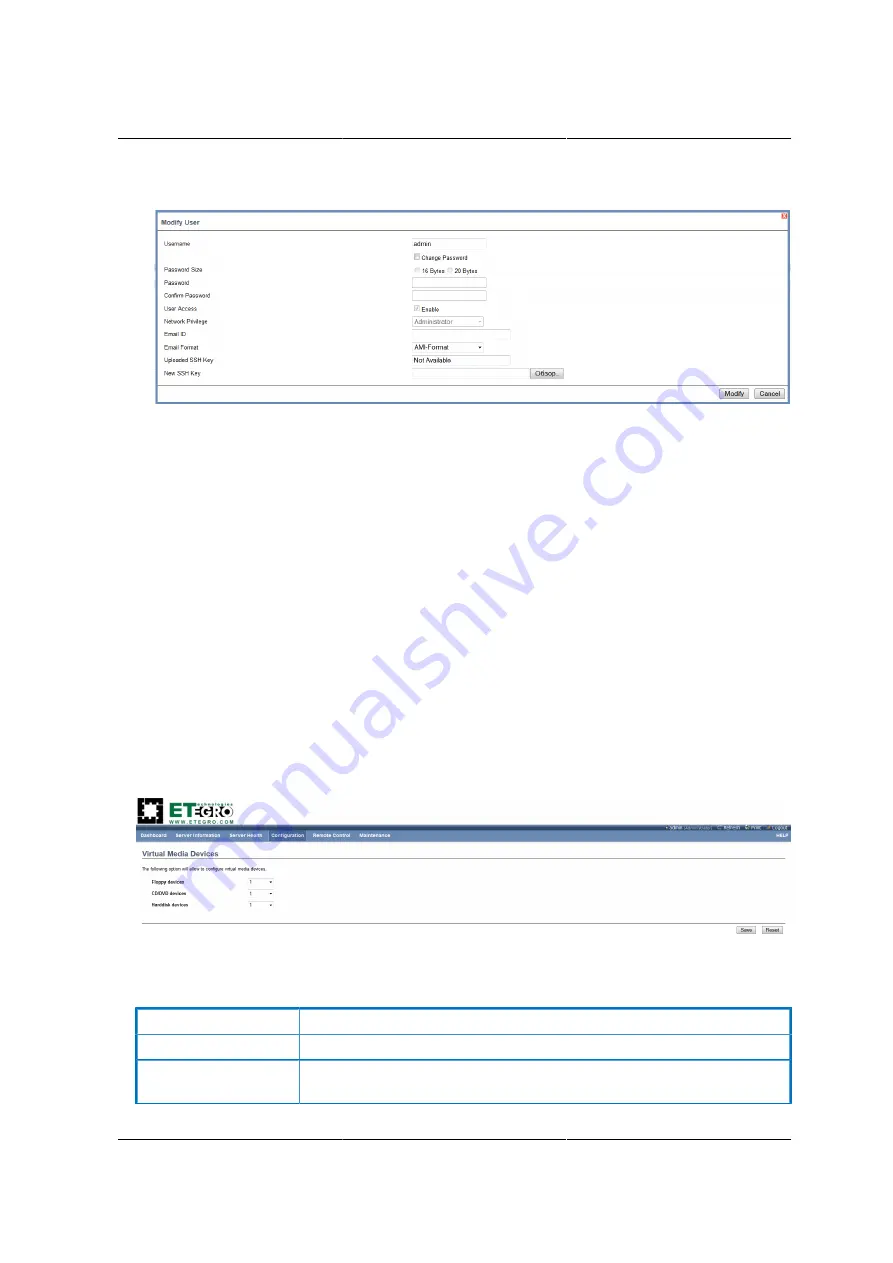
Figure 8.36. Modify User Page
15.Edit the required fields.
16.To change the password, enable the
Change Password
option.
17.After editing the changes, click
Modify
to return to the users list page.
Delete an existing User
18.To delete an existing user, select the user from the list and click
Delete User
.
8.6.13. Virtual Media
In ESMS GUI, this page to configure Virtual Media device settings. If you change the configura-
tion of the virtual media in this page, it shows the appropriate device in the JViewer Vmedia dialog.
For example, if you select two floppy devices in Con- figure Virtual Media page, then in JViewer >
Vmedia, you can view two floppy device panel.
To open Virtual Media page, click
Configuration > Virtual Media
from the main menu. A sample
screenshot of User Management Page is shown in the screenshot below.
Figure 8.37. Configure Virtual Media Devices
The following fields are displayed in this page.
Table 8.22. Configure Virtual Media Devices
ITEM
DESCRIPTION
Floppy devices
The number of floppy devices that support for Virtual Media redirection.
CD/DVD devices
The number of CD/DVD devices that support for Virtual Media redirec-
tion.
Summary of Contents for Demos R130 M2
Page 1: ...Netberg Demos R130 M2 server...
Page 2: ...Netberg Demos R130 M2 server...
Page 11: ...Netberg Demos R130 M2 server xi 9 5 Aligning the Rails 222...
Page 14: ...1 Chapter 1 Netberg Demos R130 M2 server...
Page 31: ...Netberg Demos R130 M2 server 18 On HDD failure HDD Fault Amber Off No failure detected...
Page 32: ...19 Chapter 2 Installing hardware...
Page 57: ...Installing hardware 44 Figure 2 36 Installing the Air Duct...
Page 60: ...Installing hardware 47 Figure 2 40 Connecting the Fan Assembly Cables...
Page 143: ...130 Chapter 6 Server Management Software...
Page 169: ...156 Chapter 8 Web Graphical User Interface GUI for ESMS...
Page 230: ...217 Chapter 9 Rail Kit Assembly...
Page 236: ...223 Chapter 10 Troubleshooting...


