


Installing Hardware
25
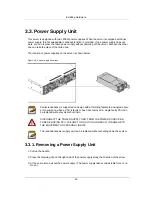
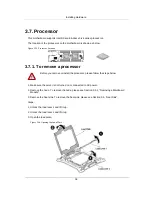
3.3. Power Supply Unit
This server is designed with two 1400W power supplies. When the server is equipped with dual
power supply, the hot-swappable redundant function is provided. If one power supply does not
work, you can replace the failed power supply without powering off the server, because the other
one can take the place of the failed one.
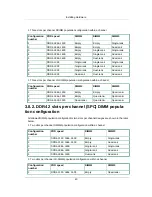
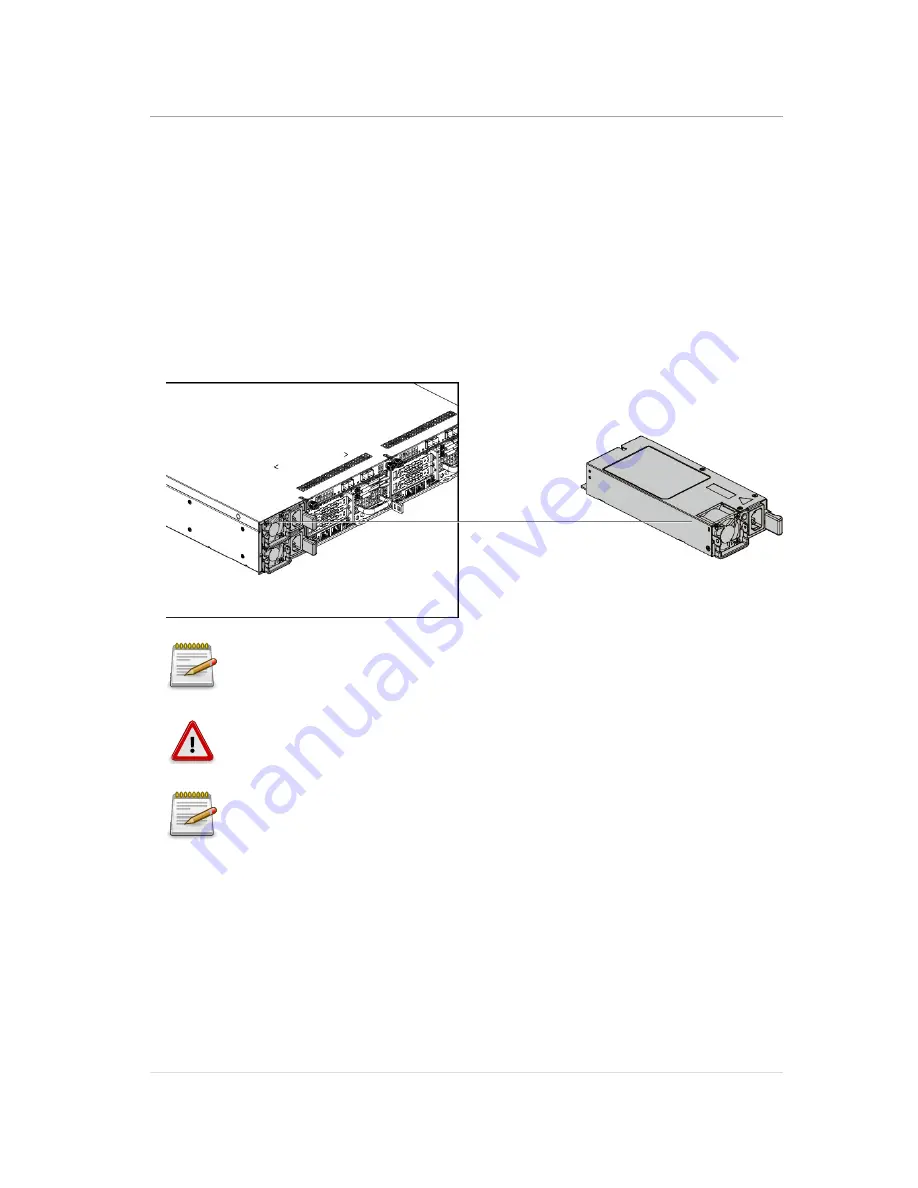
The location of power supplies on the server is shown below:
Figure 3.4. Power Supply Locations
Partial redundancy is supported on design with a throttling feature to downgrade pow-
er consumption when a PSU is faulty or has been removed. A single faulty PSU can
be replaced without system shut down.
DISCONNECT THE POWER SUPPLY UNIT FROM THE POWER SOURCE BE-
FORE REMOVING PSU. FAILURE TO DO SO COULD RESULT IN DAMAGE TO
THE EQUIPMENT OR PERSONAL INJURY.
The redundant power supply unit can be replaced without shutting down the system.
3.3.1. Removing a Power Supply Unit
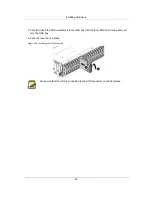
1. Pull up the handle.
2. Press the retaining clip on the right side of the power supply along the direction of the arrow.
3. At the same time, pull out the power supply. (The power supply takes considerable force to re-
move.)
Summary of Contents for Demos R420 M2
Page 1: ...Netberg Demos R420 M2 server User manual...
Page 2: ...Netberg Demos R420 M2 server User manual...
Page 12: ...1 Chapter 1 Safety Information...
Page 19: ...8 Chapter 2 About the Server...
Page 32: ...21 Chapter 3 Installing Hardware...
Page 93: ...82 Chapter 4 Connectors...
Page 95: ...Connectors 84 Figure 4 1 Mainboard Overview...
Page 108: ...Connectors 97 4 9 Sensor Board Connectors Figure 4 13 Sensor Board 1 I2C Connector...
Page 109: ...98 Chapter 5 Cable Routing...
Page 110: ...Cable Routing 99 5 1 Cable Routing for 12 x 3 5 Hard Drives Configuration...
Page 111: ...Cable Routing 100 5 2 Cable Routing for 24 x 2 5 Hard Drives Configuration...
Page 112: ...101 Chapter 6 BIOS...
Page 125: ...BIOS 114 6 3 1 5 CPU Advanced PM Tuning...
Page 172: ...BIOS 161 6 4 2 View FRU Information...
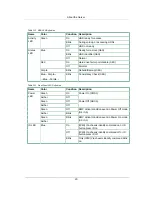
Page 176: ...BIOS 165 Menu Fields Settings Comments Network Device BBS Priorities 1...
Page 182: ...171 Chapter 7 Rail Kit Assembly...
Page 186: ...Rail Kit Assembly 175 Figure 7 3 Tightening the Thumbscrews...
Page 187: ...176 Chapter 8 Troubleshooting...


