Security Gateway Manual
Netgate-4100
3.
of the Netgate device.
4. Insert the memstick into an open USB port and boot the system.
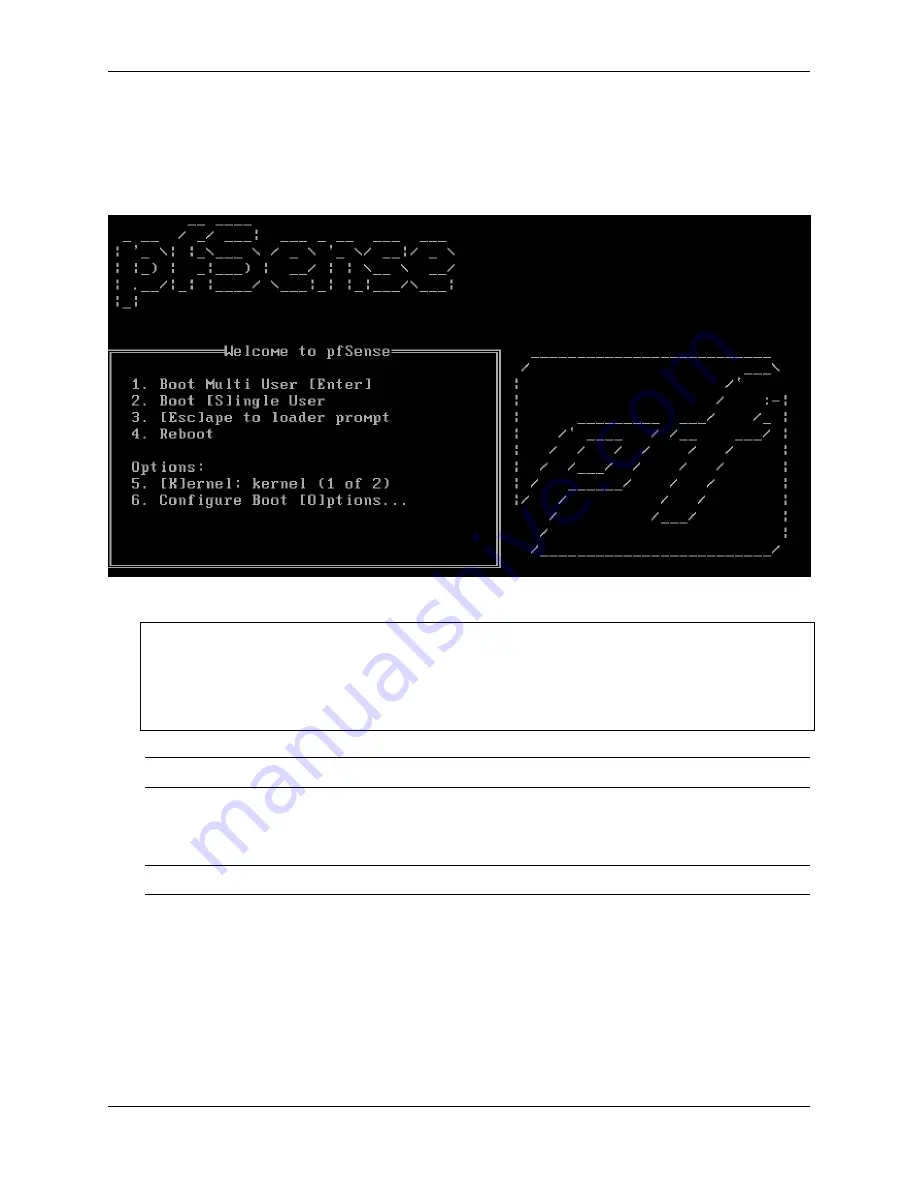
5. After a minute the pfSense
®
Plus loader menu will be displayed with a 3 second timer. Either allow the menu
to timeout or press
1
(the default) to continue.
6. Console options are presented for serial console installation. The default option is
vt100
.
Please choose the appropriate terminal type for your system.
Common console types are:
ansi
Standard ANSI terminal
vt100
VT100 or compatible terminal
xterm
xterm terminal emulator (or compatible)
cons25w
cons25w terminal
Note:
Choosing the default
vt100
will work, but using
cons25w
on the Netgate 4100 will be easier to read.
7. The installer will automatically launch and several options will be presented. On Netgate firewalls, choosing
Enter
for the default options will complete the installation process.
Note:
Options such as the type of disk partition can be modified through this installation if required.
8. The installer will then prompt to choose the type of system being installed, which pre-configures device-specific
defaults. Choose the option that exactly matches the unit being reinstalled. If the model is unknown, check the
sticker on the bottom of the unit.
9. Once the installer is finished, choose
No
and press
Enter
to skip going to a shell.
10. The installer will then prompt to Reboot the system. Select
Reboot
and press
Enter
. The system will shutdown
and reboot.
© Copyright 2022 Rubicon Communications LLC
32


