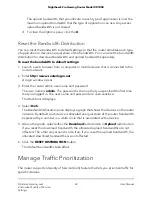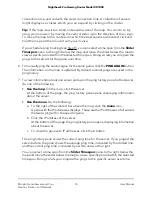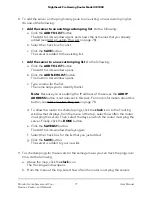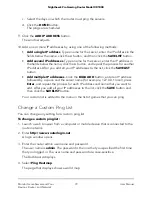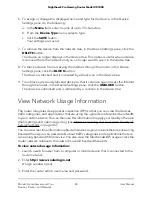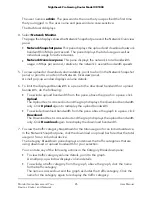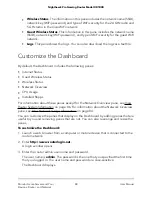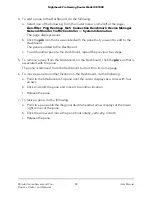
To view the ping history for a server:
1. Launch a web browser from a computer or mobile device that is connected to the
router network.
2. Enter http://www.routerlogin.net.
A login window opens.
3. Enter the router admin user name and password.
The user name is admin. The password is the one that you specified the first time
that you logged in. The user name and password are case-sensitive.
The Dashboard displays.
4. Select Ping Heatmap.
5. From the Select Ping Target menu, select a game or a custom ping list that you
added before.
The detected server or servers display on the map.
Tip: If the map view is too small, increase the size of the map. You can do so by
using your mouse or by moving the vertical slider up in the direction of the + sign.
To move the map to the continent in which the best servers are located, click and
hold the map and then move it with your mouse.
If you schedule ping tracking (see Ping Game Servers for a Specific Game on page
75), you can select a time span from the Slider Timespan menu to the right below
the map and move the slider below the map to view a specific period within the
selected time span. Doing so lets you compare the pings to the servers for the game
over time.
6. To open the ping history pane for a server, do one of the following.
•
Use the map. On the map, click the server.
At the bottom of the page, the ping history pane opens, displaying information
about the server.
•
Use the menu. Do the following:
a. To the right of the colored bar above the map, click the menu icon.
A pane with the IP addresses displays. These are the IP addresses of all servers
that were pinged for the specific game.
b. Click the IP address of the server.
At the bottom of the page, the ping history pane opens, displaying information
about the server.
c. To close the pane with IP addresses, click the > button.
User Manual
81
Monitor Game Servers and Your
Devices, Router, and Network
Nighthawk Pro Gaming Router Model XR1000


