Stream Multimedia Files
75
ReadyNAS Duo, NV+, and 1100
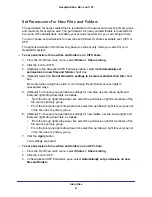
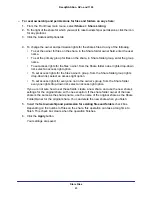
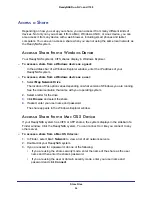
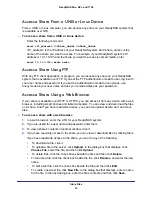
Share Photos With ReadyNAS Photos
ReadyNAS Photos lets you store photos on your ReadyNAS system, create photo albums
with them, and then share them with anyone with an email address.
Get Started with ReadyNAS Photos
You can enable ReadyNAS Photos on your ReadyNAS system, create an account, and then
log in.
To enable ReadyNAS Photos:
1.
From the FrontView main menu, select
Services > Installed Add-ons
.
2.
Select the
ReadyNAS Photos
check box.
3.
Click the
Apply
button.
4.
Click the
Install ReadyNAS Photos
button.
5.
Download and install the software for your computer.
To log in to ReadyNAS Photos:
1.
Launch ReadyNAS Photos.
2.
If you do not have an account, click
Sign Up
, and fill out the form, including a user name
and password.
3.
Enter your user name and password and click the right arrow.
4.
If you see a list of ReadyNAS systems, click the system where you want to store the photos.
If you need to provide a user name and password to access the media share on that
system, enter it in the dialog box that displays and click
Connect
.
Create Photo Albums
You can use ReadyNAS Photos to import photos and create albums from them.
To create a new photo album from individual photos:
1.
In ReadyNAS Photos, click
New Album
.
If you do not see New Album, click
Photos Home
and click
New Album
.
2.
In the Album Name field, enter a name for the new photo album.
3.
Click the folder icon and select the photos to import.
4.
Click the right arrow button.
The photos are imported and the new album displays in your album list.

