ProSafe Wireless-N VPN Firewall SRXN3205 Reference Manual
4-26
Wireless Configuration
v1.0, July 2008
4.
Connect Ethernet cable(s) from the LAN ports on your VPN Firewall to a LAN port on
????your router, switch, or hub.
5.
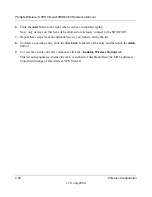
Connect the power adapter to the SRXN3205 and plug the power adapter in to a AC power
outlet. The PWR, Test, LAN, WAN, and Wireless LAN LEDs should light up.
6.
Verify you still have wireless connections to the SRXN3205.
7.
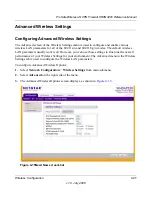
If you want to fine tune the overall performance of the Wireless Settings for your environment,
refer to
“Advanced Wireless Settings” on page 4-27
.
Note:
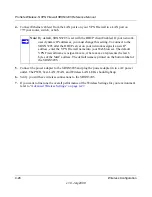
By default, SRXN3205 is set with the DHCP client Enabled. If your network
uses dynamic IP addresses, you must change this setting. To connect to the
SRXN3205 after the DHCP server on your network assigns it a new IP
address, enter the VPN Firewall name into your Web browser. The default
VPN Firewall name is netgearxxxxxx, where xxxxxx represents the last 6
bytes of the MAC address. The default name is printed on the bottom label of
the SRXN3205.


