
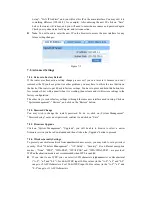

Figure 7-6
Method 1: Button
Push and hold WPS button on back of Router until WPS LED flashes
Push WPS button on wireless network adapter and hold for about 3-5 seconds
A safe connection will be established automatically in a moment
The reverse – pushing and holding WPS button on adapter briefly, then pushing and holding
WPS button on router briefly – may also be utilized
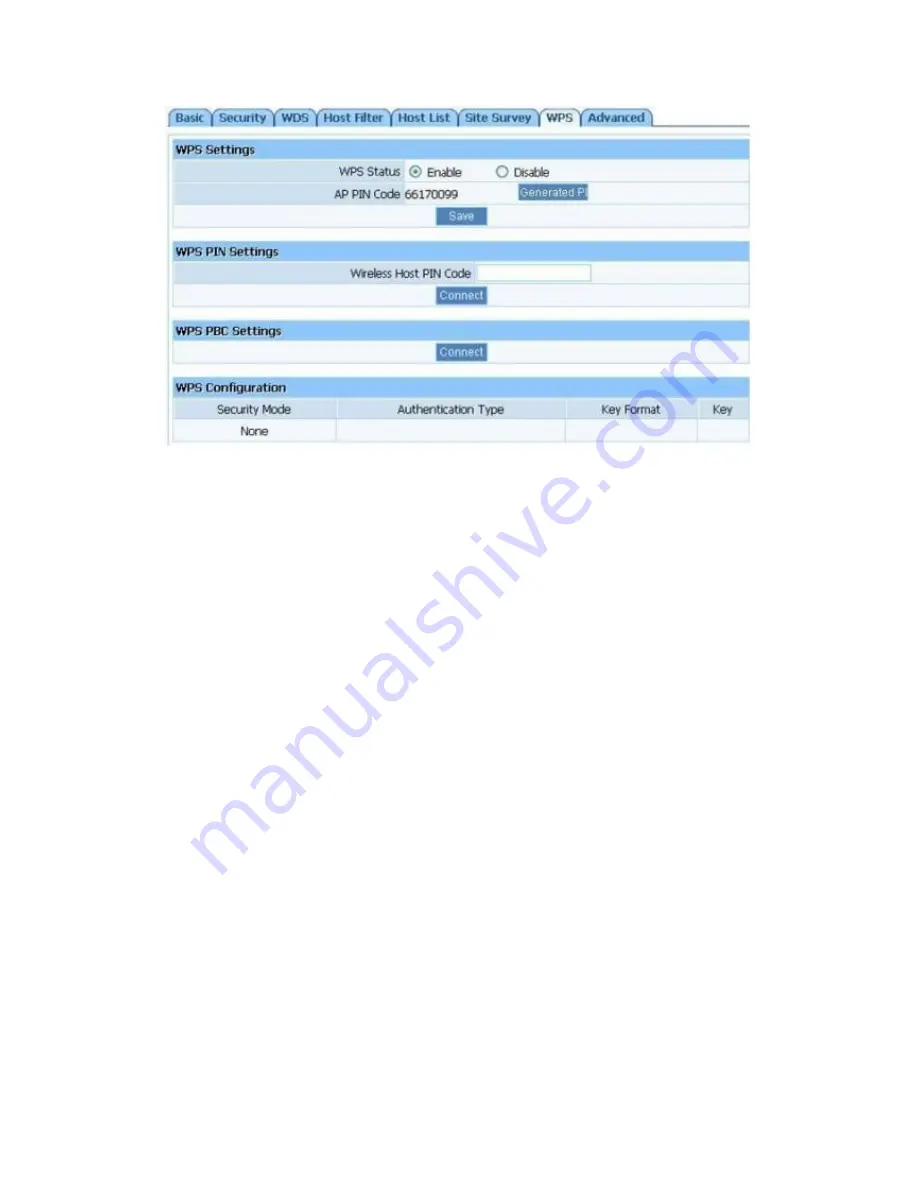
Method 2: PIN
Select this router for connection in your OS network connections or wireless adapter software
settings
Choose to enter the WPS PIN of the router and provide default router WPS PIN printed on
label on bottom of router. This PIN may be changed though, and you may do so/confirm
current PIN in the router's user interface – click “Wireless Management” - “AP Setup” –
“WPS” and you will be able to see the AP PIN as well as generate a new one and save it
Alternatively, you may choose to utilize a WPS PIN provided by your wireless adapter and
enter it in the router in the same part of the user interface - click “Wireless Management” -
“AP Setup” - “WPS” and enter adapter PIN for “Wireless Host PIN Code”.
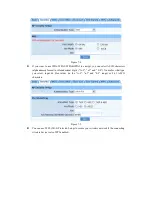
7.2.5. WDS (Wireless Distribution System)
If you are using this router to spread the wireless coverage of another router, or to spread the
coverage to another router, you can use WDS. For this example, WDS will be established between
a router that the MAC address is 00-22-4f-cc-ae-f5 (R1) and another router that the MAC address
is 00-22-4f-bc-af-5d (R2). The MAC address is printed on a label on the bottom of the router, or
may be seem both netis routers. Please follow the steps below, but keep in mind that if one router
in this setup is not netis you should first confirm it is capable of WDS and its interface menu may
be considerably different:
R1:


