10-96 User’s Reference Guide
■
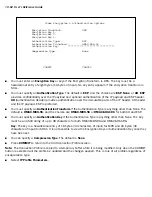
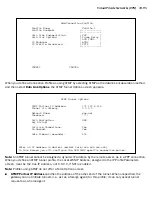
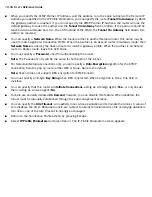
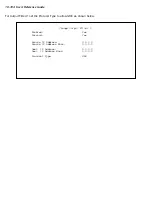
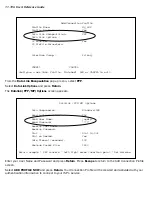
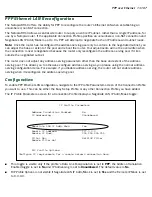
When you specify the ATMP Par tner IP Address, and the address is in the same subnet as the Remote IP
Address you specified in the IP Profile Parameters, you can specify the route (
Tunnel Via Gateway
) by which
the gateway par tner is reached. If you do not specify the ATMP Par tner IP Address, the router will use the
default gateway to reach the par tner and the
Tunnel Via Gateway
field is hidden. If the par tner should be
reached via an alternate por t (i.e., the LAN instead of the WAN), the
Tunnel Via Gateway
field allows this
path to be resolved.
■
You can specify a
Network Name
. When the tunnel par tner is another Netopia router, this name may be
used to match against a Connection Profile. When the par tner is an Ascend router in Gateway mode, then
Network Name
is used by the Ascend router to match a gateway profile. When the par tner is an Ascend
router in Router mode, leave this field blank.
■
You must specify a
Password
, used for authenticating the tunnel.
Note:
The Password entr y will be the same for both ends of the tunnel.
■
For Netopia-to-Netopia connections only, you can specify a
Data Encryption
algorithm for the ATMP
connection from the pop-up menu, either DES or None. None is the default.
Note:
Ascend does not suppor t DES encr yption for ATMP tunnels.
■
You must specify an 8-byte
Key String
when DES is selected. When encr yption is None, this field is
invisible.
■
You can specify that this router will
Initiate Connections
, acting as a foreign agent (
Yes
), or only answer
them, acting as a home agent (
No
).
■
Tunnels are normally initiated
On Demand
; however, you can disable this feature. When disabled, the
tunnel must be manually established through the call management screens.
■
You can specify the
Idle Timeout
, an inactivity timer, whose expiration will terminate the tunnel. A value of
zero disables the timer. Because tunnels are subject to abrupt termination when the underlying datalink is
torn down, use of the Idle Timeout is strongly encouraged.
■
Return to the Connection Profile screen by pressing Escape.
■
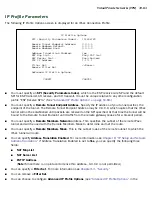
Select
IP Profile Parameters
and press Return. The IP Profile Parameters screen appears.
Summary of Contents for R910
Page 1: ...Netopia R910 Ethernet Router for DSL and Cable Modems User s Reference Guide ...
Page 22: ...4 22 User s Reference Guide ...
Page 30: ...5 30 User s Reference Guide ...
Page 122: ...12 122 User s Reference Guide ...
Page 172: ...A 172 User s Reference Guide ...
Page 186: ...B 186 User s Reference Guide ...
Page 200: ...E 200 User s Reference Guide ...
Page 204: ...F 204 User s Reference Guide ...

