Customizing the Tester for your Network
50
4
If the network or AP has not yet been configured on the
current profile, the
Configure
screen opens; enter the
appropriate credentials on the configuration screen.
for more on configuring
network settings.
5
Click the
Apply
button at the bottom of the screen.
The Tester will run a
Connection
test. Afterwards, the
credentials for the Network or AP are retained in the unsaved
Profile, which is denoted with an asterisk (*) (shown in
NOTE:
Notice that the Profile name at the top left of the
screen has an asterisk because the Profile has not been
saved with the new credentials. Once you enter security
credentials for an SSID (or multiple SSIDs), save them to a
Profile to avoid losing these settings if another Profile is
loaded or if the Tester firmware is updated.
How to: Enter credentials in the Settings menu
1
From the Home Screen, touch the
Settings
button.
2
Select
Networks
.
3
On the
Networks
settings screen, touch
Add Network
.
4
Enter the necessary
SSID
.
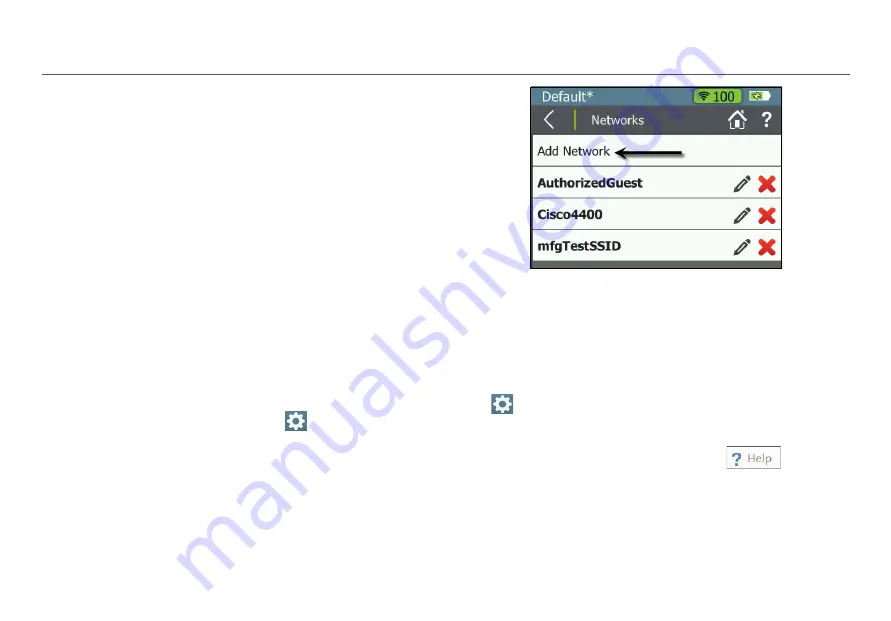
Figure 32. Configured Networks in Settings
5
Configure Network settings as needed.
for more on configuring
network settings.
6
Touch
Apply
to add the credentials to the Profile. You
should see your new network’s name listed in
Settings > Networks
.
How to: Enter credentials in AirCheck G2 Manager
NOTE:
See the AirCheck G2 Manager Help
for
additional instructions.
1
Connect the Tester to a PC with AirCheck G2 Manager
installed.
2
Open the AirCheck G2 Manager application.


