Chapter 5: User Tests
Wired Performance Test
137
To Configure the Source OneTouch AT Analyzer
1
Connect AC power to the OneTouch AT analyzer. This ensures
that the unit will not run out of battery power, and will not
automatically power-down if a Timeout Period is set.
2
Create a Wired Performance test, and view its setup tab. See
“Adding User Tests” on
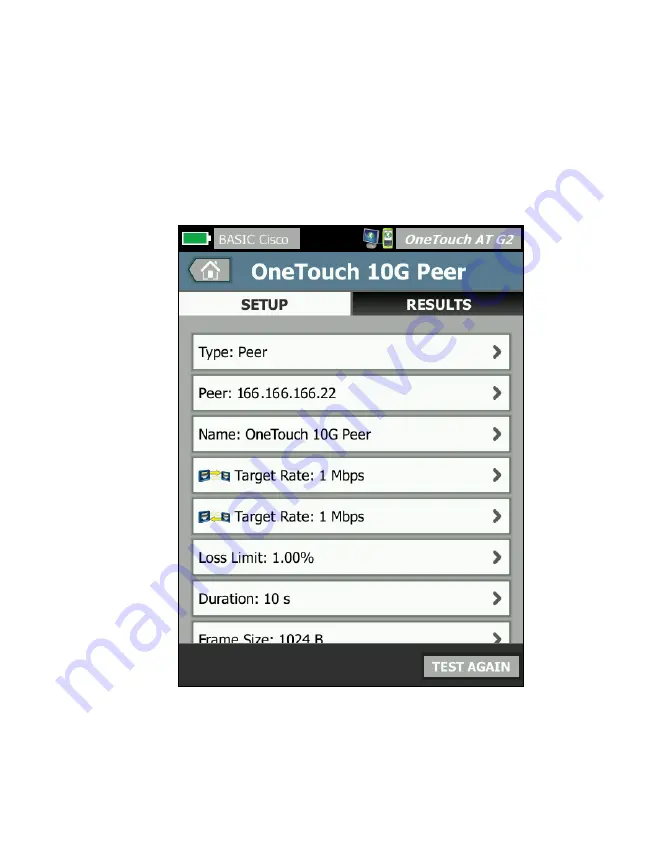
Figure 61. Wired Performance Test Setup Tab
3
Tap the
Type
button. Set the type to
Peer
or
Reflector
Peer or Reflector
- Tap this button and enter the IP address of
Summary of Contents for OneTouch AT G2
Page 48: ...OneTouch AT and OneTouch AT G2 User Manual 32 ...
Page 58: ...OneTouch AT and OneTouch AT G2 User Manual 42 ...
Page 133: ...Chapter 5 User Tests Web HTTP Test 117 Figure 55 Web HTTP Test Results ...
Page 176: ...OneTouch AT and OneTouch AT G2 User Manual 160 ...
Page 182: ...OneTouch AT and OneTouch AT G2 User Manual 166 ...
Page 207: ...Chapter 7 Wired Analysis 191 ...
Page 208: ...OneTouch AT and OneTouch AT G2 User Manual 192 ...
Page 224: ...OneTouch AT and OneTouch AT G2 User Manual 208 Figure 87 AP Details ...
Page 291: ...Chapter 9 Tools Testing Tools 275 Figure 118 Wi Fi Network Validation Results Tab ...
Page 334: ...OneTouch AT and OneTouch AT G2 User Manual 318 ...
Page 356: ...OneTouch AT and OneTouch AT G2 User Manual 340 ...
Page 358: ...OneTouch AT and OneTouch AT G2 User Manual 342 2 Scroll down to the File Tools section ...
Page 370: ...OneTouch AT and OneTouch AT G2 User Manual 354 ...
Page 374: ...OneTouch AT and OneTouch AT G2 User Manual 358 ...
Page 382: ...OneTouch AT and OneTouch AT G2 User Manual 366 ...
Page 395: ...379 Notes ...
Page 396: ...OneTouch AT and OneTouch AT G2 User Manual 380 Notes ...


