OneTouch AT and OneTouch AT G2
User Manual
296
3
In the
Testing Tools
section, scroll down and tap
FiberInspector/WebCam
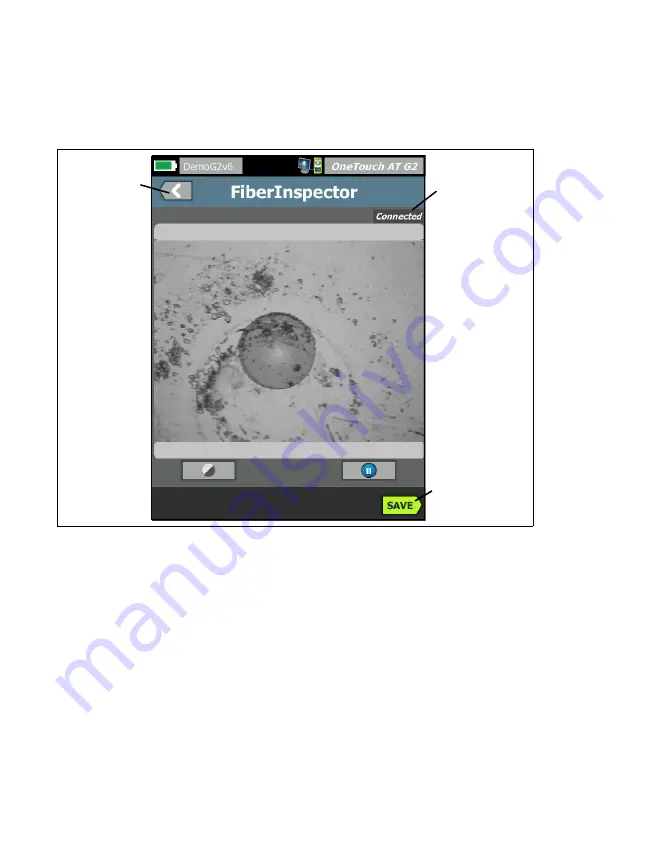
. The image from the camera appears
on the OneTouch analyzer’s screen.
Figure 126. FiberInspector Image of an Endface
4
To adjust the focus, turn the knob on the probe clockwise or
counterclockwise.
Note
The button on the DI-1000 probe has no function
when you use the probe with the analyzer.
5
Tap the
Save
button to save the screen image. The image on
the screen is paused (it becomes still). The image is saved in
.PNG format to the /internal/screens directory.
Tap to Exit
Shows if
camera is
connected
Save still
image
Summary of Contents for OneTouch AT G2
Page 48: ...OneTouch AT and OneTouch AT G2 User Manual 32 ...
Page 58: ...OneTouch AT and OneTouch AT G2 User Manual 42 ...
Page 133: ...Chapter 5 User Tests Web HTTP Test 117 Figure 55 Web HTTP Test Results ...
Page 176: ...OneTouch AT and OneTouch AT G2 User Manual 160 ...
Page 182: ...OneTouch AT and OneTouch AT G2 User Manual 166 ...
Page 207: ...Chapter 7 Wired Analysis 191 ...
Page 208: ...OneTouch AT and OneTouch AT G2 User Manual 192 ...
Page 224: ...OneTouch AT and OneTouch AT G2 User Manual 208 Figure 87 AP Details ...
Page 291: ...Chapter 9 Tools Testing Tools 275 Figure 118 Wi Fi Network Validation Results Tab ...
Page 334: ...OneTouch AT and OneTouch AT G2 User Manual 318 ...
Page 356: ...OneTouch AT and OneTouch AT G2 User Manual 340 ...
Page 358: ...OneTouch AT and OneTouch AT G2 User Manual 342 2 Scroll down to the File Tools section ...
Page 370: ...OneTouch AT and OneTouch AT G2 User Manual 354 ...
Page 374: ...OneTouch AT and OneTouch AT G2 User Manual 358 ...
Page 382: ...OneTouch AT and OneTouch AT G2 User Manual 366 ...
Page 395: ...379 Notes ...
Page 396: ...OneTouch AT and OneTouch AT G2 User Manual 380 Notes ...


