&KDSWHU&RQILJXULQJWKH1HW6FUHHQIRUWKH)LUVW7LPH
1HW6FUHHQ
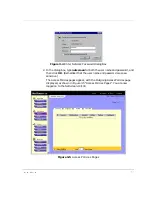
6. Enter the IP address and netmask for administration of the
NetScreen-10/100, and then click OK.
The IP address must be a valid and available IP address on your local
network and the netmask must be an appropriate value for your local
network.
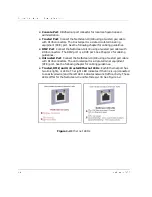
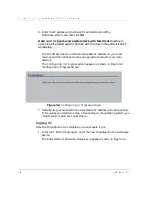
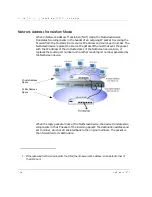
The Configuring in Progress screen appears, as shown in Figure 3-3
“Configuring in Progress Screen”.
Figure 3-3 Configuring in Progress Screen
7. Reconfigure your administration workstation IP address and netmask back
to the values you recorded in step 1. Depending on the operating system, you
might have to restart your workstation.
/RJJLQJ2Q
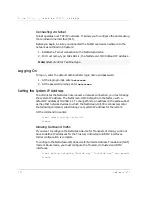
Once the IP configuration is complete, you must again log on.
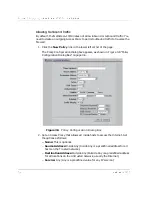
1. In the URL field of the browser, enter the new IP address for the NetScreen
device.
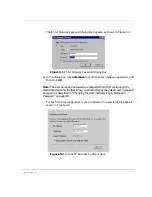
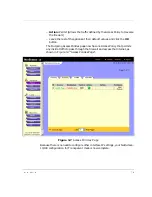
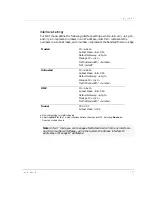
The Enter Network Password dialog box re-appears, shown in Figure 3-4.
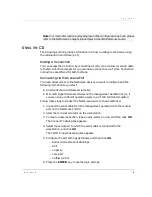
Note: Select the Synchronize system clock with this client checkbox to
synchronize the NetScreen-10/100 clock with the clock in the administrator’s
workstation.
Summary of Contents for NetScreen-10 Series
Page 1: ...1 76 5 1 QVWDOOHU V XLGH 9HUVLRQ 3 1 5HY...
Page 4: ...LY 1HW6FUHHQ...
Page 14: ...KDSWHU DUGZDUH DQG 6RIWZDUH HVFULSWLRQ 1HW6FUHHQ...
Page 20: ...KDSWHU RQQHFWLQJ WKH 1HW6FUHHQ WR WKH 1HWZRUN 1HW6FUHHQ...
Page 38: ...KDSWHU RQILJXULQJ WKH 1HW6FUHHQ IRU WKH LUVW 7LPH 1HW6FUHHQ...
Page 44: ...SSHQGL 6DIHW 5HFRPPHQGDWLRQV DQG DUQLQJV 1HW6FUHHQ...
Page 48: ...QGH 1HW6FUHHQ...

