&KDSWHU&RQILJXULQJWKH1HW6FUHHQIRUWKH)LUVW7LPH
1HW6FUHHQ
&RQQHFWLQJYLD7HOQHW
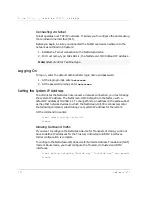
Telnet operates over TCP/IP networks. It allows you to configure the device using
the command line interface (CLI).
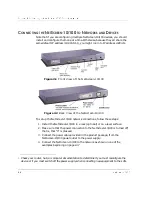
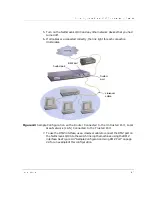
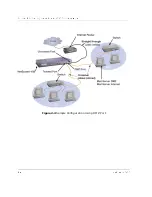
Before you begin, be sure you connected the NetScreen device hardware to the
network as outlined in Chapter 2.
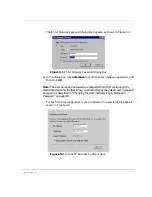
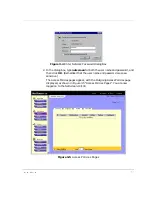
1. Establish a Telnet connection to the NetScreen device.
2. For Host name, type: 192.168.1.1, the NetScreen-10/100 default IP address.
/RJJLQJ2Q
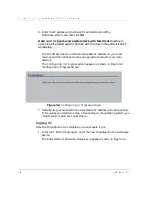
To log on, enter the default administrator login name and password.
1. At the login prompt, enter
netscreen.
2. At the password prompt, enter
netscreen.
6HWWLQJWKH6\VWHP,3$GGUHVV
To administer the NetScreen device over a network connection, you must change
the system IP address. The NetScreen-10/100 ships from the factory with a
default IP address of 192.168.1.1. To change this to an address on the same subnet
as the other network devices to which the NetScreen-10/100 is connected, enter
the following command, substituting your system IP address for the letters:
At the command line enter:
a.set admin sys-ip <a.b.c.d>
b.save
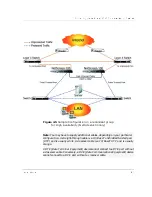
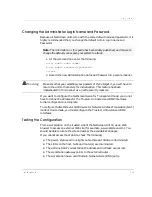
$OORZLQJ2XWERXQG7UDIILF
If you want to configure the NetScreen device for Transparent mode, you do not
have to define IP addresses for the Trusted, Untrusted and DMZ interfaces.
Initial configuration is complete.
To configure the NetScreen-10/100 device for Network Address Translation (NAT)
mode or Route mode, you must configure the Trusted, Untrusted and DMZ
interfaces.
a.set policy outgoing “inside any” “outside any” any permit
b.save
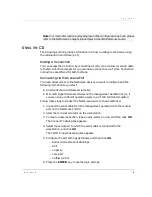
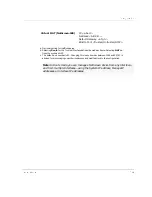
Note: Select vt100 for Terminal type.
Summary of Contents for NetScreen-10 Series
Page 1: ...1 76 5 1 QVWDOOHU V XLGH 9HUVLRQ 3 1 5HY...
Page 4: ...LY 1HW6FUHHQ...
Page 14: ...KDSWHU DUGZDUH DQG 6RIWZDUH HVFULSWLRQ 1HW6FUHHQ...
Page 20: ...KDSWHU RQQHFWLQJ WKH 1HW6FUHHQ WR WKH 1HWZRUN 1HW6FUHHQ...
Page 38: ...KDSWHU RQILJXULQJ WKH 1HW6FUHHQ IRU WKH LUVW 7LPH 1HW6FUHHQ...
Page 44: ...SSHQGL 6DIHW 5HFRPPHQGDWLRQV DQG DUQLQJV 1HW6FUHHQ...
Page 48: ...QGH 1HW6FUHHQ...

