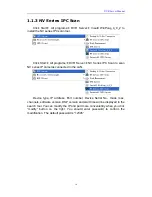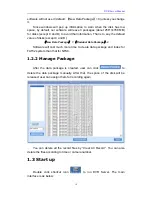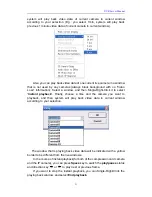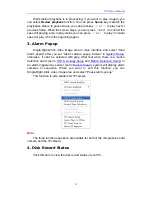
DVR Server Manual
28
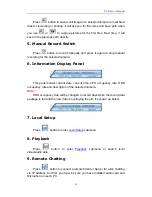
Press
button to save a still image of
a selected camera to local hard
disk for reviewing or printing. It will ask you for file name and save path when
you use
or
to capture pictures for the first time. Next time, it will
save to the previous path directly.
5.
Manual Record Switch
Press
button to record manually and press it again to stop manual
recording for the selected camera.
6.
Information Display Panel
This panel shows
current date, current time, CPU occupancy rate, HDD
occupancy rate and description of the selected camera.
Note:
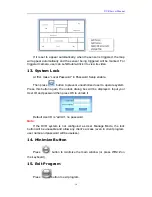
HDD occupancy rate will be changed to record days when the record data
package is full and the new data is overlaying the old. It’s shown as below.
7.
Local Setup
Press
button to enter
Local Setup
submenu.
8.
Playback
Press
button to enter
Playback
submenu to search local
video/audio data.
9.
Remote Chatting
Press
button to connect a remote Client or Server for a live chatting
via IP address, but first, you must be sure you have installed audio card and
Microphone in each PC.

