Page 74/ 191
10.19 Interleaved Image
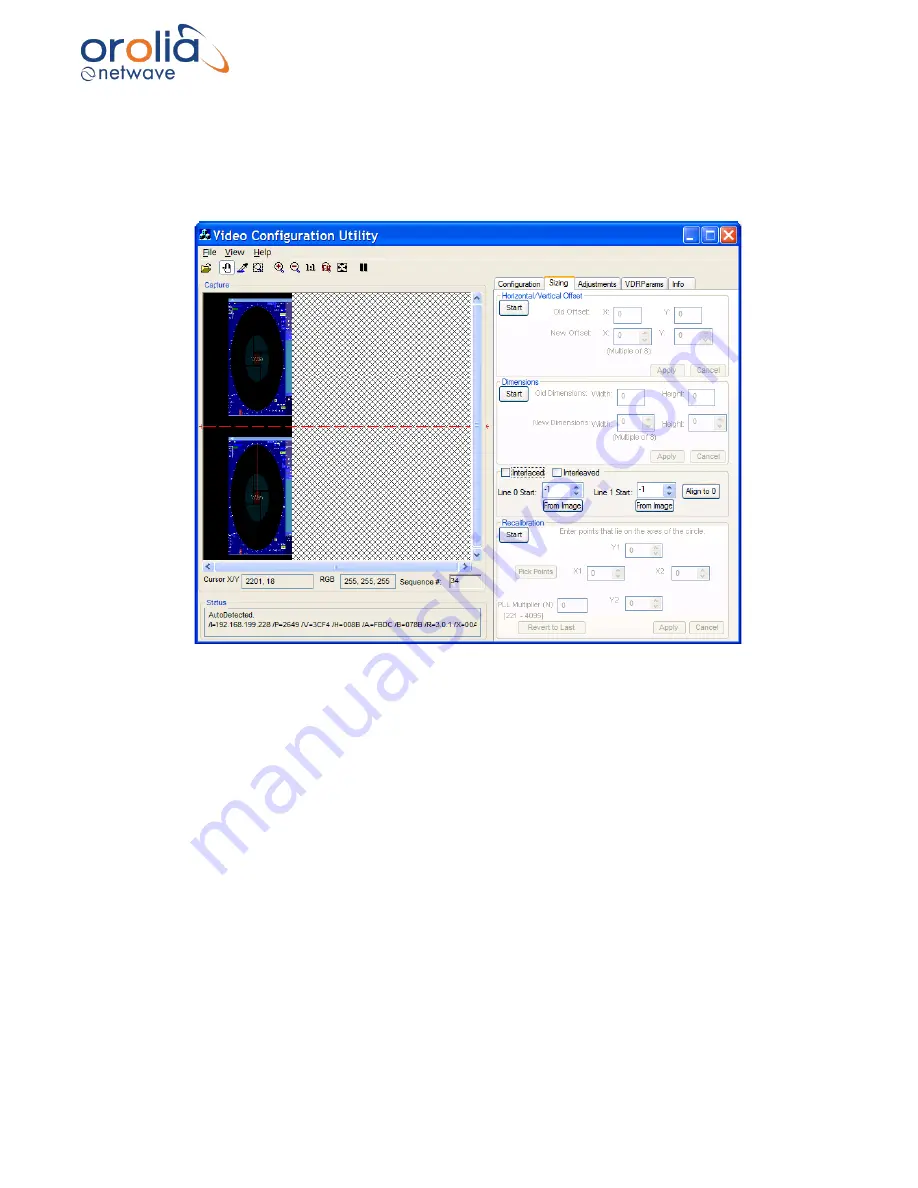
If the captured image has
a resolution of 1600 x 1200 pixels or greater
, it may appear repeated
within the Capture window as below. To correct this image, it must be properly interleaved.
Complete the following steps:
Figure 10.19.1 - Interleaved capture
1.
Click the Sizing tab to open the Sizing page.
2.
Click the Start button in the Horizontal/Vertical Offset section.
3.
Use the New Offset X scroll box and Y scroll box to change the horizontal and vertical offsets
to move the image as close to the top left hand corner of the Capture window as possible,
as given above in the Offset adjustment section.
4.
With the image in place, and using the Zooming options, determine the top edge of both
images. Click the “From Image” under Line 0 Start to select the uppermost pixel for the top
image and
click the “From Image” under Line 1 Start to select the top edge for the bottom
image.
Note:
Line 0 Start should usually be left at 0 and Line 1 Start should be adjusted.
Summary of Contents for NW6000
Page 1: ......
Page 91: ...Page 91 191...
Page 92: ...Page 92 191...
Page 120: ...Page 120 191 Figure 17 4 2 Connection figure Digital Module 16 channels...
Page 121: ...Page 121 191 Figure 17 4 3 Connection figure Digital Module 24 channels...
Page 125: ...Page 125 191 Figure 18 4 2 Connection figure Analogue Module 8 channels...
Page 126: ...Page 126 191 Figure 18 4 3 Connection figure Analogue Module 12 channels...
Page 184: ...Page 184 191 Figure 5 8 1 Sample dataset playback...


