104
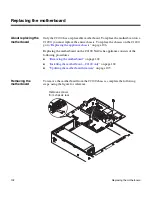
Replacing the motherboard
Installing the
motherboard—
C2100 only
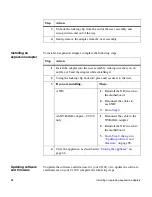
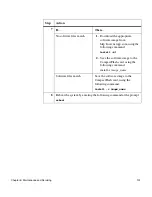
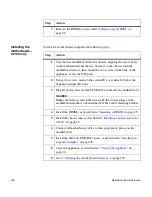
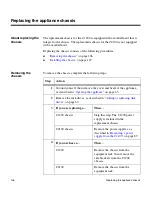
To install a motherboard, complete the following steps.
7
Remove the DIMMs, as described in “
Removing a DIMM
” on
page 92.
Step
Action
Step
Action
1
Seat the new motherboard into the chassis, aligning the screw holes
in the motherboard and chassis. Secure it to the chassis with the
motherboard screws, then attach the two screws on the back of the
appliance, below the NIC ports.
2
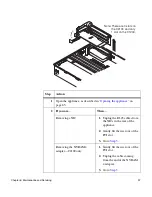
Using two screws, reattach the system ID cover directly below the
expansion adapter ID ports.
3
Plug all power wires and the SCSI ribbon cable into the motherboard.
Caution
Make sure that you match the wires with the correct plugs on the
motherboard and have attached the ATA Flex cable retaining bracket.
4
Install the DIMMs, as described in “
Installing a DIMM
” on page 93.
5
Install the chassis fans, as described in “
Installing a chassis fan in the
C2100
” on page 83.
6
Connect all motherboard cables to their appropriate places on the
motherboard.
7
Install the NIC and NVRAM 4 risers, as described in “
Installing an
expansion adapter
” on page 98.
8
Close the appliance, as described in “
Closing the appliance
” on
page 66.
9
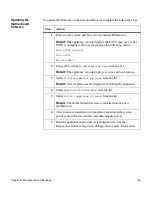
Go to “
Updating the motherboard firmware
” on page 105.
Summary of Contents for C1200 NetCache
Page 10: ...x Preface...


