Chapter 6: Maintenance and Servicing
71
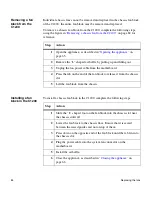
Installing a disk in a
single-disk C1200
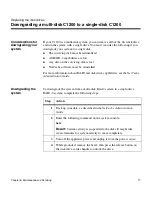
To install the replacement disk drive in the single-disk C1200 system, complete
the following steps.
Step
Action
1
Back up your data, as described in the
NetCache Administration
Guide
.
2
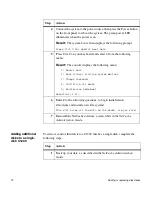
Enter the following command on the system console:
halt
Result:
System activity is suspended to the disks. It might take
several minutes for system activity to cease completely.
3
Turn off the appliance power and unplug it from the power source.
4
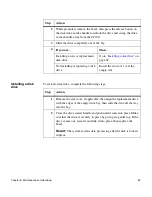
While grounded, remove the bezel, then press the release button on
the disk drive carrier handle to unlock the drive.
5
Swing the drive carrier handle away from the appliance and slide the
drive out of the disk drive bay.
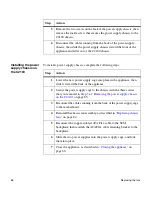
Step
Action
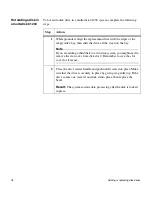
1
Make sure that the system is off and unplugged from the power
source. If it is not, complete the shutdown and power-off steps
described in “
Removing a disk in a single-disk C1200
” on page 70.
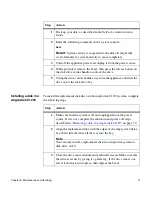
2
Align the replacement drive with the edges of the empty slot 0 drive
bay, then slide the drive all the way into the bay.
Note
You can only install a replacement disk in a single-disk system in
disk drive slot 0.
3
Close the drive carrier handle and push until it seats. Make sure that
the drive is secure by giving it a gentle tug. If the drive comes out,
reseat it and lock it into place, then replace the bezel.
Summary of Contents for C1200 NetCache
Page 10: ...x Preface...


