


42
Configuring for a cluster
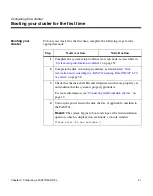
5
Go to the system console for
Node A and answer the
installation questions for that
node, using the information you
collected in the “
page 37. When asked for the
takeover address, make sure that
you enter the IP address for Node
B.
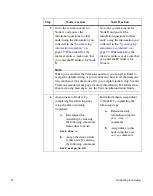
Go to the system console for
Node B and answer the
installation questions for that
node, using the information you
collected in the “
page 37. When asked for the
takeover address, make sure that
you enter the IP address for
Node A.
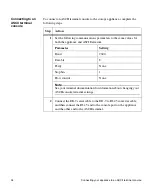
Note
When you encounter the Timezone question, you can press Enter to
accept the default setting, if you do not know how to set the timezone.
You can then set the timezone after you complete initial setup. See the
Timezone manual (man) page for more information. For information
about accessing man pages, see the System Administration Guide.
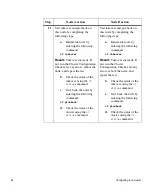
6
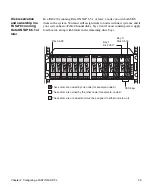
Assign disks to Node A by
completing the following steps,
using the disk ownership
worksheet:
a.
Determine disk
ownership by entering
the following command
from either console:
disk show -v
b.
Assign the disk or disks
to this node by entering
the following command:
disk assign 0a.
NN
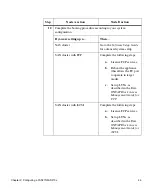
In similar fashion, assign disks
to Node B by completing the
following steps:
a.
Determine disk
ownership using the
disk show -v
command.
b.
Assign disks to this
node using the
disk
assign
command.
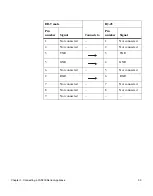
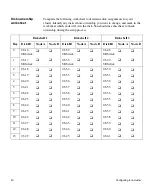
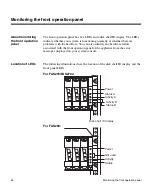
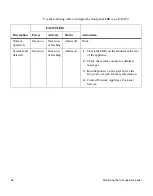
Step
Node A action
Node B action
Summary of Contents for FAS200 Series
Page 4: ...iv Copyright and trademark information...
Page 10: ...x Preface...
Page 76: ...64 Monitoring the CPU module...
Page 126: ...114 Troubleshooting hardware problems...
Page 134: ...122 Feature Update Record...


