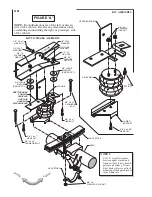
background image

NOTE:

  Both illustrations are of the left, or drivers

side, of the vehicle.  Reverse any orientations when
assembling and installing the right, or passenger, side
of the vehicle.

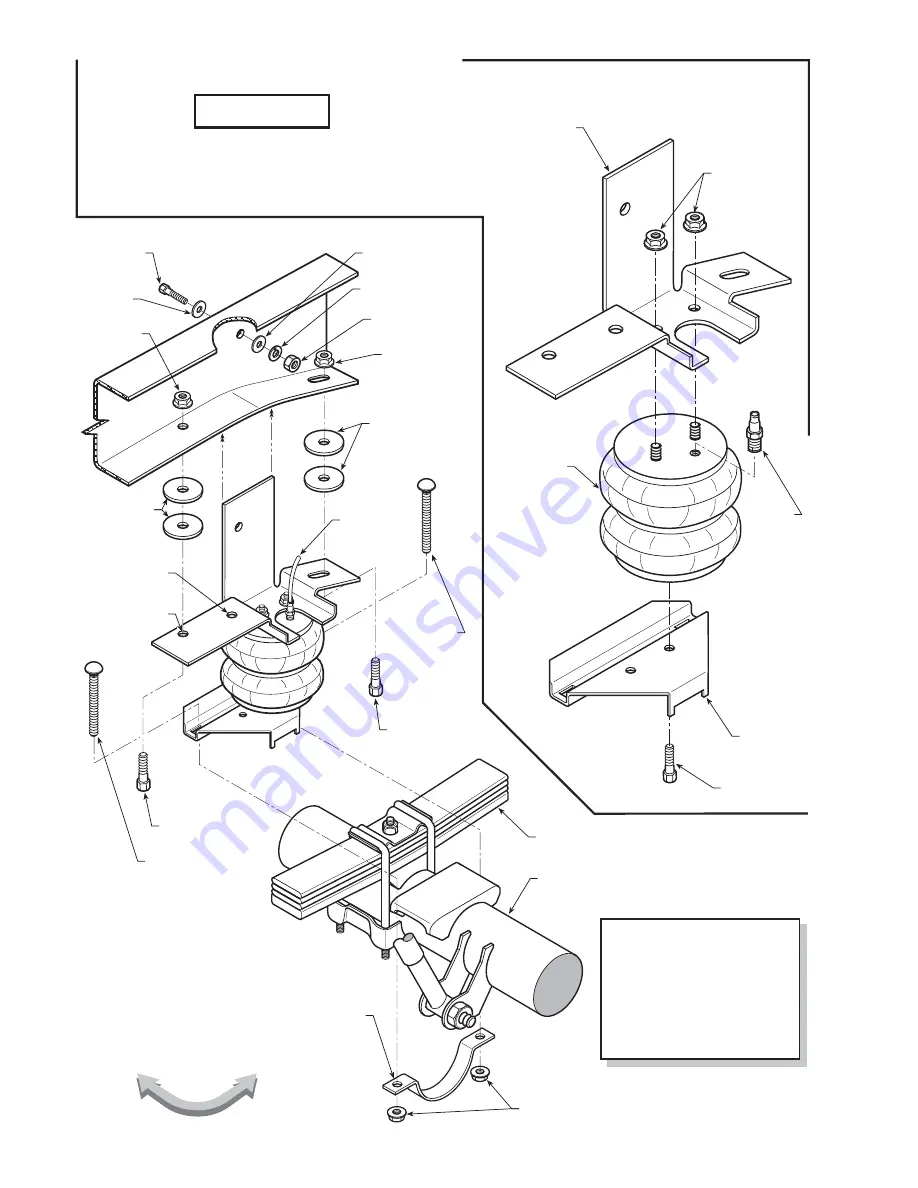
KIT TO FRAME ASSEMBLY

FIGURE "A"

KIT ASSEMBLY

FR

ONT

WHEEL

FRAME

1/4” FLAT
WASHER

1/4” LOCK
WASHER

1/4” -20
HEX NUT

AIR LINE

AXLE

3/8” -16
FLANGED LOCK NUT

3/8” -16 x 3”
CARRIAGE BOLT

3/8” -16 x 3”

CARRIAGE

BOLT

LEAF STACK

AXLE STRAP

AIR SPRING

UPPER BRACKET

LOWER
BRACKET

3/8” -16 x 3/4”
HEX BOLT

AIR

FITTING

3/8” -16
FLANGED
HEX NUT

3/8” -16 x 1”
HEX BOLT

3/8” -16 x 1”
HEX BOLT

USE THIS

HOLE FOR

4WD VEHICLES

USE THIS HOLE

FOR 2WD

VEHICLES

3/8” -16

FLANGED

HEX NUT

3/8” -16”
FLANGED
HEX NUT

1/4” FLAT

WASHER

1/4” -20 x 1”

HEX BOLT

3/8” LARGE
WASHER
(SEE NOTE 1)

2101

3/8” LARGE

WASHER

(SEE NOTE 1)

U

se 3/8” large flat washer

between upper bracket and

frame rail only if rivet head is

present on bottom  of frame.

Rivet head will prevent flush

mounting of the upper bracket

to the frame rail.

NOTE 1:

Summary of Contents for NCD-5988-2

Page 1: ...evalveinflationsystem yourdealercansupplythe required T fitting IMPORTANT For your safety and to prevent possible damage to your vehicle do not exceed the maximum load recommended by the vehicle manufacturer GVWR Although your Air Helper Springsareratedata maximuminflationpressureof100P S I this pressure may allow you to carry too great a load on some vehicles Check your vehicle owner s manual for...

Page 2: ...RIAGE BOLT LEAF STACK AXLE STRAP AIR SPRING UPPER BRACKET LOWER BRACKET 3 8 16 x 3 4 HEX BOLT AIR FITTING 3 8 16 FLANGED HEX NUT 3 8 16 x 1 HEX BOLT 3 8 16 x 1 HEX BOLT USE THIS HOLE FOR 4WD VEHICLES USE THIS HOLE FOR 2WD VEHICLES 3 8 16 FLANGED HEX NUT 3 8 16 FLANGED HEX NUT 1 4 FLAT WASHER 1 4 20 x 1 HEX BOLT 3 8 LARGE WASHER SEE NOTE 1 2101 3 8 LARGE WASHER SEE NOTE 1 Use 3 8 large flat washer ...

Page 3: ...ied removethebracketfromtheaxleand fasten to the air spring using a 3 8 16 x 3 4 hex bolt finger tight Note that this bolt will be tightened in Step 3 STEP 3 INSTALL THE ASSEMBLY TO THE VEHICLE Set the assembly in place on the axle housing over the jounce pad The lower bracketshouldbuttagainsttheU boltsontheleafspringseeFigure E Position the assembly so that the upper bracket is aligned vertically...

Page 4: ...buckle Secure the tubing in place with the nylon ties provided Push the end of the air line tubing into the inflation valve as illustrated see Figure H STEP 6 CHECK THE AIR SYSTEM Oncetheinflationvalvesareinstalledinflatetheairhelperspringsto70P S I and check the fittings for air leaks with an applied solution of soap and water If a leak is detected at a tubing connection check to make sure that t...

Reviews: