SmartNA-X 1G/10G Modular | SmartNA-X Administration |
37
SmartNA-X
™
1G/10G User Guide 1.4
©
2015 Network Critical Solutions Limited
workflow
This device uses CHAP (Challenge-Handshake Authentication Protocol) when authenticating users with the
server. To use a server, do the following:
1.
Open an account for a user on the server.
2.
On that server, configure the user or group privileges to
1
for an Audit user,
2
for an Operator, or
3
for an
Administrator. For example, privilege level
2
is given to a user or group of users on the server by the
following string in the user or group definition:
service = exec
{ priv-lvl = 2
}
3.
Specify as the authentication method, so that when a user logs onto the device, authentication is performed
on the server instead of locally.
Note:
If more than one server has been configured, the device uses the configured priorities of
the available servers to select the server to be used by the device. As shown in the
following figure, server priority can be changed by dragging the servers into the required order. Servers at the
top of the list have the highest priority.
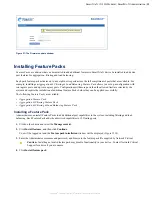
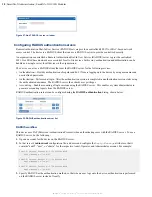
Figure 26: Drag servers up and down the servers list to configure server priority
Configure authentication servers
1.
Click on the chassis and select the
Security
tab.
Existing authentication servers are shown in the
authentication
dialog.
2.
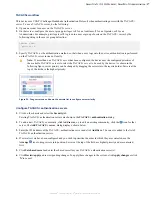
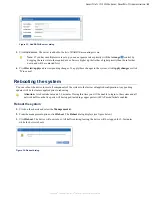
To add a new community, click
Add server
, or, to edit an existing community, click the icon for that
server. The
Add server
dialog displays, shown below.
3.
Enter the IPv4 address of the authentication server and click
Add/Save
. The server is added to the list of
authentication servers.
4.
If several servers have been configured and you wish to prioritize the order in which they are contacted, use the
Arrange
icon to drag servers into position. Servers at the top of the list have highest priority and are contacted
first.
5.
Click
Set shared secret
and enter the shared secret for your authentication server(s).
6.
Click
Review/apply
and review pending changes. To apply these changes to the system, click
Apply changes
or click
'
X
' to cancel.

