40
| SmartNA-X Administration | SmartNA-X 1G/10G Modular
SmartNA-X
™
1G/10G User Guide 1.4
©
2015 Network Critical Solutions Limited
Add accounting servers
1.
Click on the chassis and select the
Security
tab.
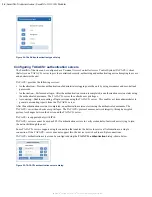
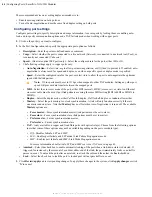
Any existing accounting servers are shown in the
accounting
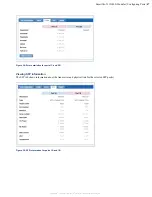
dialog, shown below.
Figure 31: accounting servers list
2.
Click
Add server
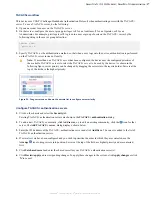
and enter the IPv4 address of the accounting server. The server is added to the list of
accounting servers.
Note:
If you have multiple servers set up, you can organize server priority with the
Arrange
by dragging
the servers into the required order. Servers higher up the list have higher priority than those further down and
will be contacted first.
3.
If you have not done so already, click
Set shared secret
and enter the global shared secret for the
accounting servers.
4.
Click
Review/apply
and review pending changes. To apply these changes to the system, click
Apply changes
or click
'
X
' to cancel.
Add RADIUS accounting servers
1.
Click on the chassis and select the
Security
tab.
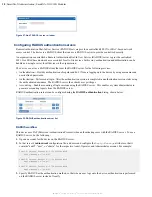
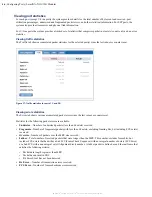
Any RADIUS accounting servers already been set up will be shown in the
RADIUS accounting
server list, shown
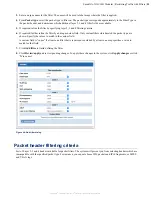
below.
Figure 32: RADIUS accounting server list
2.
Click
Add server
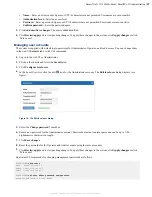
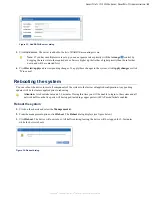
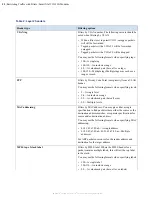
and enter the RADIUS accounting server’s parameters in the
Add RADIUS server
(shown below):
•
Server address
—Enter the RADIUS server’s IPv4 address.
•
Server port
—Enter the UDP port number, usually port 1813 for RADUS accounting servers.
•
Shared secret
—Enter the RADIUS accounting server’s shared secret.
•
Confirm secret
—Enter the shared secret again to confirm it.


