Page 5 of 13
NPPA-TT-SD25 Instruction Manual
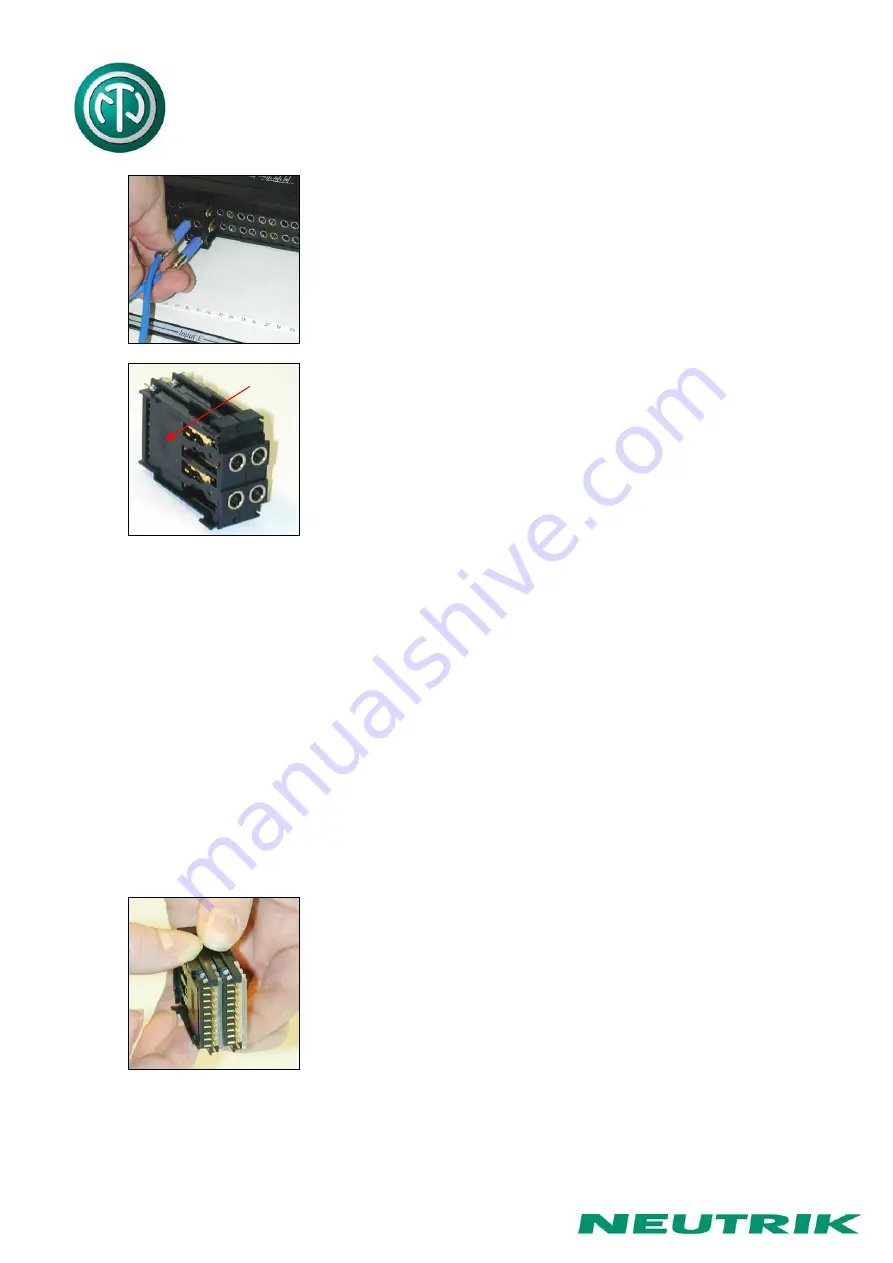
Alternatively the jack pairs may be pulled out by the use of two
Bantam plugs (diagonally plugged in).
The two jack pairs have to be re-assembled in the right way so
that the thicker body marked “left” is put on the left side with
the mark outside and readable.
To complete, push the new jack pairs into the casing again with the mark on the left side (If
more than one module are removed always assemble from the center to the right or left side
and be careful that the keys on the left side of the jack pairs find their guiding slots. If all jack
pairs are removed start at the casing support in the center and assemble to the right and left
side). Slide in again the channel identification strips (best from the outside inwards) and fix the
front panel with the black cross-recessed screws. Don’t forget to insert the side-stops before
fixing the screws (see page 10).
3. Reconfiguration by hand
For easy and safe modification work we recommend our preconfigured jack pairs (NJ3TTA-4-*).
Please note, in case of emergency the normalling can by changed by hand by the use of
normalling bars.
The two jack pairs are separated by spreading apart the rear
parts to unlock the fixing mechanism till it is possible...


