Installing the loader
225581
20
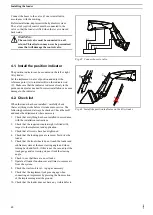
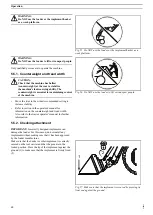
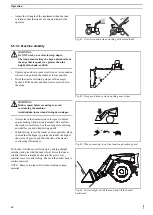
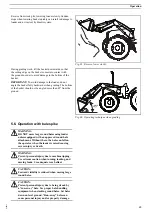
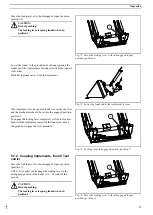
Connect the hoses to the valve (if one is installed) in
accordance with the marking.
Before installation, depressurize the hydraulic system.
The valve's joystick control must be connected to the
valve so that the loader is lifted when the lever is moved
backwards.
WARNING:
The control valve must be connected to a oil
return. This oil return may never be pressurized
since that will damage the control valve.
B1
A1
B2
A2
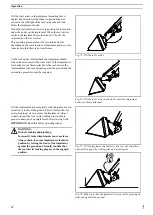
Fig. 42 Connect hoses to valve.
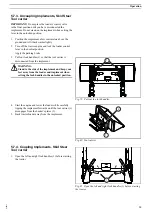
4.1. Install the position indicator
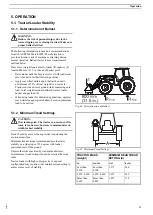
The position indicator can be mounted on the left or right
tilt cylinder.
Set the implement in a level position and adjust the
reference point (A) to indicator (B) on the indicator rod
(C). Make sure that the indicator rod moves freely in the
guides and adjust as needed. Incorrect installation can cause
damage to the indicator.
4.2. Check list
When the loader has been installed - carefully check
that everything works before it is taken into service. The
following points must always be checked. Check them off
and make the adjustments where necessary.
1. Check that everything has been installed in accordance
with the installation instructions.
2. Check that the required counterweight is fitted with
respect to the implement and application.
3. Check that all screws have been tightened.
4. Check that the locking pins are secured. Test drive the
loader.
5. Check that the front wheels do not touch the loader and
subframe system at the max steering angle and when
turning back and forth - if this is not the case, adjust the
track gauge and/or steering stops or limit the steering
angle.
6. Check to see that there are no oil leaks.
7. Operate all loader functions several times to remove air
from the system.
8. Check the tractor oil level - top up as necessary.
9. Check that the implement lock pins engage when
connecting an implement by pressing the front section
of the implement against the ground.
10. Check that the loader does not have any visible defects.
Fig. 43 Install the position indicator on the tilt cylinder.
Summary of Contents for 611TL
Page 2: ......


