8
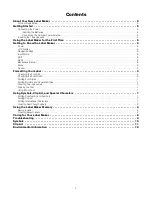
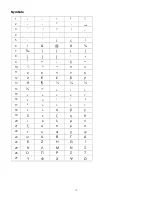
To add accented characters
1
Press
. The accented character indicator is
shown on the display.
2
Press an alpha character. The accent variations are
displayed.
3
When the desired accented character appears, wait a
few seconds for the cursor to move beyond the
character to continue entering text.
Creating Fixed-Length Labels
Normally, the length of the label is determined by the
length of the text. However, you can choose to set the
length of the label for a specific application.
When you choose a fixed label length, the label text is
automatically resized to fit the label. If the text cannot be
adjusted to fit within the fixed label length, a message is
displayed showing the smallest possible label length for
this text. You can choose a fixed length label up to
400 mm (15”) long.
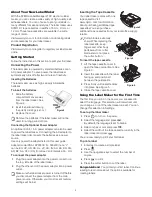
To set the label length
1
Press
until the
menu appears.
2
Use the navigation keys to select
Length
and
press
.
3
Select
Fixed
and press
.
4
Set the length for your label and press
.
Using the Label Maker Memory
The label maker has a powerful memory feature that
allows you to save the text of up to nine frequently-used
labels. You can recall saved labels and you can insert
saved text into a label.
Saving a Label
You can save up to nine frequently-used labels. When
you save a label, the text and all formatting are saved.
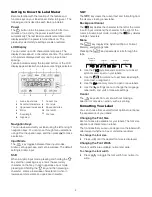
To save the current label
1
Press
until the
menu appears.
2
Use the navigation keys to select
Save
and
press
.
The first available memory location is displayed.
3
Use the navigation keys to move through the
locations.
You can store new text in any of the memory
locations.
4
Select a memory location and press
.
Your label text is saved and you are returned to the label.
Opening Saved Labels
You can easily open labels saved in memory to use at a
later time.
To open saved labels
1
Press
until the
menu appears.
2
Use the navigation keys to select
Open
and
press
.
The first memory location is displayed.
3
Use the navigation keys to select a label to open and
press
.
If the display currently contains label content, a
message is displayed to confirm you want to
overwrite the current label.
Caring for Your Label Maker
Your label maker is designed to give you long and
trouble-free service, while requiring very little
maintenance. Clean your label maker from time to time to
keep it working properly. Clean the cutter blade each time
you replace the tape cassette.
Cutter blade is extremely sharp. Avoid direct contact
with the cutter blade while cleaning the blade.
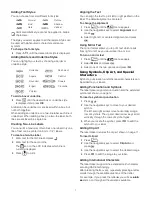
To clean the cutter blade
1
Remove the tape cassette.
2
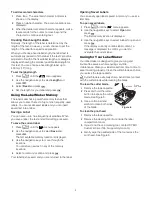
Press and hold the cutter
button to expose the cutter
blade. See Figure 6.
3
Use a cotton ball and
alcohol to clean both sides
of the blade.
To clean the print head
1
Remove the tape cassette.
2
Remove the cleaning tool from inside the label
compartment cover.
3
If you do not have a cleaning tool, contact DYMO
Customer Care (http://support.dymo.com).
4
Gently wipe the padded side of the tool across the
print head. See Figure 6.
à
Figure 6
Press
and hold
Print head


