background image

NEWERTECH MINISTACK

DEVICE SETUP

7

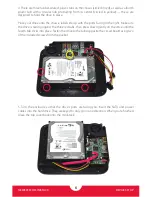
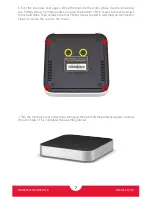
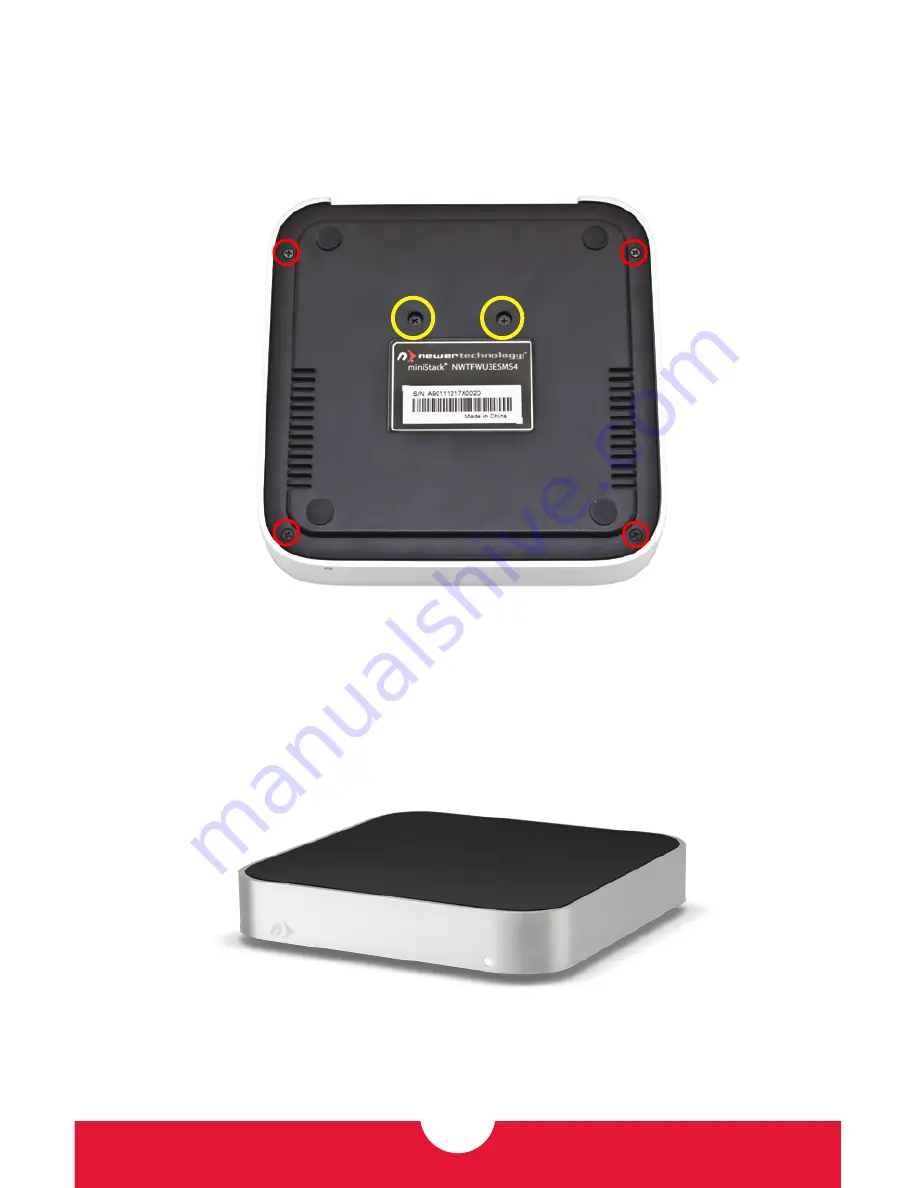
6. Turn the enclosure over again, setting the top onto the work surface. Use the remaining 
two Phillips screws from the packet to fasten the bottom of the chassis (circled in yellow) 
to the hard drive. Then, refasten the four Phillips screws (circled in red) that you removed in 
Step 2, to secure the cover to the chassis.  

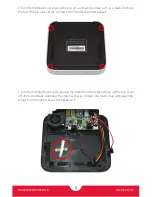
7. Turn the miniStack over so the top is facing up, then peel off the protective plastic coating 
shown in Step 1. This completes the assembly process.

Summary of Contents for miniStack

Page 1: ...Assembly Manual User Guide ...

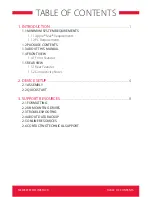
Page 2: ...uirements 1 2 PACKAGE CONTENTS 1 3 ABOUT THIS MANUAL 1 4 FRONT VIEW 1 4 1 Front Features 1 5 REAR VIEW 1 5 1 Rear Features 1 5 2 Connectivity Notes 2 DEVICE SETUP 4 2 1 ASSEMBLY 2 2 QUICK START 3 SUPPORT RESOURCES 8 2 1 FORMATTING 2 2 UNMOUNTING DRIVES 2 3 TROUBLESHOOTING 2 4 ABOUT DATA BACKUP 2 5 ONLINE RESOURCES 2 6 CONTACTING TECHNICAL SUPPORT ...

Page 3: ...change depending on the firmware version Please visit the product web page for the most recent specifications 1 1 1 Mac Requirements eSATA OS X 10 3 or later FireWire OS X 10 2 or later USB 3 0 backwards compatible to USB 2 0 OS X 10 6 or later 1 1 2 PC Requirements eSATA Windows XP or later FireWire Windows XP or later USB 3 0 backwards compatible to USB 2 0 Windows XP or later 1 1 MINIMUM SYSTEM...

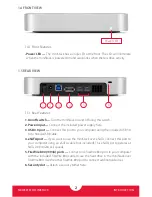
Page 4: ...luded power supply here 3 USB 3 0 port Connect this port to your computer using the included USB 3 0 A to Standard B cable 4 eSATA port If you want to use the miniStack over eSATA connect this port to your computer using an eSATA cable not included This eSATA port operates at SATA 2 0 3 0Gb sec speeds 5 FireWire 800 1394b ports Connect one FireWire 800 port to your computer with the included FireW...

Page 5: ... interface If there is no data connection present the drive will not spin up To connect additional FireWire devices through the miniStack you must connect the miniStack to your computer using the FireWire interface For the safe removal of your drive and to assure that no data is lost always eject or unmount the drive from your operating system before powering off In order for the computer to acces...

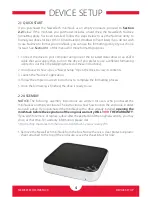
Page 6: ...se instructions 2 Your drive will show up as a Newer Setup Open the drive to view its contents 3 Launch the NuDrive application 4 Follow the simple on screen instructions to complete the formatting process 5 Once the formatting is finished the drive is ready to use 2 2 ASSEMBLY NOTICE The following assembly instructions are written for users who purchased the miniStack as an empty enclosure The in...

Page 7: ... a towel Remove the four Phillips screws at the corners of the miniStack circled below 3 Turn the miniStack over again placing the bottom on the work surface Lift the top cover off of the miniStack exposing the internal chassis Untape the plastic bag with assembly screws from the inner chassis circled below ...

Page 8: ... up with the ports facing to the right Make sure the drive is resting against the three red tabs then press down gently on the drive until the fourth tab clicks into place Fasten the drive to the tabs opposite the circuit board using two of the included screws from the packet 5 Turn the enclosure so that the drive s ports are facing you Insert the SATA and power cables into the hard drive They are...

Page 9: ...m the packet to fasten the bottom of the chassis circled in yellow to the hard drive Then refasten the four Phillips screws circled in red that you removed in Step 2 to secure the cover to the chassis 7 Turn the miniStack over so the top is facing up then peel off the protective plastic coating shown in Step 1 This completes the assembly process ...

Page 10: ...wer right corner of your screen Click on the Eject icon a small green arrow over a hardware image 2 A message will appear detailing the devices that the Eject icon controls i e Safely remove Click on this prompt 3 You will then be given the following message Safe to Remove Hardware It is now safe to disconnect the miniStack from the computer 3 3 TROUBLESHOOTING Begin your troubleshooting by verify...

Page 11: ...g the miniStack is the sole responsibility of the user and under no circumstances will Other World Computing be held liable for compensation or the recovery of any lost data 3 5 ONLINE RESOURCES Access our online collection of frequently asked questions for this and other products at www macsales com FAQ 3 6 CONTACTING TECHNICAL SUPPORT 8AM 8PM CT Monday Friday 9AM 4PM CT Saturday 800 275 4576 Nor...

Page 12: ... user guide carefully and follow the correct procedures when setting up the device Do not attempt to disassemble or modify the device To avoid any risk of electrical shock fire short circuiting or dangerous emissions never insert any metallic object into the device If it appears to be malfunctioning contact Other World Computing technical support Never expose your device to rain or use it near wat...

Reviews: