2.17
EDH0162En1040 – 06/99
MM4005
Local Mode
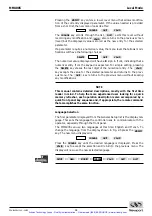
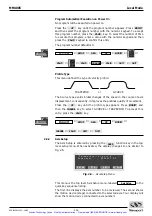
On the menu line, all four function keys are active.
exits this level
and returns to the previous menu. The other functions are discussed in the
following paragraphs.
2.2.2.1
Axis Number Selection
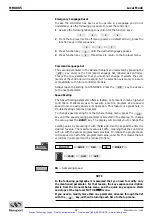
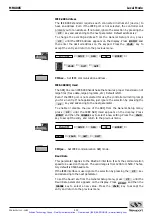
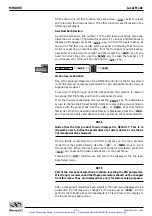
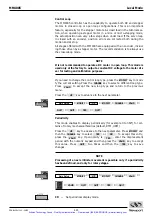
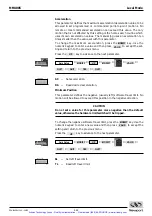
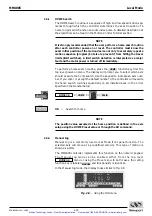
As mentioned earlier, line number 1 of the top level Axis Setup menu dis-
plays the axis number. The default is number 1. To select a different axis to
display (and change) press the
key. In front of the axis number, at
the end of the first line, the
symbol appears, indicating that the con-
troller is expecting a numerical entry from the front panel’s numerical key-
pad. Enter the desired axis number and then press the
key. If you
need to correct the entry, use the
key to erase the number or, if
you changed your mind, exit by pressing the
key.
→
→
→
2.2.2.2
Motion Device Selection
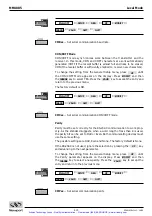
One of the advanced features of the MM4005 controller is that it has stored
in its firmware all necessary parameters for all compatible motion devices
supplied by Newport.
To avoid scrolling through over 100 components, the selection is made in
two steps, first the family and then the component model.
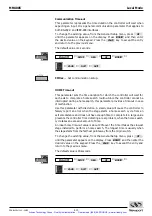
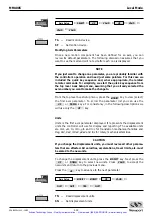
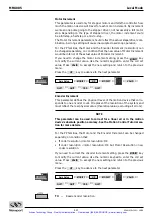
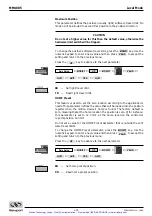
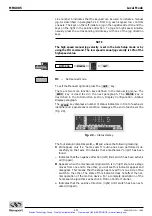
From the top-level Axes Setup menu press the
key. This activates a
screen to change the Product Family. A family represents a group of motion
devices with the same prefix. Use the
or
keys to scroll the
family list. When the desired product family is displayed, press the
key to accept the entry and advance to the next menu, the model selection.
NOTE
Notice that the first product family displayed is DEFAULT. This is to
allows the user to define the parameters of a custom device or one that is
not manufactured by Newport.
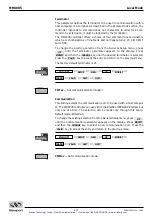
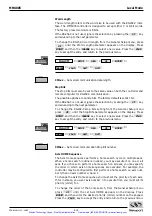
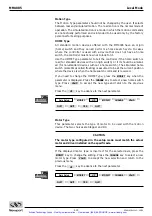
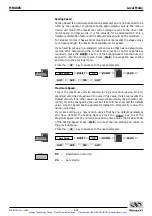
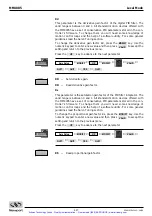
Once a family is selected, the controller prompts you to pick a product
model from the selected family. Use the
or
keys to scroll
the model list. When the desired product model is displayed, press the
key to accept the entry and advance to the next menu.
Pressing the
function key will return the display to the top level
Axes Setup menu.
NOTE
Part of the component selection procedure is setting the PID parameters.
It is strongly recommended that these parameters should not be changed
from this menu. They are displayed here only for factory setup purposes.
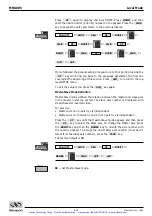
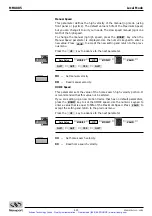
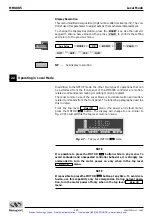
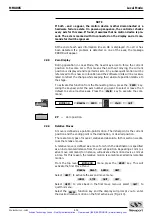
After a component model has been selected, the next menu displays the Kp
parameter. Do not make any changes to the value; press
. Do the
same for the following Ki and Kd parameters. This will return the display to
the top level Axes Setup menu.
VALID
QUIT
VALID
DOWN
UP
VALID
DOWN
UP
SELECT
VALID
1
4
7
2
5
8
3
6
9
.
-
0
Axis 1
Axis 2
Axis 3
Axis 4
JOG
AXIS #
Axis Setup
1
4
7
2
5
8
3
6
9
.
-
0
Axis 1
Axis 2
Axis 3
Axis 4
JOG
M A N U
P R O G .
1 :
2 :
3 :
4 :
2
1
2 . 3 4
m
m
n
U
c o n
5 6
3
-
. 3 5
m
m
6
n e c t
L
A
H O M E
S
t
e
a c t i o n
l e c
M O V E
. 3 4 5
D e g
e d
QUIT
DELETE
VALID
AXIS #
QUIT
Artisan Technology Group - Quality Instrumentation ... Guaranteed | (888) 88-SOURCE | www.artisantg.com


