To download files to your PC, click on one or several files, choose with the
“Browse” button a folder where you want to save the files to, and press
“Download”.
Connect the NV to the CVR640 (see the section “Connection and video
recording”).
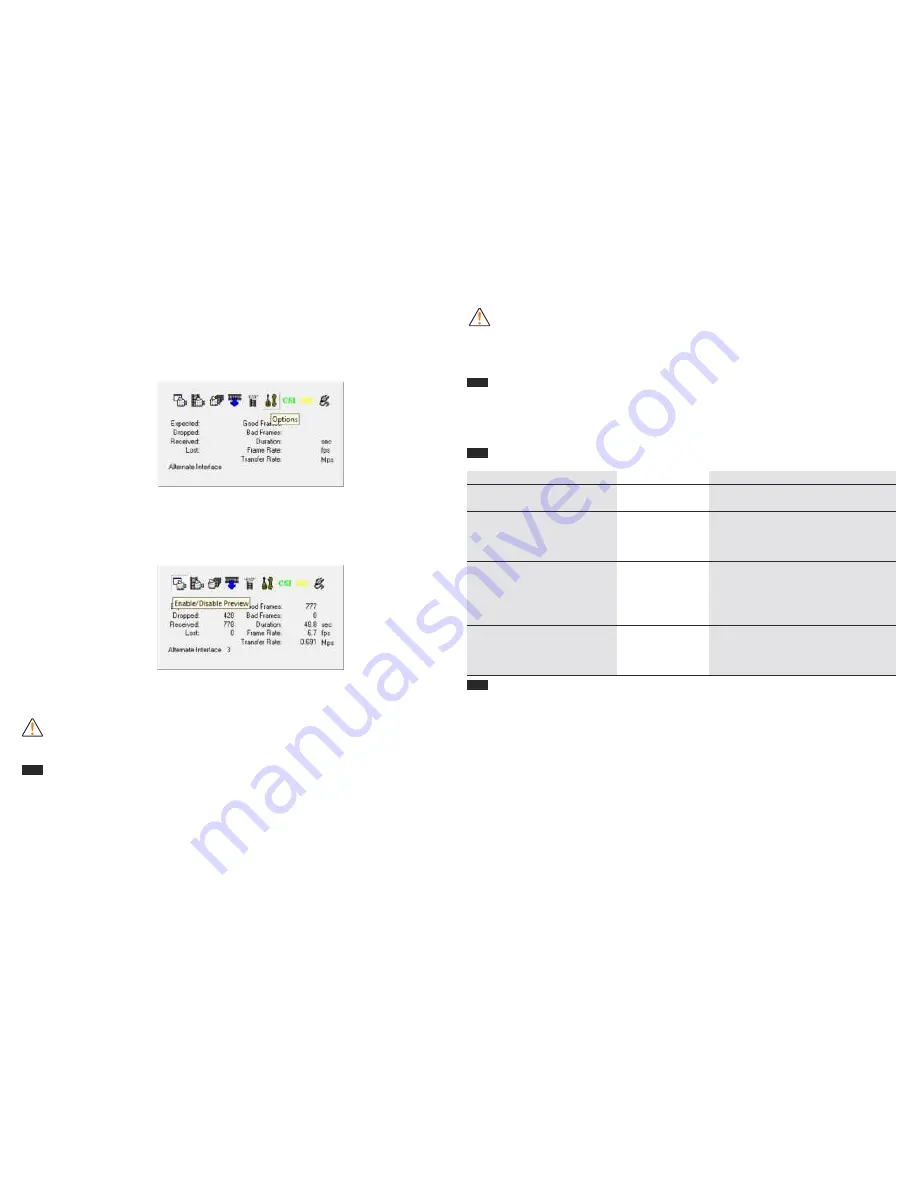
Launch the file “CVR640 Video Converter”. Programme window will show up
(see pic 4).
It is recommended that you choose “Resolution” and “Frame rate” settings in
the tab “Options” for recording on a hard disc. In the tab “Capture” choose the
directory for saving files to a hard disc.
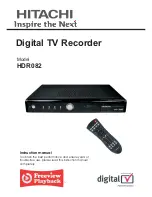
Choose the tab
“Enable/Disable Preview” (pic. 5) and turn on the NV device –
now the image seen through the NV device is transmitted to the PC monitor.
Push the “Start/Stop Capture” button to start/stop video recording.
This mode allows immediate recording to PC hard disc.
Note:
the file “CVR640 Video Converter” should be used for OS Windows Vista
and Windows 7. If you run OS Windows XP you can use a default programme like
MovieMaker or similar.
Setting date/time
Insert SD card into the CVR640.
Connect one end of the USB cable to your PC, the other - to the CVR640.
The CVR640 will be detected as a removable disc.
Open the removable disc.
Open folder “CVR640 Software”, select and open file
settime.txt
•
Set up date (format yyyy/mm/dd) and time (format 00:00:00) in the open
window.
•
Save changes and close the file.
•
Copy file
settime
.
txt
into the root folder of the removable disc
.
•
Disconnect the USB cable from the CVR640
.
•
Turn on the video recorder and start recording
.
•
Date and time you have setup will be shown in the properties of the
recorded video file.
Storage and maintenance
Keep the CVR640 in a dry, well-ventilated room at a temperature exc10 °
С
and humidity lower than 70%. Remove the batteries if the device will not be used
for a long time.
Troubleshooting
Corrective action
Install fresh batteries.
Focus your device on an object under
observation. Activate the built-in (or
auxiliary) IR Illuminator of your
NV device.
Insert an SD memory card.
Insert empty memory card.
Problem
The CVR640 will not start.
Low image quality.
The CVR640 is on but
recording will not start
when “REC” button is
pushed (the red LED
blinks, CVR640 turns off).
Possible reason
No batteries.
Batteries are low.
The NV device is
out of focus.
Low illuminance
level.
No SD memory
card inside.
The card is full.
Warranty
The Manufacturer warrants its products against defects in materials and workmanship
for a period of one year from the original date of purchase. Any device returned for
warranty service must be judged by the Manufacturer as having been used according
to its original design intents. As such, misuse, neglect, or any abnormal use is not
covered by this warranty. The Manufacturer will repair or replace such products or
parts thereof, which, upon inspection by the Manufacturer, are found to be defective in
either materials or workmanship. As a condition of the Manufacturer's obligation
regarding warranty work, the product must be returned to the point of sale with a
satisfactory proof of purchase. It is highly recommended that you fill out and return
your warranty registration card to ensure the warranty coverage. This warranty is null
and void if equipment has been altered, tampered with, modified, or otherwise
abused, mishandled, or subjected to unauthorized repairs. The Manufacturer
disclaims any other warranties, either expressed or implied, except as expressed
herein. The sole obligation of the Manufacturer is to repair or replace the covered
device.
3
Pic. 4
Pic. 5
No image when recording
from external source (NV
device)
.
No video signal.
Activate the video output in NV device’s
menu
(
where applicable
).
Make sure
the video cable is securely connected.
Summary of Contents for cvr640
Page 21: ......


