11
A
B
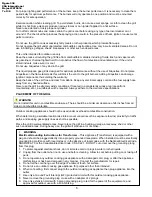
Attach the firebox assembly (A) to the grill cart using
four 1/4-in. x 15-mm truss head screws (CC) and four
1/4-in. locking washers (DD).
Note:
Two screws and two washers for each side of
cart) as shown in fig. 8.
7.
Transformer Wire Assembly
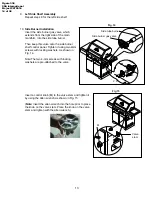
Connect the small wire that extends from the
transformer box (N) to the wiring junction box located
above the left panel near the rear of the cabinet as
shown in Fig. 9.
HINT:
Stand at the back of the grill to connect
the wire to the junction box.
8.
Side Burner Shelf Assembly
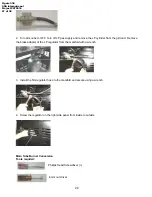
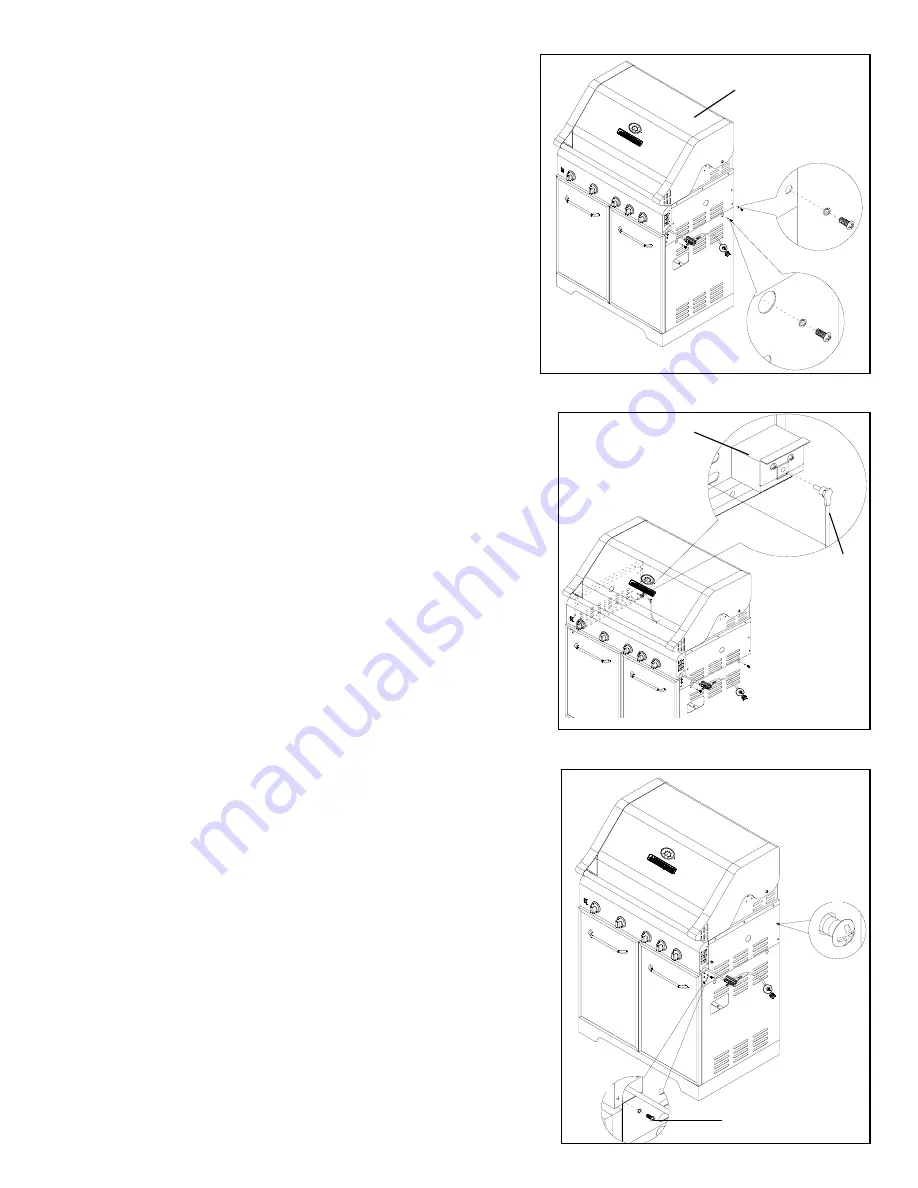
Loosen the 2 screws that are pre-placed onto firebox
right panel.
(
HINT
: Do not remove these 2 screws completely).
Unscrew the 5/32-in. x 10mm truss head screw (AA) and
5/32-in locking washer (BB) on the right side of main
control panel. Keep them for future use.
Small wire
Fig. 10
B
Fig. 9
N
A
4 X
Fig. 8
4 X
2 X
Figure 338
CSA International
Project 2075516
12 of 38


