Nexland ISB SOHO: Introduction
2
8
9
Network Requirements: What you’ll need
A Cable or DSL Internet account (or other network connection)
A Cable or DSL modem (or other network device) with an
RJ45 (Ethernet)
10BaseT compatible connection
– This is usually available from your ISP upon
request
An Ethernet 10BaseT or 10/100BaseT Network Card in computer(s) you want to
connect to the ISB SOHO
A standard Web Browser (one is included on the CD)
TCP/IP Network Protocol (this is usually already installed in your computer and is
a part of all modern Operating Systems). See Appendix about installing TCP/IP.
UTP (CAT5 grade) cabling with RJ45 connector to connect computers to the ISB
SOHO (1 cable included)
OPTIONAL:
A 100BaseT or 10/100BaseT hub/switch to connect additional
computers (more than 4) to the ISB SOHO
If you have any questions about these requirements or for information about different
network configurations, you can contact Nexland Support.
ISB SOHO Features
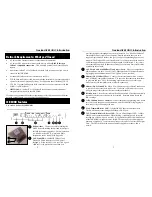
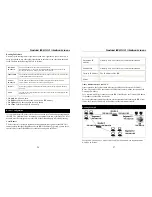
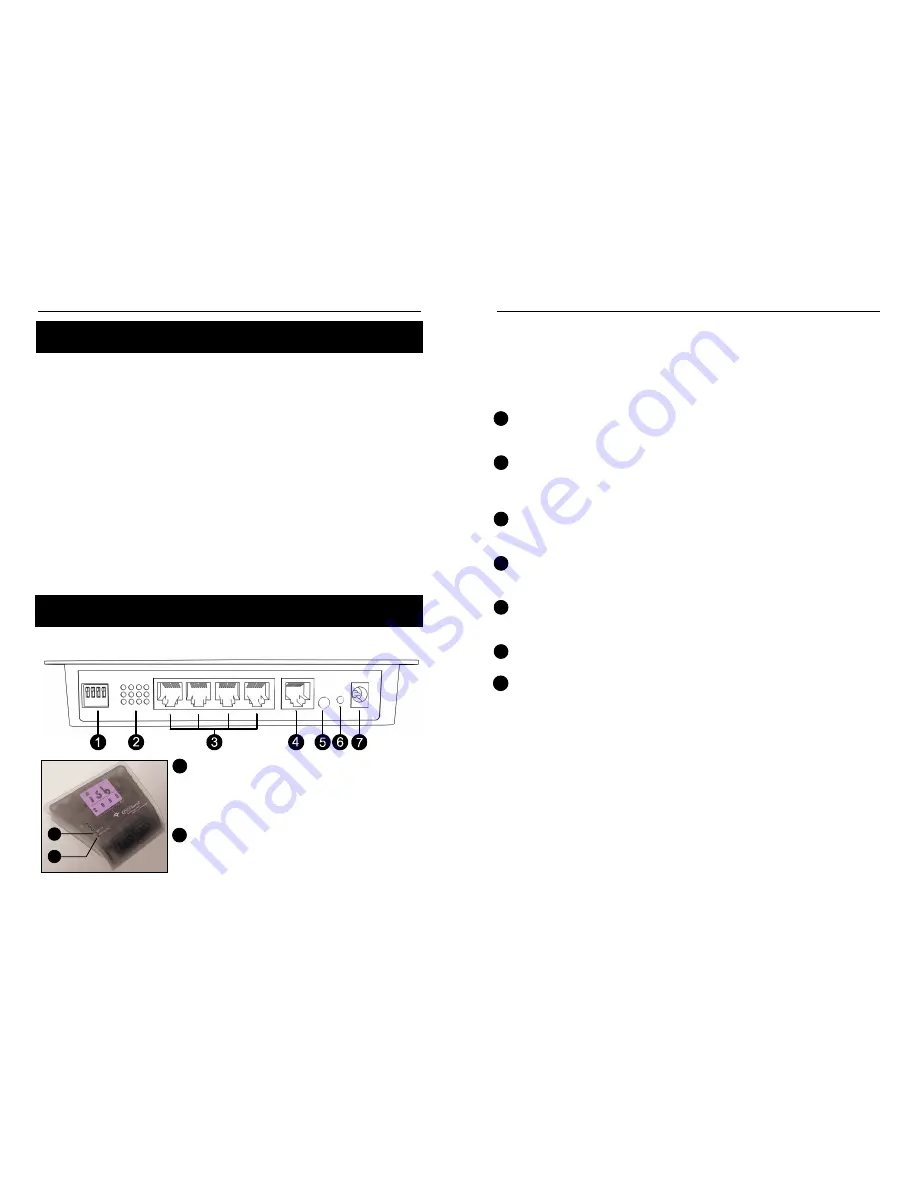
Let’s take a look at the ISB SOHO:
1.
DIP Switches
– These are used for disabling the
DHCP Server, Resetting the unit and to configure
the ISB for firmware upgrades. Normal operation
is with all 4 in the OFF (Up) position. More
information can be found in the Appendix.
2.
LAN Link LEDs
– 100BaseT, 10BaseT and
Duplex LED link indicators for LAN ports 1
through 4. When the LED is on, your link is good.
100BaseT is the preferable connection as it
Nexland ISB SOHO: Introduction
3
provides the highest throughput on your local network. You’ll need a 100BaseT
compatible Ethernet card in your computer. Duplex indicates that your card
supports Duplex mode Ethernet; this gives you up to 200mb throughput on your
network! The Duplex LEDs will flash if there is a collision state on the network.
Collisions happen when packets are being dropped or misdirected. This is most
often caused by duplicate IP addresses/gateways or extremely heavy traffic that’s
overloading the network.
3.
LAN Switch with 4 10/100BaseT (auto sense) Ports
– Plug your computers or
additional hubs into here. Use only CAT5 Ethernet cables for best performance.
If plugging in an additional hub, use the “Uplink” port on your hub.
4.
Modem (WAN) 10BaseT Port
– Connect your external modem here. It must
have a 10BaseT compatible connection. Use the cable that came with the modem
to plug into this port. Note: If connecting other network devices to this port,
make sure they are compatible with a 10BaseT connection.
5.
Modem (WAN) Link LED
– When lit, it indicates a proper 10BaseT connection
to your Modem (or other network device). If it doesn’t light, make sure you are
using the proper cable (the one that came with your modem).
6.
Reset Switch
– This will reset (reboot) the unit and switch. If having connectivity
trouble for any reason, try hitting the reset switch. Resetting doesn’t erase the
ISB’s settings.
7.
9
v DC 1000mA Power Connector –
Connect the power adapter plug here. Make
sure to use only the power supply that came with the ISB SOHO as plugging in
the wrong voltage can damage the unit.
8.
WAN Transmit/Receive LED
– It lights GREEN under normal conditions.
Flashes when data is sent through the Modem (WAN) port.
9.
L
AN Transmit/Receive & Error LED –
This is a Dual Purpose LED. It lights
GREEN under normal conditions. When flashing, it indicates data is being sent
through any of the LAN ports (switch). If it lights/flashes RED, this indicates one
of the ISB SOHO’s diagnostics have failed. This is usually a problem with the
firmware or hardware. Contact technical support if you have an error (RED) light.
Note: The LED will flash red during a firmware upgrade procedure; this is
normal.


