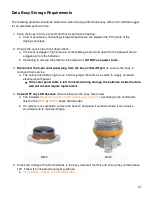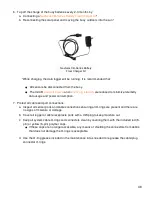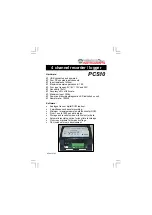
Replace a Battery in a CB-Series Data Buoy
The 12V sealed lead acid (SLA) batteries installed in the data well of CB-Series buoys may require
replacement if the charge falls below ~10V or every 2-3 years as their integrity declines with age. This
guide shows the steps to replace the
(depending on buoy capacity) on NexSens CB-Series data buoys. A similar
process may be followed to replace the
in a CB-150 buoy.
Caution!
While assembling the battery harness, insulate any loose battery leads, wrenches or
other tools with electrical tape to avoid shorting the batteries against the data well and
potentially causing injury. Ensure the vent is clear of all obstructions, as a clogged vent can
cause high pressure combustible gas build-up in the well due to outgassing from the batteries.
DO NOT use power tools to remove the plate.
Tools Required
Electrical tape
9/16″ socket wrench with extension
10mm socket wrench with extension
Fully charged replacement battery
Digital voltmeter/multimeter
New desiccant (recommended)
Battery Removal
1. Disconnect the 6-pin solar panel cable from the X2-CB’s SOLAR port to remove power to the data
logger. Cover the plug and receptacle to prevent moisture and debris from the port pins and O-
rings.
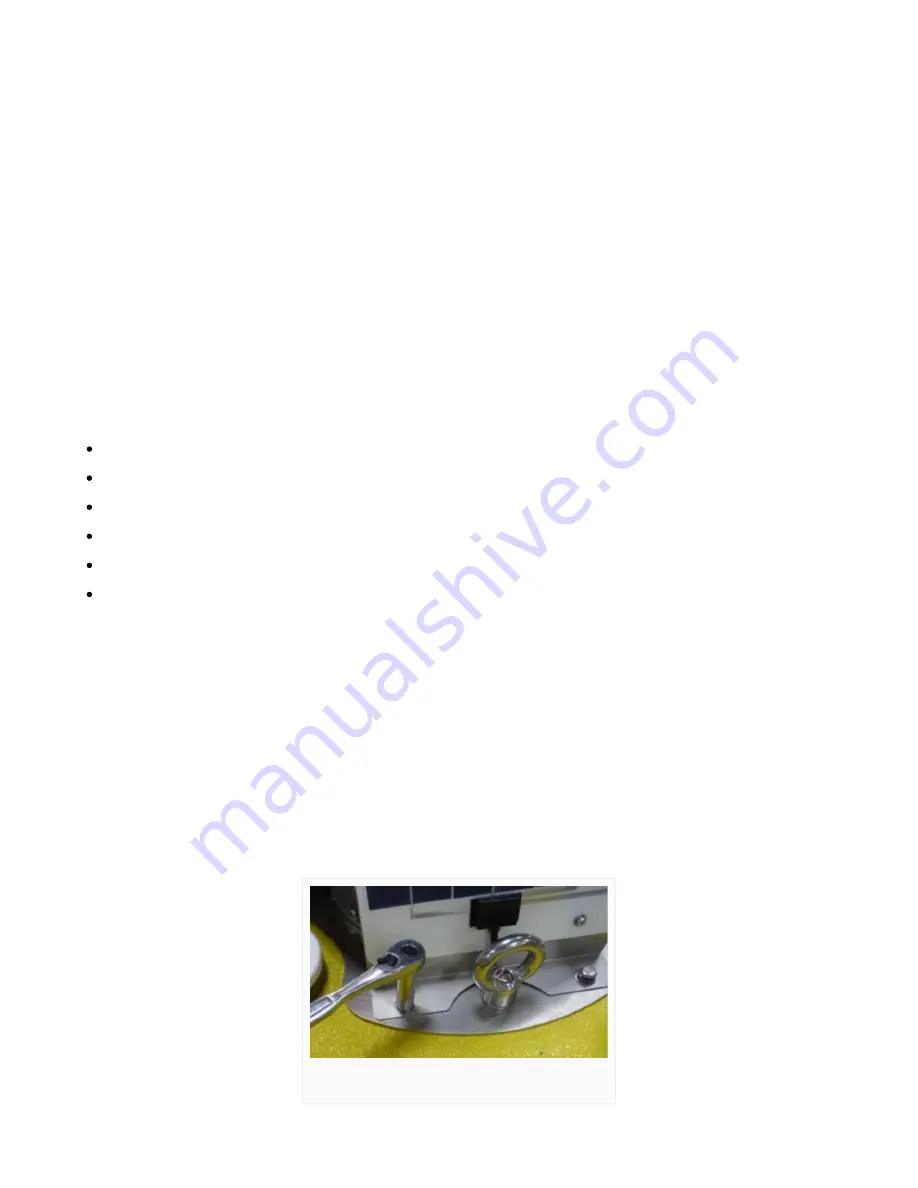
2. Remove the buoy’s solar tower to gain access to the data well.
a. For the CB-150, CB-250 and CB-450: Remove the (6) bolts and lock washers holding the solar
tower to the buoy using a 9/16″ socket wrench.
b. For the CB-650, CB-950, and CB-1250: Remove the three clevis pins securing the solar panel
tower legs to the buoy hubs and carefully lift upwards to detach the assembly.
Remove buoy solar tower.
39


