background image

September 2018 


Laser Engraving Guide | 8 


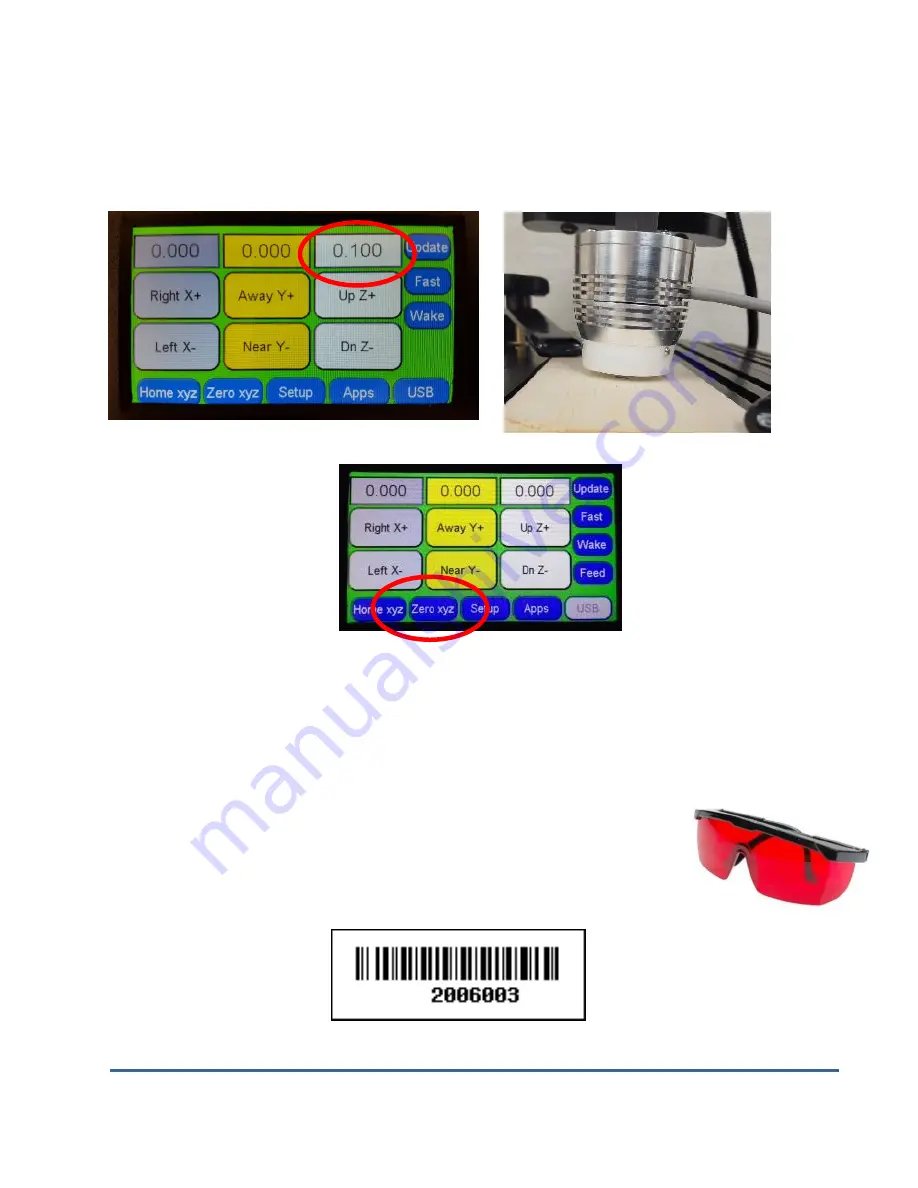
This will place t

he laser head’s 

white plastic shield about 0.100 inches above the 

target material creating the correct position for max focal power of the laser.  


Zero all axis again 


The system is now ready to run your program. 


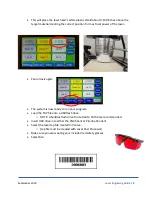
Load the TAP file onto a USB flash drive.   

o


NOTE: A SanDisk flash drive formatted to FAT32 are recommended. 


Insert USB drive into either the CNC Shark or Piranha Pendant  


Select the laser tap file created in Vcarve.  

o


(tap file must be created with Laser Post Processor)  


Make sure you are wearing your included red safety glasses 


Select Run. 


Summary of Contents for CNC Shark HD4

Page 1: ...Piranha FX This manual is written for consumers with basic working knowledge of VCarve Please refer to VCarve training guides for additional information NOTE If you plan to do a picture photo rather t...

Page 2: ...the material while the amount of the 2 watt version is minimal the 4 and 7 Watt can be considerable Excessive smoke can shorten the life of the laser diode by clouding the lens causing it to reflect b...

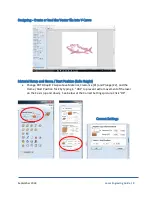
Page 3: ...rial Setup and Home Start Position Safe Height Change BOTH Rapid Z Gaps above Material Clearance Z1 and Plunge Z2 and the Home Start Position for Z by typing in 001 to prevent extra movement of the la...

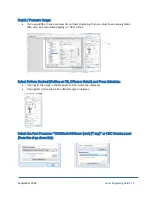
Page 4: ...er engraving purposes are 1000 through 0 For full power type in 1000 Zero means the laser is off Feed Rate is dependent on wood density The denser the wood the slower the Feed Rate A good rule of thum...

Page 5: ...reater than zero We recommend typing in 001 inches Select Pattern Desired Outline or Fill Offset or Hatch and Press Calculate If using Fill then type in the Stepover at 015 Adjust as necessary If usin...

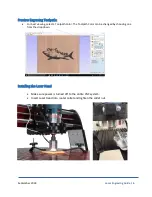
Page 6: ...lpath For best viewing select a Toolpath Color The Toolpath Color can be changed by choosing one from the drop down Installing the Laser Head Make sure power is turned off to the entire CNC system Ins...

Page 7: ...em Power on the hub Key Switch to on Alignment and positioning of laser head Position the laser head by jogging the X and Y axis to the programs point of origin starting point Lower the head of the la...

Page 8: ...r Zero all axis again The system is now ready to run your program Load the TAP file onto a USB flash drive o NOTE A SanDisk flash drive formatted to FAT32 are recommended Insert USB drive into either...

Reviews: