0106
www.ruggedaq.com
DATALOGGER
NI2400
NI2400
0107
www.ruggedaq.com
DATALOGGER
NI2400
NI2400
CONFIGURE THE DATALOGGER
IOT section
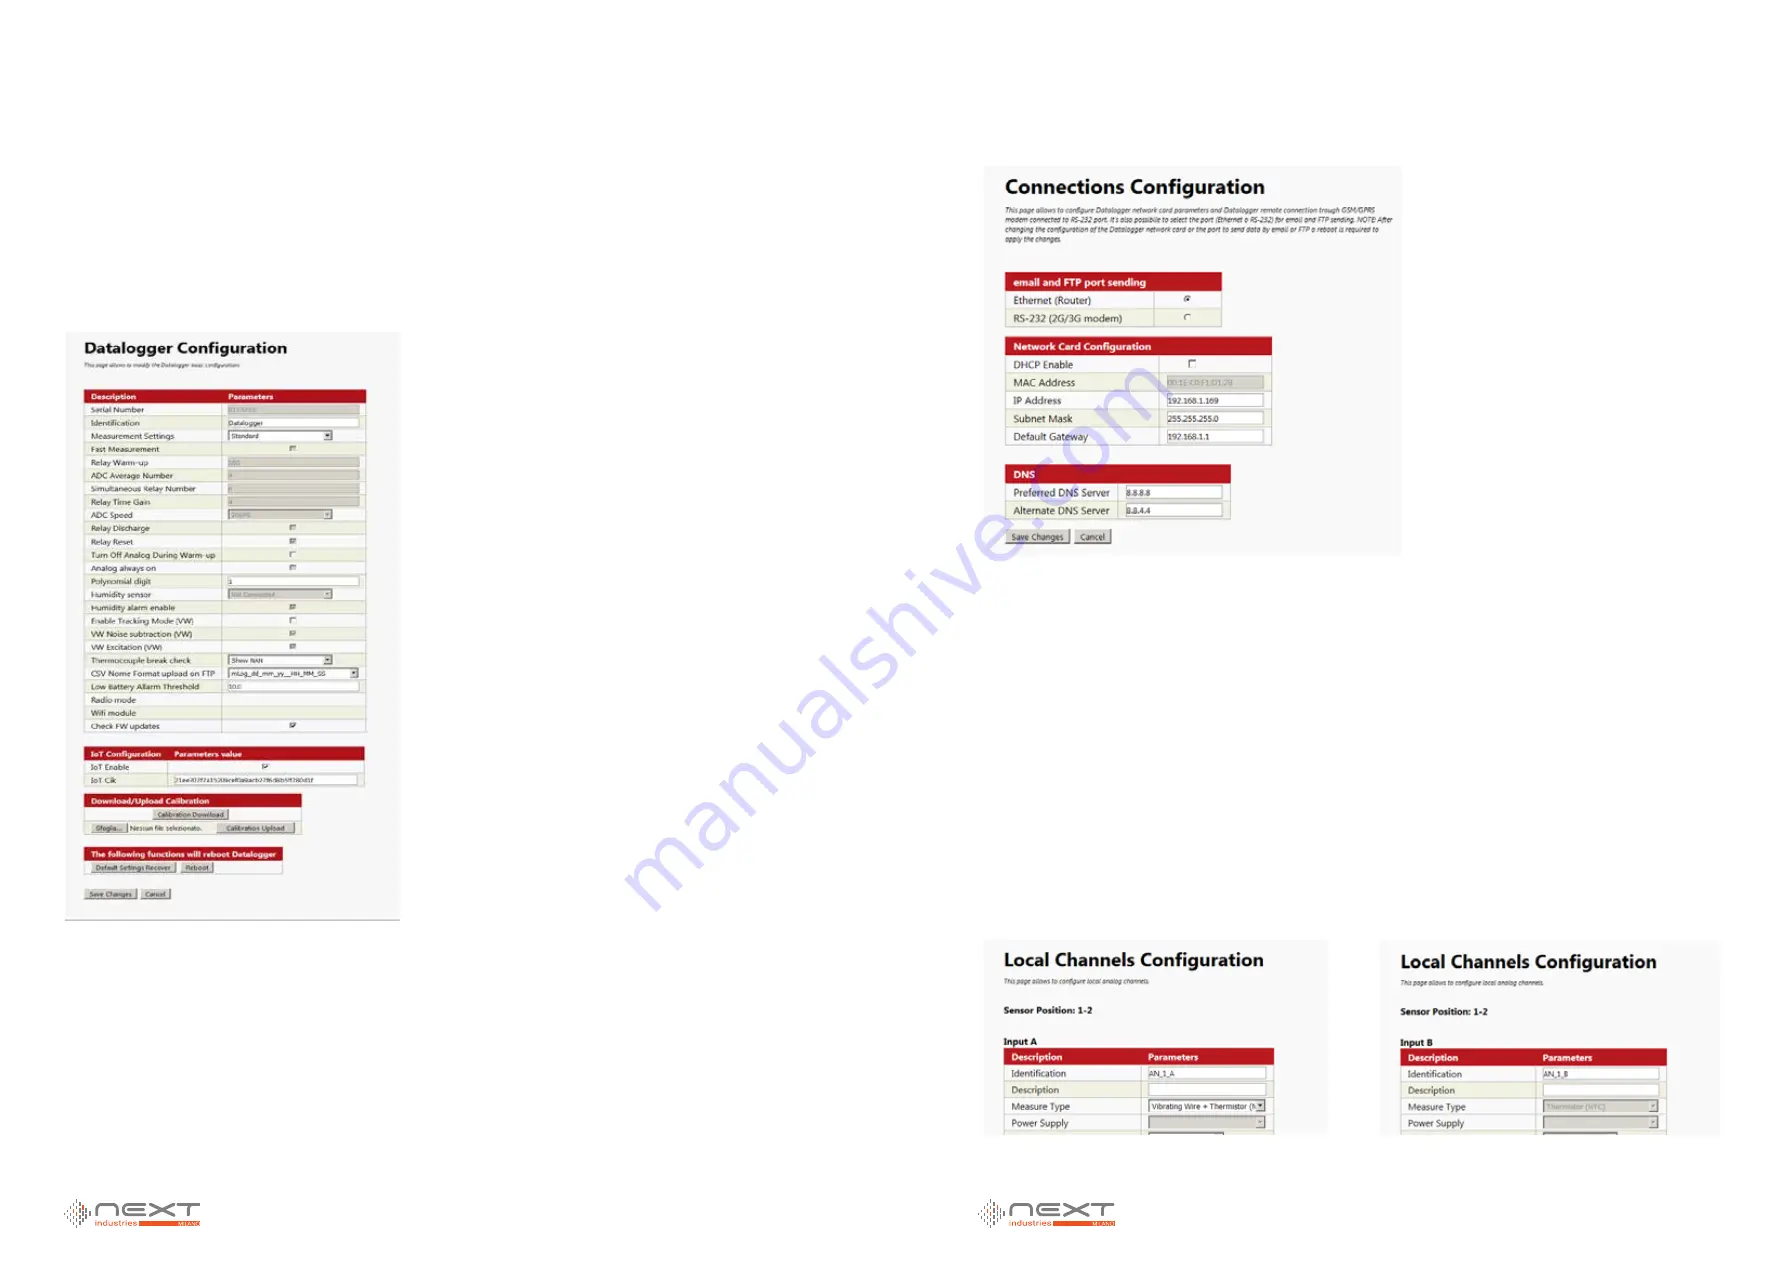
Connect to the datalogger through its web server and navigate to the page Configuration
→
Logger
In this page you have to enable the IOT feature checking
IOT Enable
check box and in
the
IOT Cik
enter the CIK obtained in the previous step in the Exosite portal.
In this way you create the association between this physical device and the virtual
device added in the Exosite portal in the previous step.
Connections Configuration
Navigate to the page Advanced > Connections
In this page you should configure all parameters that allow the datalogger to access
the Internet.
These settings depend on your network configuration.
Acquisition configuration
Configure the datalogger for the acquisitions that you need.
Every configured input (analog, digital, mux, virtual) is a data source for your Exosite
portal. The identification name that you give to the input is also the alias that will iden-
tify this input on the Exosite portal.
In the following example two analog sensors have been added to datalogger configuration.
The first is sensor has two inputs (VW + NTC) called
AN_1_A
and
AN_1_B
The second sensor has just one input (Voltage) called AN_2_A
Figure 95
Figure 96
Figure 97
Figure 98
5
5


