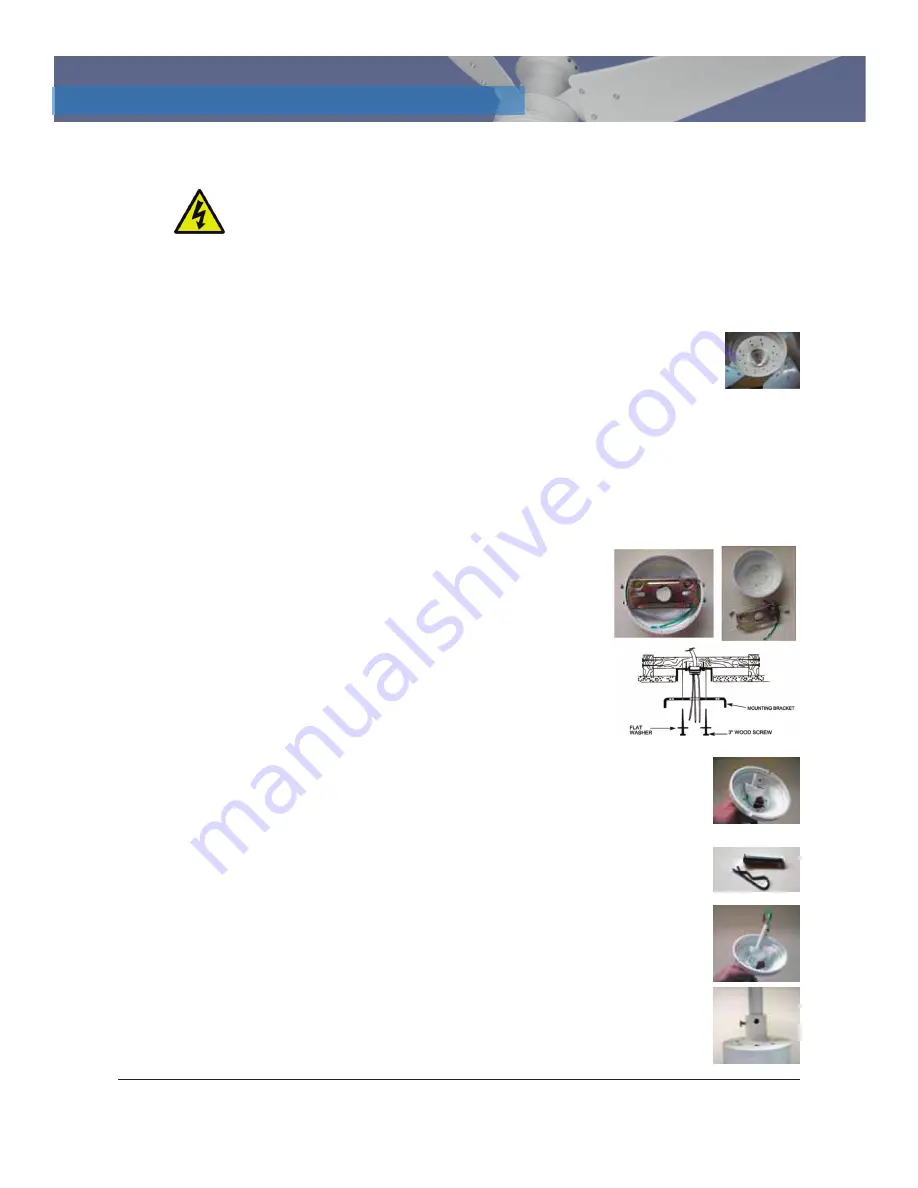
WARNING:
Failure to install the retain clip tightly against the hub as
described may cause separation of the hub during fan operation. Serious
injury may result. Consult a qualified installer if in any doubt about
installation procedures.
7.4.12 Push retaining knob onto motor shaft until it is firmly against the hub.
7.4.13 Your fan is ready to run.
7.4.14 If wired and installed properly, fan blades will rotate counter-
clockwise and produce downward draw.
7.4.15 For reverse or upward draw operation, blades need to be
removed, inverted and re-attached. Then use reverse button on Speed
Controller. Blades should rotate clockwise.
7.5 Fan Assembly Down Rod Version
Follow the instructions below for installation of down rod ceiling fan.
7.5.1 Remove mounting bracket (#01) from mounting
cone. (#03) Leave the screws in the bracket that
match up with the open hole on each side of
mounting cone.
7.5.2 Attach mounting bracket to junction box or
directly to ceiling using screws taped to
mounting bracket. Lead wires through center
hole in bracket.
7.5.3 Put down rod (#07) through mount cone (#03) (pivot ball end
of rod remains in cone). Please Note: Down Rod can be
shortened by cutting to length desired and drilling a 9/32 hole
½’ (13mm) from end of down rod.
7.5.4 Remove pin and clip (#08) from receptacle.
7.5.5 Feed wires from receptacle (#11) through bottom of down
rod (#07) and out through the pivot ball end.
7.5.6 Slip down rod into receptacle, and align holes of rod with
hole in receptacle.
Copyright 2012 all rights reserved by Nextek Power Systems, Inc. in the United States and in other countries throughout the world.
13
Vari-Cyclone Ceiling Fan
Installation Manual
Models: 3/4-Blade Vari-Cyclone
7.0
INSTALLATION PROCEDURE


