NPS2400
User’s Manual
Rev. 3.0
– 17.02.2015
Page 22/38
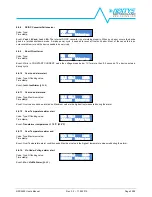
6.2 Contrast adjustment
While in DEFAULT SCREEN keep the OK KEY pressed for at least 3 seconds and then use the UP/DOWN KEYS to adjust the
desired LCD contrast.
6.3 Initial and standard screens
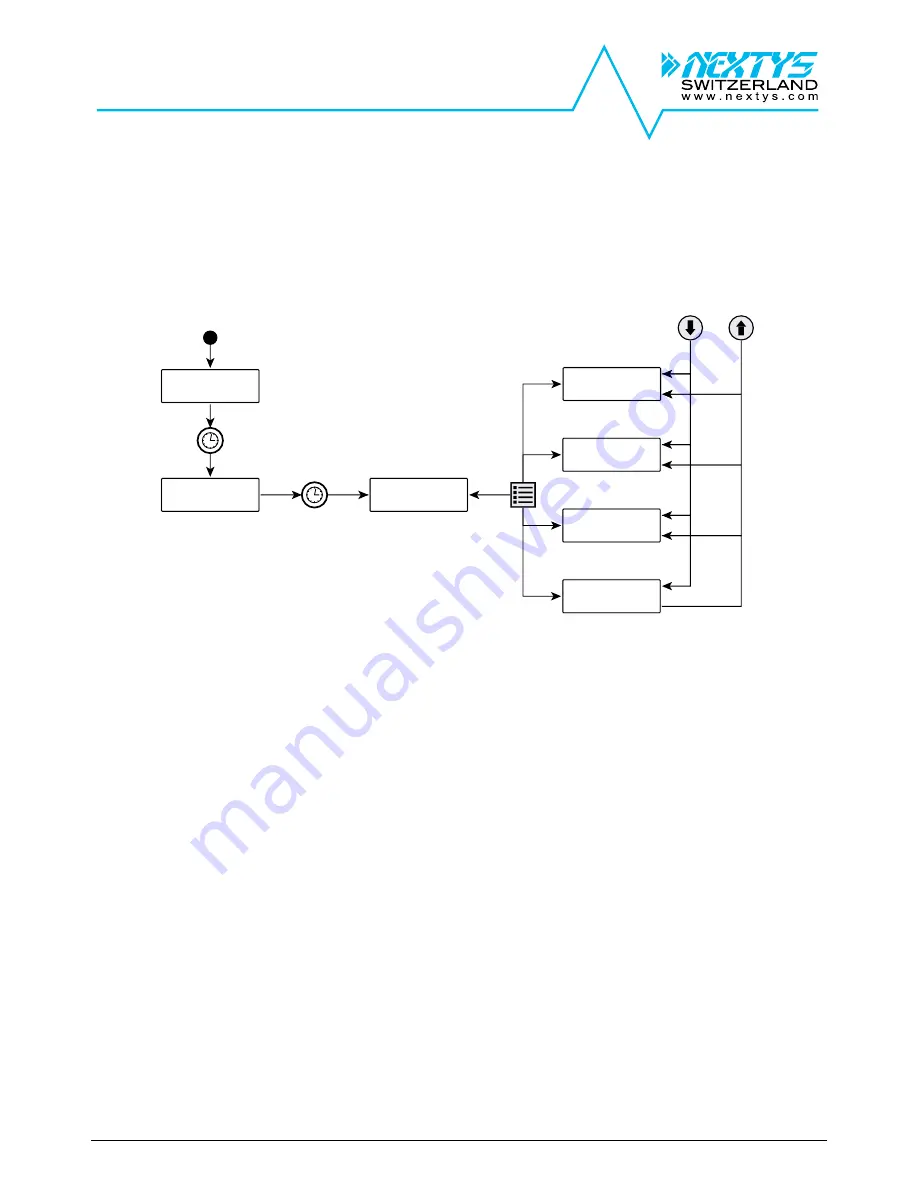
Initial and standard screens are shown in Figure 22:
DEFAULT SCREEN
SETUP EDIT
MEASUREMENT
EVENTS LOG
UNIT INFO
ID SCREEN
3 seconds elapsed
Down Key
UP Key
Menu Key
POWER-ON TEST
SCREEN
1.5 seconds elapsed
Figure 22 User interface layout
When the SMPS is energized a
POWER ON TEST
is performed and a specific screen is displayed. This test checks the digital
controller. Once the test is concluded an
ID SCREEN
is shown for 3 seconds. Consequently the
DEFAULT SCREEN
is shown.
To activate the menu the user must press the MENU KEY, to exit the menu user can press on the MENU KEY again. Once the
menu is enabled the user presses the UP/DOWN KEYS to scroll between submenus. The available menus are:
1) SET-UP
:
used to configure the SMPS by the user
2) MEASUREMENTS
:
used to monitor SMPS voltages, currents and temperature
3) EVENTS LOG
:
accesses various logged events (alarms and errors). All are provided with a time stamp.
4) UNIT INFO
:
displays specific information of the unit
If there is no activity in a submenu for >1 min, the
DEFAULT SCREEN
is displayed.
Detailed description of the submenus is given below.


