10
2. Press the Scan Button. The scanning starts immediately.
3. If you have the “Continuous scan” option checked, insert another card until
you have scanned all.
4. When the scan completes, the scanned images will be saved to the defined
file path as separate image files and sent to the assigned post-processing
software. (e.g. File, Program, PDF, OCR, E-mail, or Printer).
Document Scanning
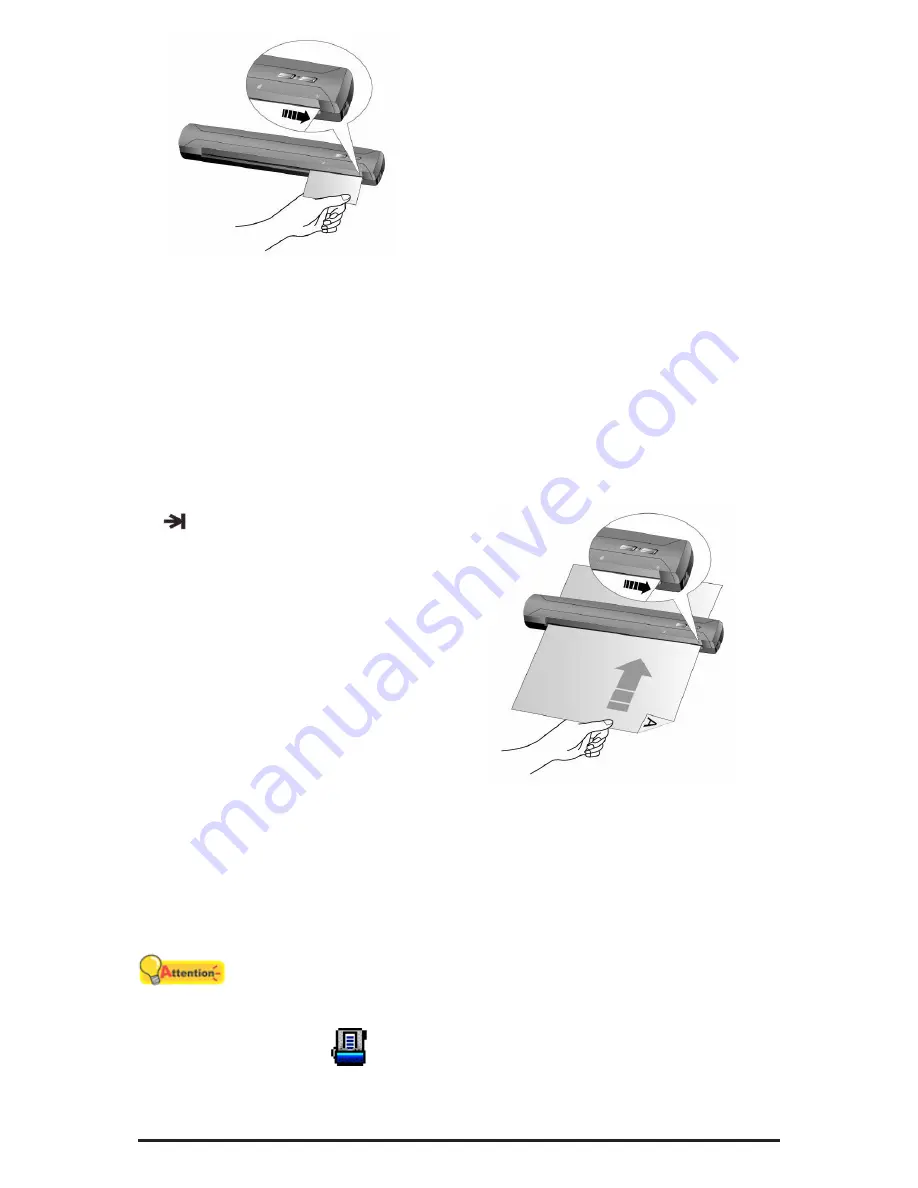
Document scanning is similar to card scanning, however, we’ll describe the
steps simply for you:
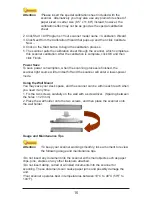
1. Please change the button setting from the DocAction window. Insert the
document face down into the scanner. Align the document to the arrow sign
on the right of the scanner.
2. Steps 2 to 4 please are the same
steps as for “Card scanning”.
Scanning Methods
There are four different ways to operate the scanner:
1. By acquiring images from the scanner through our TWAIN interface within
any TWAIN-compliant application programs.
2. By scanning images within our DI Capture software.
3. By scanning from the buttons on the scanner front panel
4. By scanning from DocAction’s Execute menu on the screen.
The TWAIN interface, DI Capture and DocAction software is automatically
installed to your system along with the scanner driver.
Attention
Before you start scanning, check the following:
•The power of both your computer and scanner is turned on.
•The icon
appears on the Windows system tray.
•Paper is appropriately loaded into the scanner.


