Navigation
Navigation Menus
92
TemBreak
PRO
P_SE-UM-001-EN
– V1.2.0
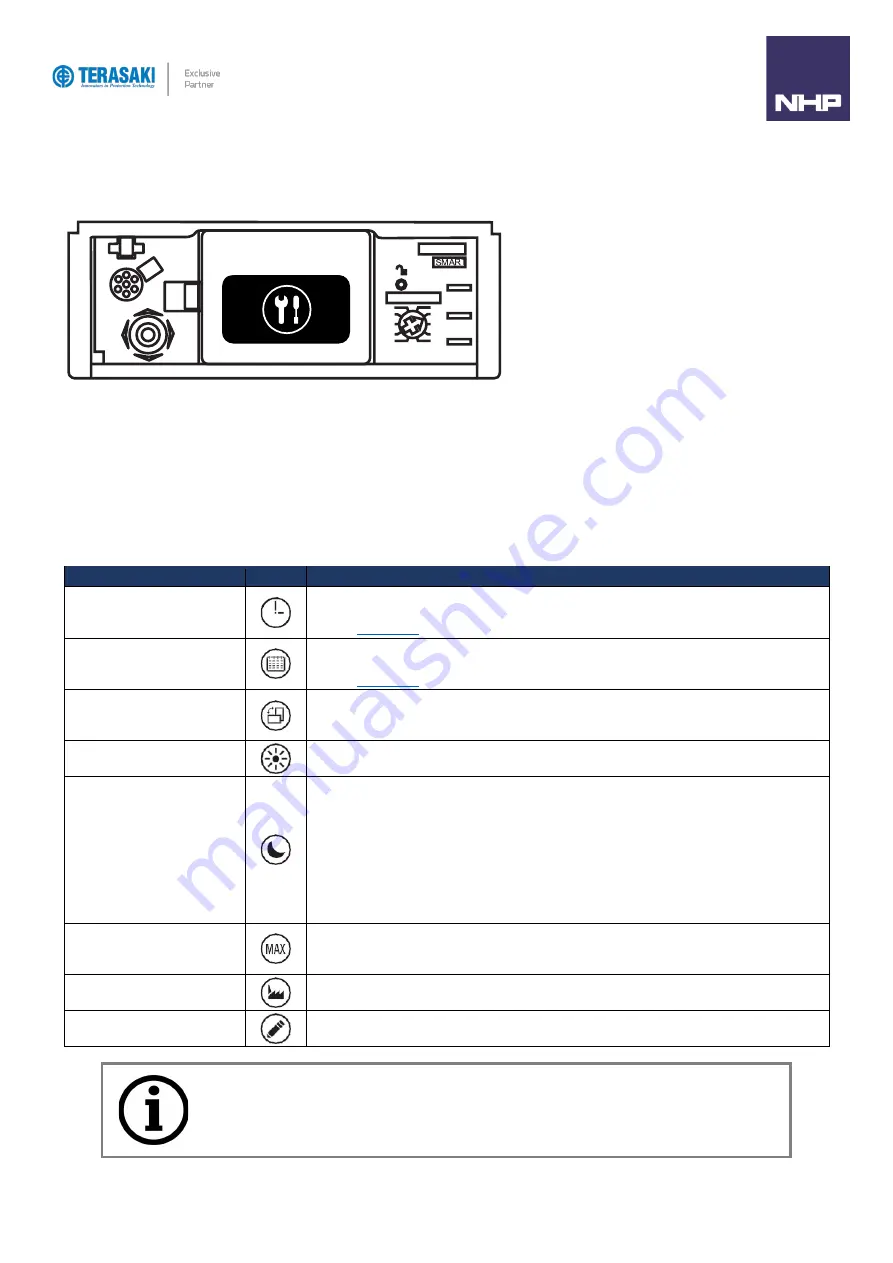
Setup Menu
The Setup menu consists of sub-menus to view and change OCR embedded display settings for:
-
Date & Time
-
Display Orientation and Brightness
-
Standby mode.
-
Reset the maximum measurement values.
-
Return to factory settings.
-
Permission to remotely write data
Pressing the joystick down on the Setup menu allows scrolling through and viewing of the following parameters and options
Parameter
Symbol
Description
Time setting using the menu
OCR time settings can be adjusted using this menu
–
this setting constitutes the time portion of the
User time. It is also possible to set the date and time using the TPED or TPCM.
Refer to
section.
Date setting using the menu
OCR date settings can be adjusted using this menu
–
this setting constitutes the date portion of the
User time. It is also possible to set the date and time using the TPED or TPCM.
Refer to
section.
Viewing orientation setting
using the menu
A user can rotate the screen display in four directions: up, down, left or right.
The display contents are automatically optimised based on the orientation for maximum readability
regardless of orientation.
Menu Brightness adjustment
The brightness can be adjusted to 20%, 40%, 60%, 80% or 100% (60% by default).
Sleep / Standby setting using
the menu
When Sleep mode is activated, the display switches off after 5 minutes if there is no movement of the
OCR joystick. Standby mode is enabled by default and can be disabled.
If the joystick is pressed within 15 minutes after activation of the screen going into sleep mode, the last
view before sleep mode will be displayed. Otherwise, the display will move to the Main menu view.
The output of the standby mode is caused by one of the following events:
-
Joystick movement
-
A message alarm notification.
Resetting maximum
measurement values using the
menu
This submenu allows a user to reset the stored maximum values of currents, voltages, and power. This
reset control is not only for maximum value reset, also for resetting of the energy counters.
Return to factory settings using
the menu
This menu allows the user to reset the settings accessible from the P_SE OCR embedded display.
Authorisation for remote writing
data using the menu
This submenu allows the user to enable or disable authorisation to write data to the OCR remotely via
the TPED or TPCM. By factory default, remote write authorisation is enabled (set to ON).
Notice
: Restoring to factory settings only affects parameters which are configurable using the P_SE OCR
embedded display. Other parameters which are configurable via remote accessories such as the TPED and
TPCM are not restored to their default settings using this method.
Summary of Contents for Terasaki TemBreak PRO P SE Series
Page 106: ...106 TemBreak PRO P_SE UM 001 EN V1 2 0 Annex A Dimensions P160 Dimensions...
Page 107: ...Annex A Dimensions 107 TemBreak PRO P_SE UM 001 EN V1 2 0 P250 Dimensions...
Page 108: ...Annex A Dimensions 108 TemBreak PRO P_SE UM 001 EN V1 2 0 P400 Dimensions...
Page 109: ...Annex A Dimensions 109 TemBreak PRO P_SE UM 001 EN V1 2 0 P630 Dimensions...
Page 111: ...111 TemBreak PRO P_SE UM 001 EN V1 2 0 Annex C I2t Let Through Curves P160_SE...
Page 112: ...Annex C I2t Let Through Curves 112 TemBreak PRO P_SE UM 001 EN V1 2 0 P250_SE...
Page 113: ...Annex C I2t Let Through Curves 113 TemBreak PRO P_SE UM 001 EN V1 2 0 P400_SE...
Page 114: ...Annex C I2t Let Through Curves 114 TemBreak PRO P_SE UM 001 EN V1 2 0 P630_SE...
Page 115: ...115 TemBreak PRO P_SE UM 001 EN V1 2 0 Annex D Peak Let Through Curves P160_SE...
Page 116: ...116 TemBreak PRO P_SE UM 001 EN V1 2 0 P250_SE...
Page 117: ...117 TemBreak PRO P_SE UM 001 EN V1 2 0 P400_SE...
Page 118: ...118 TemBreak PRO P_SE UM 001 EN V1 2 0 P630_SE...
Page 121: ...121 TemBreak PRO P_SE UM 001 EN V1 2 0 This page is intentionally left blank...


