21
7.2 Right helper operation
7.2.1 Detach the rim from the tire as per the
instruction in Chapter 5. With the optional helper,
operate as follows.
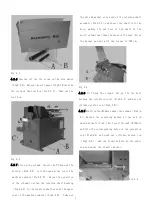
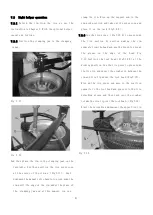
7.2.2 Position the clamping jaw in the clamping
range.
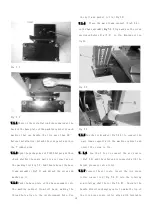
Fig 7-11
Fig 7-12
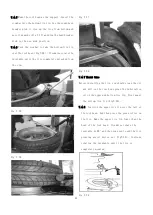
And then place the rim in the clamping jaws on the
turntable. And then position the tire press cone
at the center of the rim as (Fig7-11). Push
downward the manual valve handle to press down the
rim until the edge of the rim under the plane of
the clamping jaw and at this moment, you can
clamp the rim. Rise up the support arm to the
non-work position and take out the press cone and
place it on the rack(Fig7-9 A).
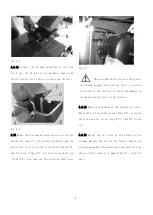
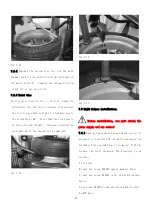
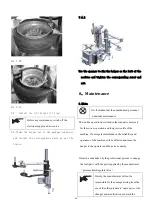
7.2.3 Use the tire press (Fig7-12 A)to press down
the tire section by section making the rim
separate from the bead and use the brush to spread
the grease on the edge of the bead Fig
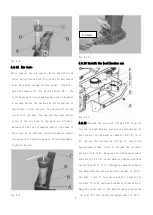
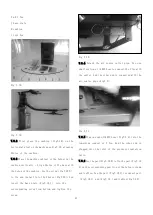
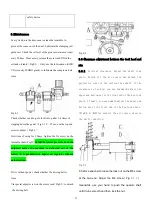
7-12.Position the tool head(Fig7-12 B)at the
working position. Use the tire press to press down
the tire lip and insert the crowbar in between the
rim and tire lip under the tool head(Fig7-13)
,
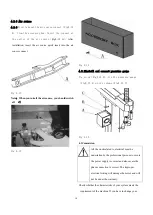
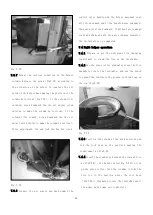
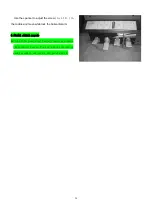
Rise up the tire press and move to the position
opposite to the tool head and press into the tire
detaching groove and then turn over the crowbar
to take the tire lip over the tool head.(Fig7-14)
Start the turntable and demount the upper tire lip.
Fig 7-13
Summary of Contents for TC-1300
Page 1: ...3456789 C61CN...
Page 36: ...35...

