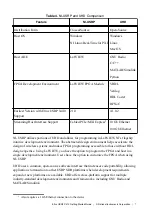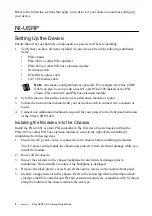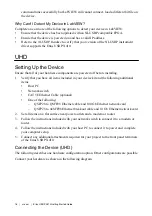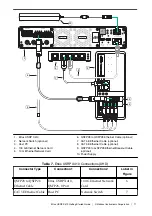
Refer to the following sections that apply to the driver of your choice to continue setting up
your device.
NI-USRP
Setting Up the Device
Ensure that all of your hardware components are powered off before installing.
1.
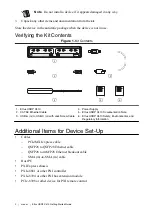
Verify that you have all items included in your device kit and the following additional
items.
•
PXIe chassis
•
PXIe-8881 or other PXI controller
•
PXIe-8394 or other PXI bus extension module
•
Network switch
•
PCIe/MXI express cable
•
CAT 5E Ethernet cable
Note
Alternative configurations are possible. For example, the Ettus USRP
X410 can also be set up with a host PC and PCIe-8398 instead of the PXI
chassis, PXI controller, and PXI bus extension module.
2.
Set all items on a flat surface near power outlets and a modem or router.
3.
Follow the instructions included with your network switch to connect it to a modem or
router.
4.
Connect any additional attachments required for your project to the front panel terminals
of the Ettus USRP X410.
Installing the Modules into the Chassis
Install the PXIe-8881 or other PXI controller in the first slot of your chassis and then the
PXIe-8394 or other PXI bus extension module in a slot to the right of the controller by
completing the following steps.
1.
Ensure the AC power source is connected to the chassis before installing the module.
The AC power cord grounds the chassis and protects it from electrical damage while you
install the module.
2.
Power off the chassis.
3.
Inspect the slot pins on the chassis backplane for any bends or damage prior to
installation. Do not install a module if the backplane is damaged.
4.
Remove the black plastic covers from all the captive screws on the module front panel.
5.
Identify a supported slot in the chassis. Refer to the following table to determine which
slot types the PXI controller and PXI bus extension module are compatible with. Symbols
along the bottom of the chassis indicate the slot type.
8
|
ni.com
|
Ettus USRP X410 Getting Started Guide

