6
LoadRunner™ Series Installation & Service Manual
3.0
Roll Off Load Pin Installation
Load pins supplied are custom sized to fit the specific hinge and ram brackets of the vehicle. The
LoadRunner
Roll
Off system is compatible with Galbreath, Accurate and Ruddco. Installation requires removal of existing pins, and
replacements of these pins with Rice Lake load pins and collars.
Important
All load pin installations require lubrication facilities. Normally lubrication is provided through the central
pivot area. OEM Roll Off pivots typically have existing lubrication fittings included in their pivots. Rice
Lake pivots are furnished with drilled and tapped holes for the insertion of a standard lube zirk which
must be supplied and installed by the system installer.
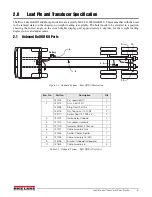
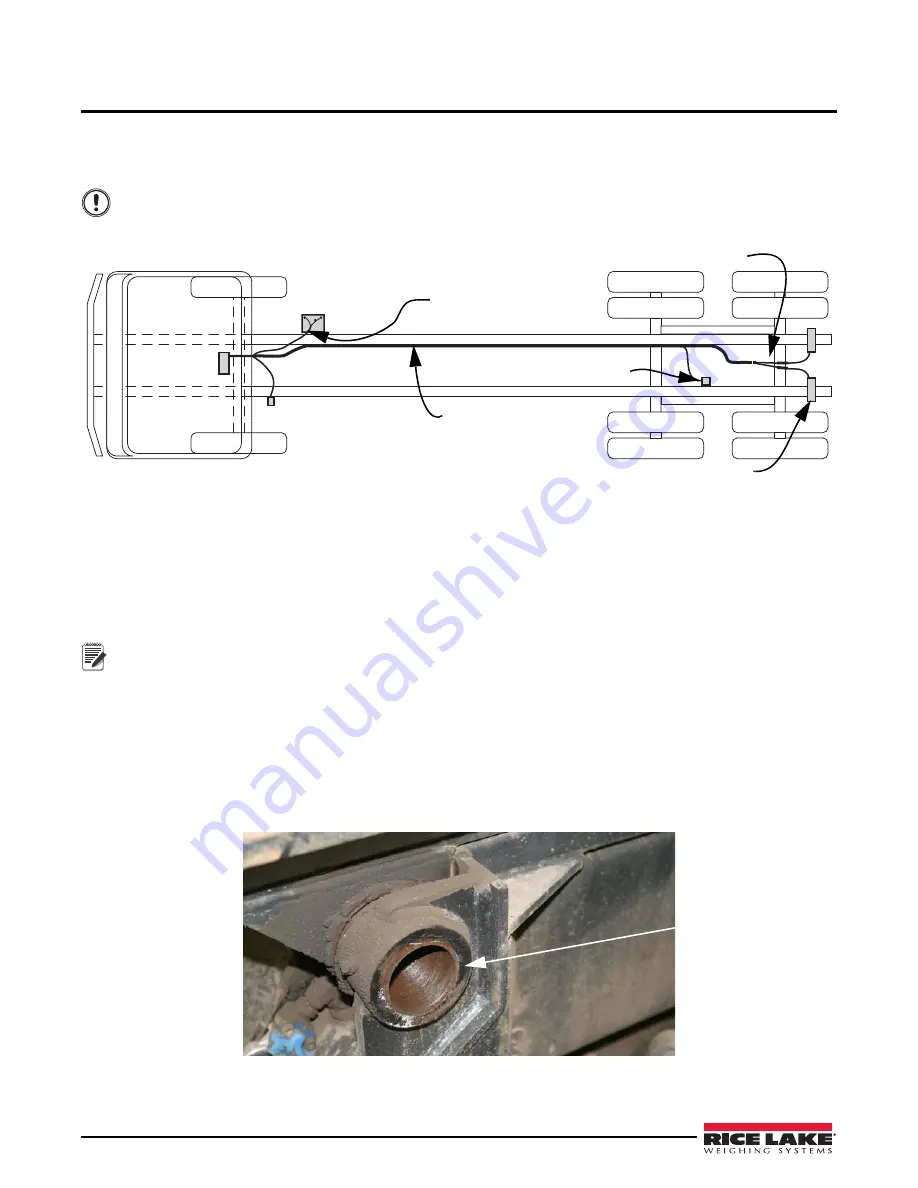
Load
Pins
Inclinometer
Y Cable
Battery
Transducer
Indicator
Power Cable
Homerun Cable
Figure 3-1. LoadRunner System Layout
3.1
Installing the Load Pins
1. Remove the rear fenders from the truck, if required, to gain free and clear access to the pivots.
2. Use jacks or a forklift to support the rear of the hoist chassis and maintain its position/alignment while the
pivot pins are being replaced.
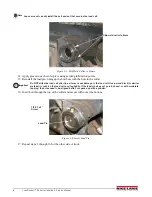
3. Remove the bolt and washer from the outer collar on the pivot.
Note
Removing pivot pins on some vehicles may be difficult if rust is present or if the hoist chassis pivot and the truck
chassis supports are out of alignment. If rust is an issue, use a penetrating lubricant and appropriate tools for
tapping the pivot pin out. Use a pry bar as a lever to assist with any misalignment problems to remove the
existing pivot pins.
4. Push the pivot pins into the frame and out the other side, removing the inside collar as well.
5. Remove the outer collar if still attached to the frame.
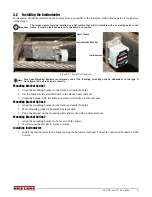
6. Using a power grinder or a wire brush, clean around the hole where the pivot was located, both sides of the
frame.
7. Grind the frame smooth to ensure a clean weld at load cell installation.
8. Remove any debris that is inside and around the holes of the chassis supports and the pivots.
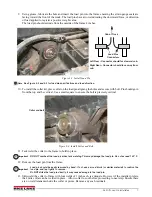
Remove existing pin and
prepare surface for load
pin installation
Figure 3-2. Remove Existing Pin

