background image

Installing the Motor 


Always disconnect electrical power at the fuse box or circuit breaker panel before handling electrical 
connections or performing maintenance on this unit. Allow the motor to come to a complete stop and wait 
four (4) minutes. This allows the capacitors to discharge any residual voltage for safety. 

Double-check to make sure that electrical power is removed and that it cannot be turned on while you are 
working on the equipment. 

A poor electrical connection can overheat and cause terminal and/or terminal board failures. Examine the 
wiring harness quick-connect terminals carefully for any signs of physical deterioration or loose fit to the 
terminals on the motor terminal board. 

STEP 1: Turn OFF Electrical Power 

These instructions provide field technicians with a guide for installing a RESCUE

®

 Select Pro  motor and 

are intended for a typical air handler/furnace equipment system. These instructions 

do not

 override or 

replace HVAC system manufacturer instructions. 

1.  Turn 

OFF

 electric power to the HVAC unit at the disconnect or the main service panel before making any 

electrical connections. 

2.  Make sure electrical power cannot be accidentally switched on while you are working on the equipment. 

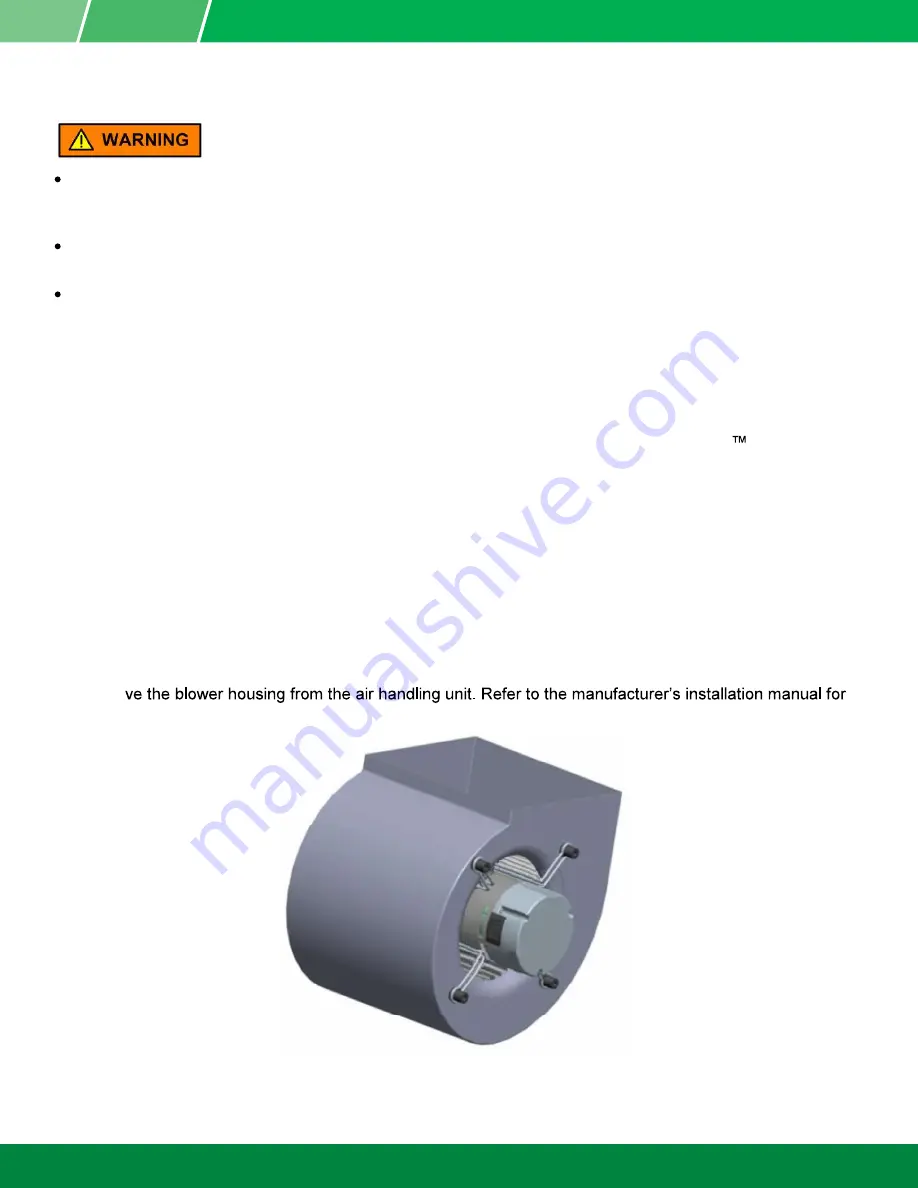
STEP 2: Remove the Blower Housing from the HVAC Equipment 

1.  Disconnect the furnace wiring harness from the motor. 

2.  Remo

blower removal instructions. 


Summary of Contents for RESCUE Select Pro

Page 1: ...Guide For technical assistance or questions related to your RESCUE Select Pro Motor call the Technical Hotline 1 888 540 5540 Read the entire manual prior to installation and operation of the RESCUE Select Pro Motor Follow all instructions contained herein ...

Page 2: ...ing from the HVAC Equipment 5 STEP 3 Locate and Verify the Connector 6 STEP 4 Remove the Original ECM Motor 6 STEP 5 Install the Replacement Motor 7 STEP 6 Install the Replacement Motor in the Air Handling Unit 8 STEP 7 Reinstall the Blower Assembly in the HVAC System 8 STEP 8 The Motor Is Ready for Operation 9 Motor Start Up and Operation 9 Operating Mode Checklist 10 Final Checks 10 Maintenance ...

Page 3: ...ry Personnel should be instructed for handling each of the following Insulate all connections carefully to prevent grounding or short circuits Reinstall all conduit and terminal box covers To avoid overheating or loss of performance voltage to the motor control unit must be within plus or minus 10 of the nameplate voltage Make sure the unit is electrically grounded and that proper electrical insta...

Page 4: ... equipment while it is running or while working on equipment The motor and control unit are assembled and calibrated as a set Replacing either the motor or control unit with other unsuitable parts could drastically affect performance tolerance To prevent permanent damage to the unit only apply nameplate voltage Do not apply 230 Vac when the motor is configured for 115 Vac operation Refer to page 7...

Page 5: ...d Benefits Ready to install Auto rotation sensing technology Dual voltage Multi speed operations with five programmable 24 volt taps Fully customizable taps No programming required Specifications Horsepower 1 3 1 2 3 4 1HP Voltage 1Ø 115 208 230 Vac Speed 1050 RPM Hertz 60 or 50 Frame NEMA 48 Mounting Belly band Motor Dimensions All motor dimensions are for reference only HP Dim A Dim B 1 3 1 2 3 ...

Page 6: ... Initial Inspection Check the RESCUE Select Pro motor to verify the following The shaft spins freely by hand The nameplate information conforms to the specifications of the motor ordered The RESCUE Select Pro may look visually different than the motor it is replacing The external appearance is not an exact replica of the motor it is replacing However when properly installed the motor will fit in t...

Page 7: ... terminals carefully for any signs of physical deterioration or loose fit to the terminals on the motor terminal board STEP 1 Turn OFF Electrical Power These instructions provide field technicians with a guide for installing a RESCUE Select Pro motor and are intended for a typical air handler furnace equipment system These instructions do not override or replace HVAC system manufacturer instructio...

Page 8: ...ness from the new motor and set it aside STEP 4 Remove the Original ECM Motor 1 Loosen the set screw on the motor shaft 2 Remove the screw that secures the belly band mounting bracket to the original motor and set aside 3 Remove the original motor from the mounting bracket 4 Verify that the RESCUE Select Pro has the same horsepower and voltage rating as the original ECM motor ...

Page 9: ...art Operating the motor at 230 Vac with the 115V plug installed in the connector will cause significant damage to the motor 2 Insert the RESCUE Select Pro into the mounting bracket The belly band can be positioned anywhere on the motor shell except on the end bell i e the control The preferred position is at the midpoint between the vents Do not cover any of the vents with the belly band The RESCU...

Page 10: ...stall the Replacement Motor in the Air Handling Unit 1 Insert the motor shaft into the blower wheel securing the motor to the blower housing 2 Align the blower wheel so it is properly centered in the blower housing Then align to the flat of the motor shaft 3 Secure the blower wheel to the motor shaft by tightening the set screw to a torque setting of 157 in lbs STEP 7 Reinstall the Blower Assembly...

Page 11: ...ubsequent run signals In the event of system power loss exceeding 60 seconds the rotation sensing process is re initiated at the next run signal after power is restored If the motor is unable to sense the proper rotation the motor uses default rotation which is counter clockwise CCW Electric Shock Hazard The motor must be properly grounded through the furnace wiring harness Be careful when touchin...

Page 12: ...tion If unusual noise or vibration is detected refer to the Troubleshooting section on page 23 3 Motor Amperage The amperage reading at the highest speed setting should be within 10 of the specification shown on the nameplate 4 Air Flow Verify that the correct airflow is present in all operating modes Final Checks Check the mounting and fastening of both the motor and the control Make sure the mot...

Page 13: ...ouplings high motor amps poor wiring or overheated connections loose mounting bolts or guards and worn motor starter contacts Check the wiring harnesses and control connectors Inspect for shorts detached wiring or loose connections Remove dirt accumulation particularly in and around vent openings by vacuuming Dirt accumulation can cause motor overheating and is a fire hazard Do not use solvents So...

Page 14: ...s the correct HP Error code 202 Programming failed Corrupt motor data file Retry programming If the problems persist contact the Motor Hotline Error code 203 Error code 204 Wrong Motor Type Error code 205 Wrong Motor Voltage Verify that the motor is the correct voltage Corrupt motor data file Contact the Motor Hotline Message Connected Motor is wrong horsepower The motor horsepower does not HP Ver...

Page 15: ...on the user is encouraged to try to correct the interference by one or more of the following measures Reorient or relocate the receiving antenna Increase the separation between the equipment and receiver Connect the equipment into an outlet on a circuit different from that to which the receiver is connected Consult the dealer or an experienced radio TV technician for help Canada Under Industry Can...

Page 16: ...s discovery of any warranty defects within the above stated warranty period Purchaser notifies NMC or the dealer from whom the motor was purchased in writing NMC shall at its option and as Purchaser s exclusive remedy repair or replace or refund the purchase price for that portion of the motor and components found by NMC to be defective Failure by Purchaser to give such written notice within the a...

Page 17: ...ts reserved U S Motors SelecTech and RESCUE Select Pro are registered trademarks of Nidec Motor Corporation For more information Visit us at www nidec motor com Nidec Motor Corporation 8050 W Florissant Avenue PO Box 36912 St Louis MO 63136 ...

Reviews: