19
3
CHECK AND ADJUSTMENT PROCE-
DURES
3.1
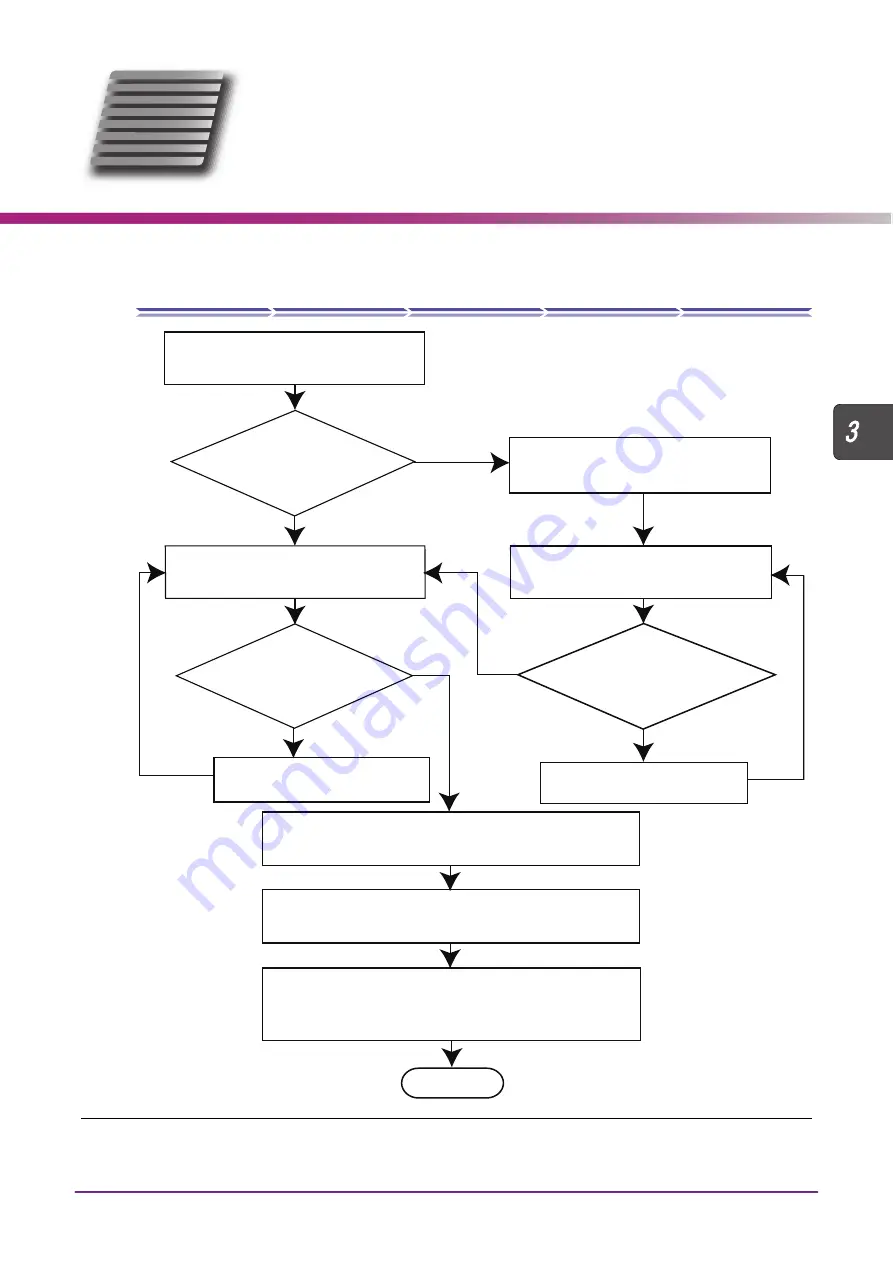
Check and Adjustment Procedure Flowchart
*1 When the lens size is not correct, the lens position on a wheel may become offset. In such a case, the lens measurement
data may become erroneous.
No
Yes
Yes
Yes
No
No
Bevel check and adjustment
“3.7 Bevel Position Check and Adjustment” (page 38)
Load the square 45 internal data and
process a lens with “Frame:Flat” and
“Polish:None”.
“3.5.2 Size adjustment” (page 31)
Is the lens size 45.0±0.1 mm?
Polish check and adjustment
“3.8 Size Check and Adjustment” (page 42)
Is the lens size 45.0±0.1 mm?
Load the circle 45 internal data and
process a lens with “Frame:Flat” and
“Polish:None”.
*1 Perform LMU Calibration.
“3.4 Surface Measurement (LMU) Cali-
Load the circle 45 internal data and
process a lens with “Frame:Flat” and
“Polish:None”.
Finish
Is axis angle within ±0.1°?
“3.6.1 Axis angle check” (page 33)
Groove position and groove depth check and
adjustment
“3.12 Groove Position Check and Adjustment” (page 61)


