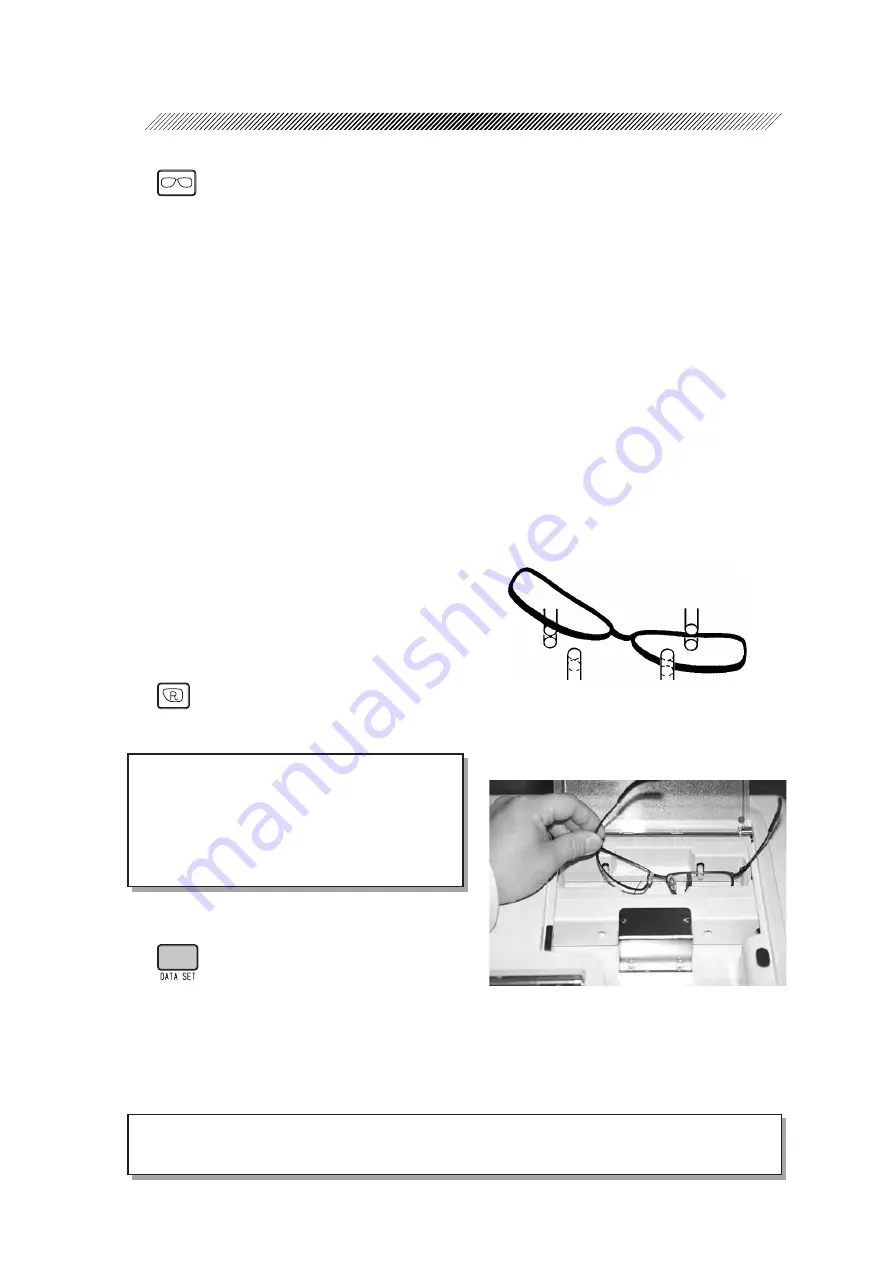
4 - 6
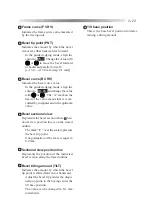
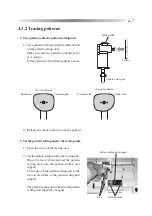
<Non-tracing side>
Hold with fingers.
Do not set between
the rim clips.
<Tracing side>
Set the rim horizontally be-
tween the rim clips.
4. Start tracing.
Press
.
When tracing is complete for one rim, the stylus will move to the other rim and stop at the
tracing start position.
5. Trace the other rim in the same manner as Steps 3 and 4.
4.3.1.4 Tracing goggle type frames
When sharply warped frames such as goggles are traced, the stylus may come off the bevel
groove. In such a case, set only one rim between the rim clips and hold the frame temple of the
other side during tracing.
The following only describes the procedure for the right rim since either rim can be traced in the
same way.
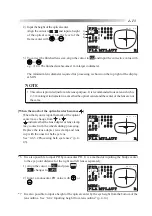
1. Set a rim for the right eye horizontally to the tracing unit.
•
Do not set the left rim.
•
Hold the left temple of the frame to keep
the right rim horizontal.
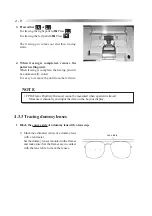
2. Start tracing.
Press
.
NOTE
• Though the rim clips hold the right rim
securely, do not take your hand off the
temple.
If the frame moves during tracing,
precise measurement cannot be made.
3. Call up the traced data.
Press
.
The traced outline will appear on the display
panel.
4. Remove the frames from the tracing unit.
NOTE
• FPD (Frame Pupillary Distance) cannot be measured when goggle type frames are traced.
Measure it manually and input the data on the Layout display.
Summary of Contents for LE-9000LX
Page 1: ...PATTERNLESS EDGER Model LE 9000LX OPERATOR SMANUAL ...
Page 17: ...2 9 Top view or or ...
Page 19: ...2 11 ...
Page 145: ......


